
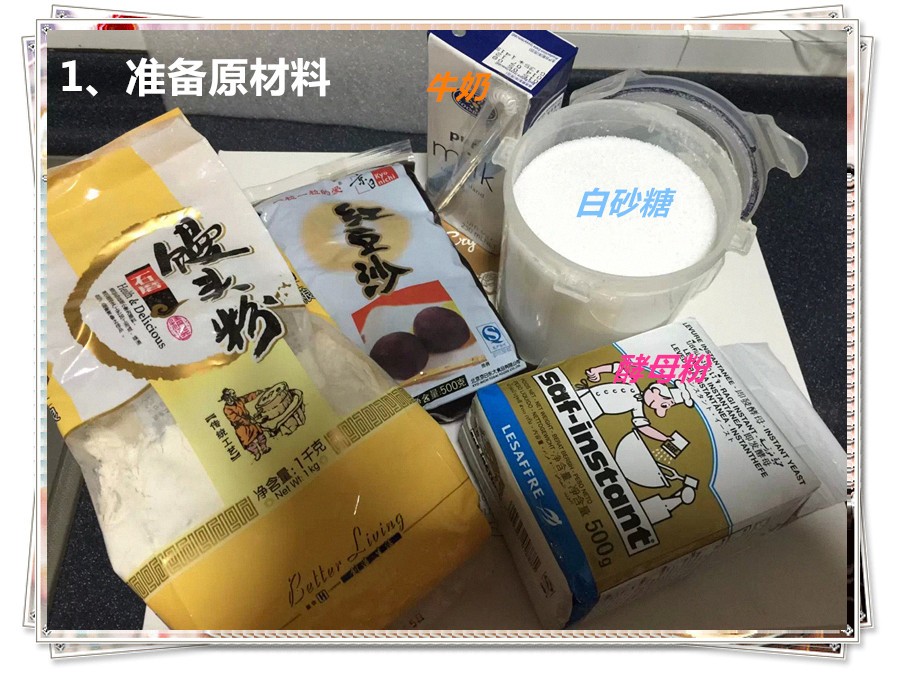
Ingredients:
a:400g all-purpose flour, 5g sugar, 2g salt (adjust sugar and salt to taste), red bean paste filling
b:200g warm milk, 20g sugar, 8ml yeast (a little more yeast is okay)
C: Add about 81g of milk while kneading (you can reduce it slightly if needed)
Instructions:
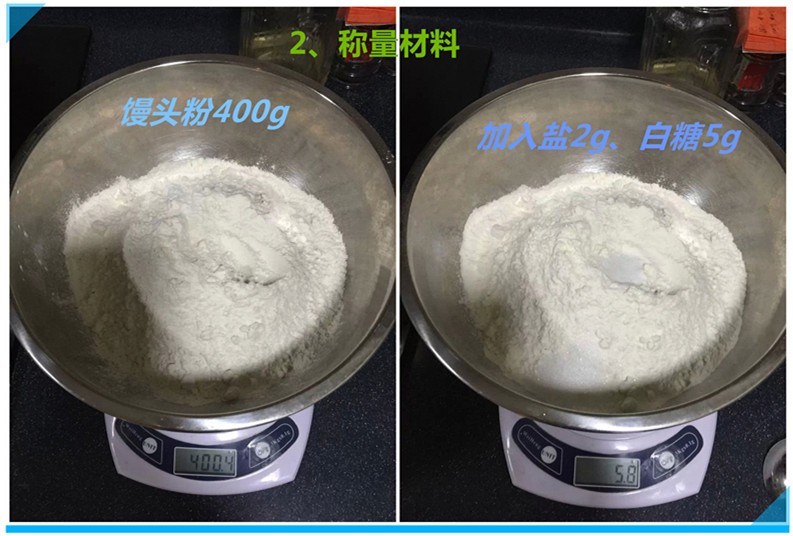
1. Measure 400g of bun flour, add 2g of salt and 5g of sugar.
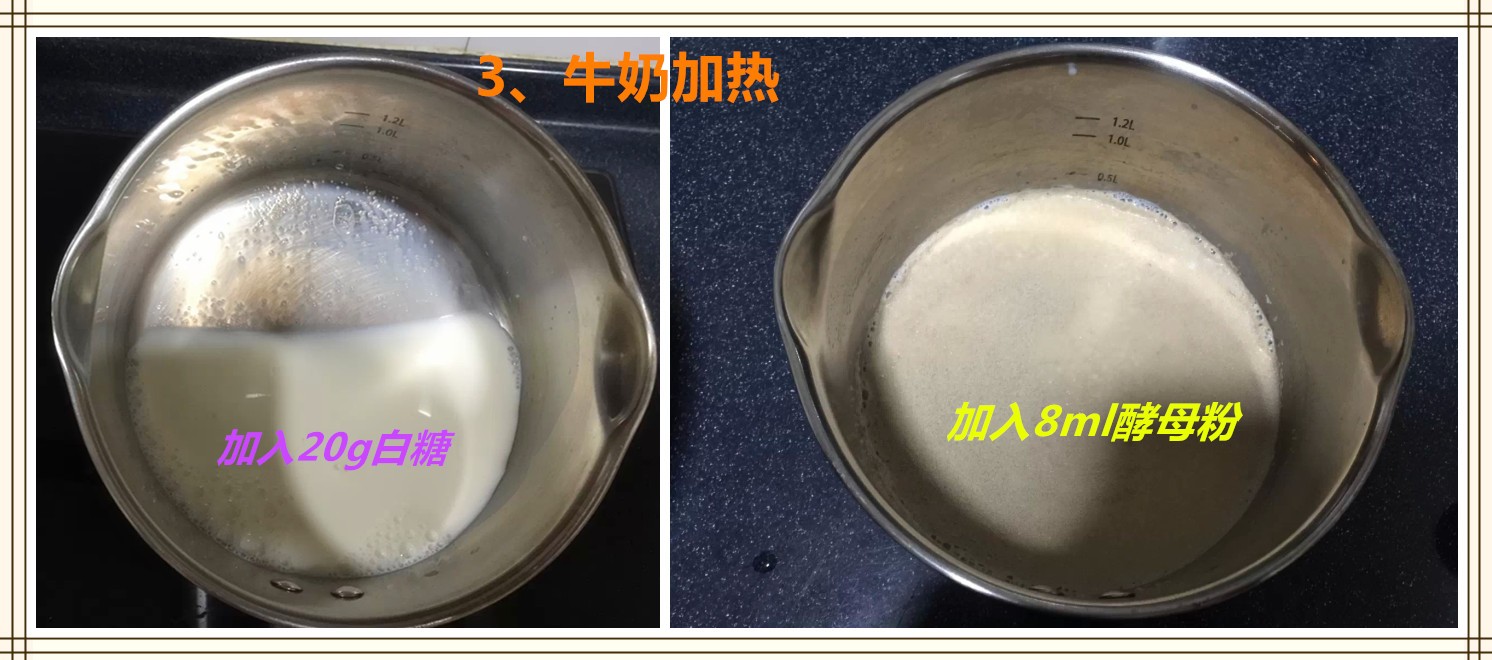
2. Measure 200g of milk and add 20g of sugar, heat it (Teacher Wang recommends making it a bit hotter, then let it cool down. During this time, you can use your finger to check; as long as your finger doesn’t instinctively pull back when you dip it in, it’s fine). When the milk is warm, add the yeast

3. Stir the milk in the pot with chopsticks, mix well, then let it sit for 5-10 minutes to activate the yeast. Ideally, there should be a layer of foam on the surface of the milk.
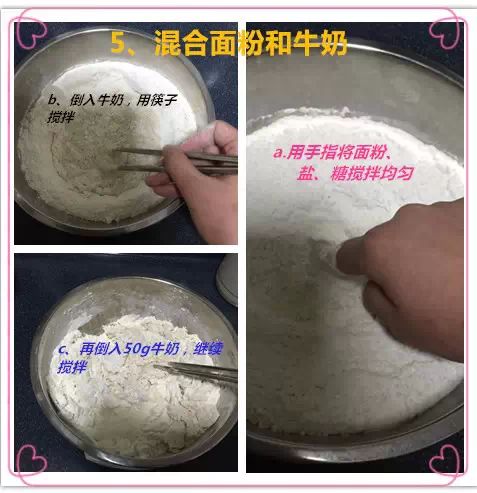
4. Gently stir the flour mixture with your finger to combine the flour, salt, and sugar, then pour in the yeast milk from step three, mix with chopsticks, then add 50g of milk and continue mixing.
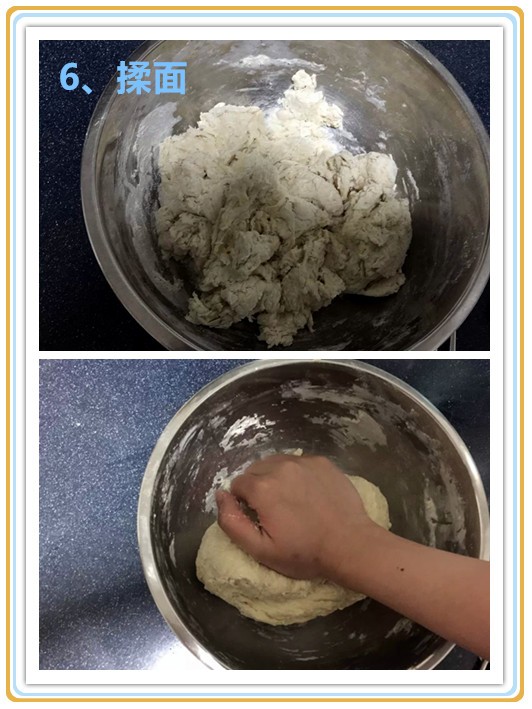
5. Stir until the flour fully absorbs the milk (no dry flour left), then knead, trying to knead as much as possible.
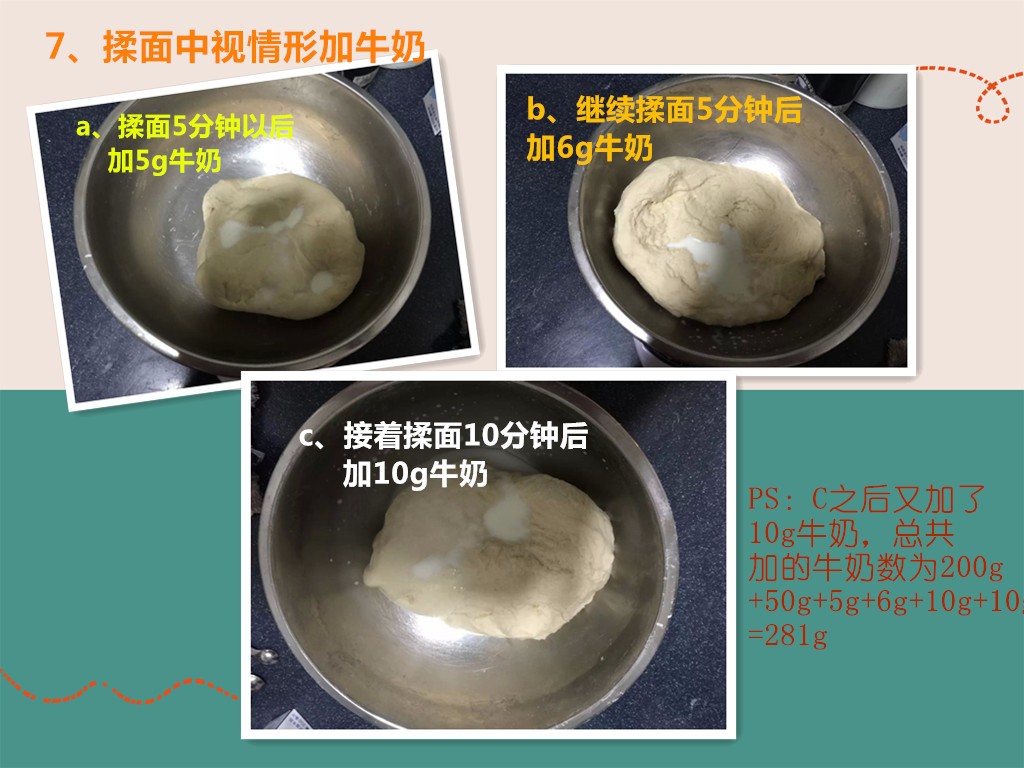
6. Gradually add 31g of milk during kneading; this number is not fixed and depends on the flour’s water absorption. As long as the dough does not stick to your hands, you’re good. The entire kneading process takes about 30-40 minutes.
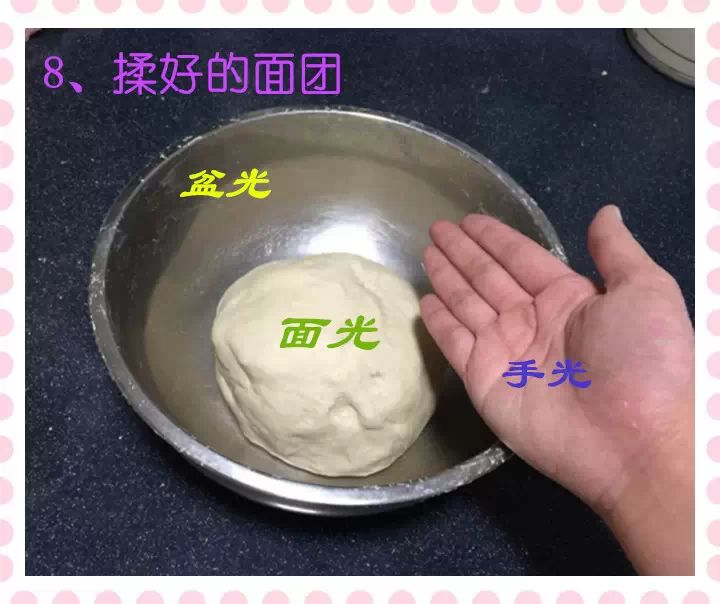
7. The kneaded dough should ensure the “three shines”: shine on the dough, shine on the bowl, shine on your hands
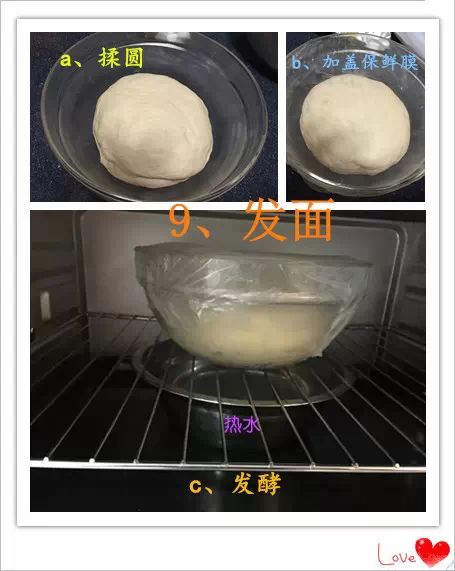
8. Shape the dough into a ball and let it rise in a warm place for 1 hour (Teacher Wang’s method is to boil a pot of hot water and place it in the oven tray, then place the dough on the rack to rise).
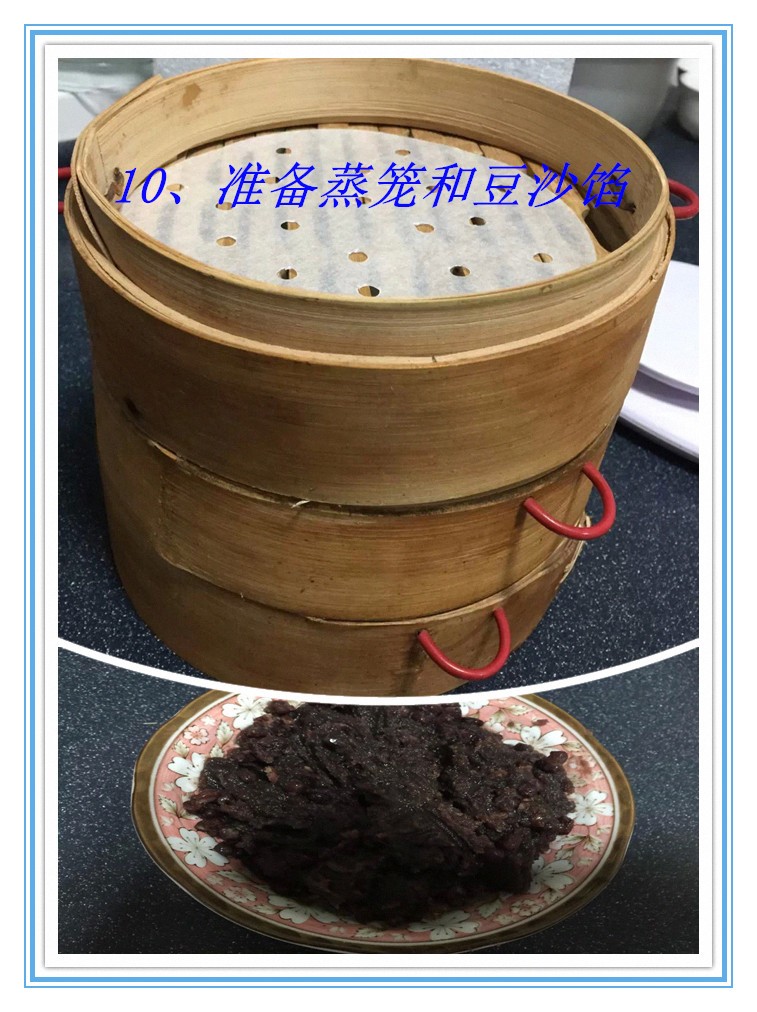
9. During the fermentation, you need to replace the hot water once, and prepare red bean paste and a steamer
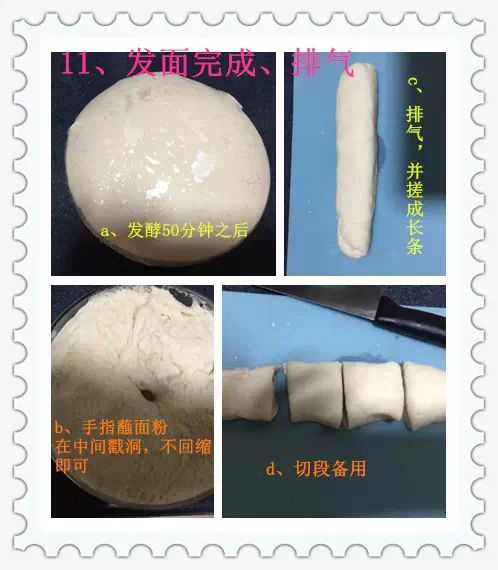
10. This time the hot water worked well; it took 50 minutes to rise. You can check if it is ready by dipping your finger in flour and poking a hole. Then flatten the risen dough, and knead the dough again, mainly to release air, and finally cut it into small pieces.
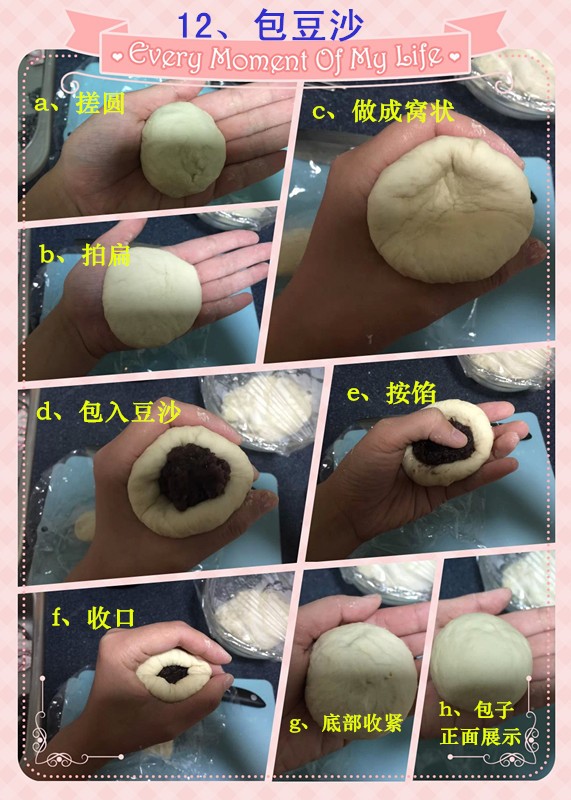
11. Roll the small doughinto a ball, then shape it into a nest, fill it with red bean paste, seal it. The sealing doesn’t have to be perfect, just ensure it’s closed,the sealed side will be the bottom of the bun
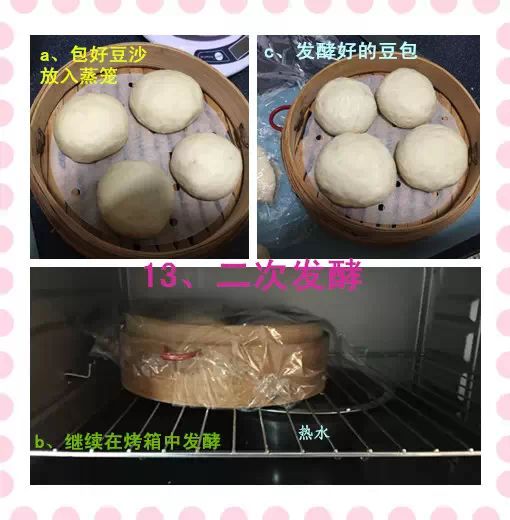
12. Once the bean buns are wrapped, cover them with plastic wrap and use the old method for second fermentation for 15 minutes
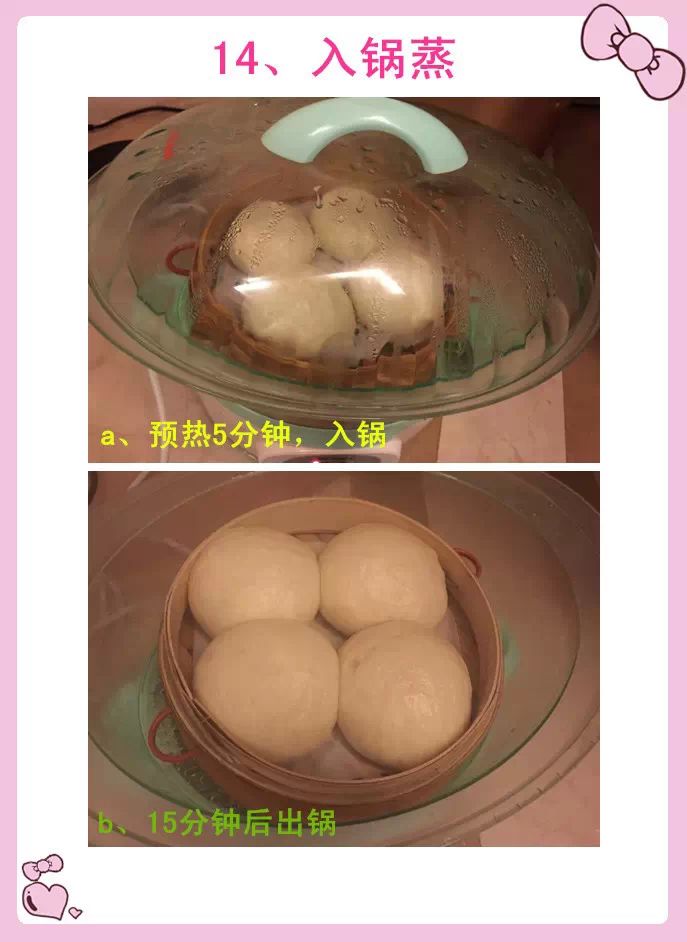
13. Preheat the steamer for 5 minutes, steam for 15-20 minutes depending on the size of the bean buns
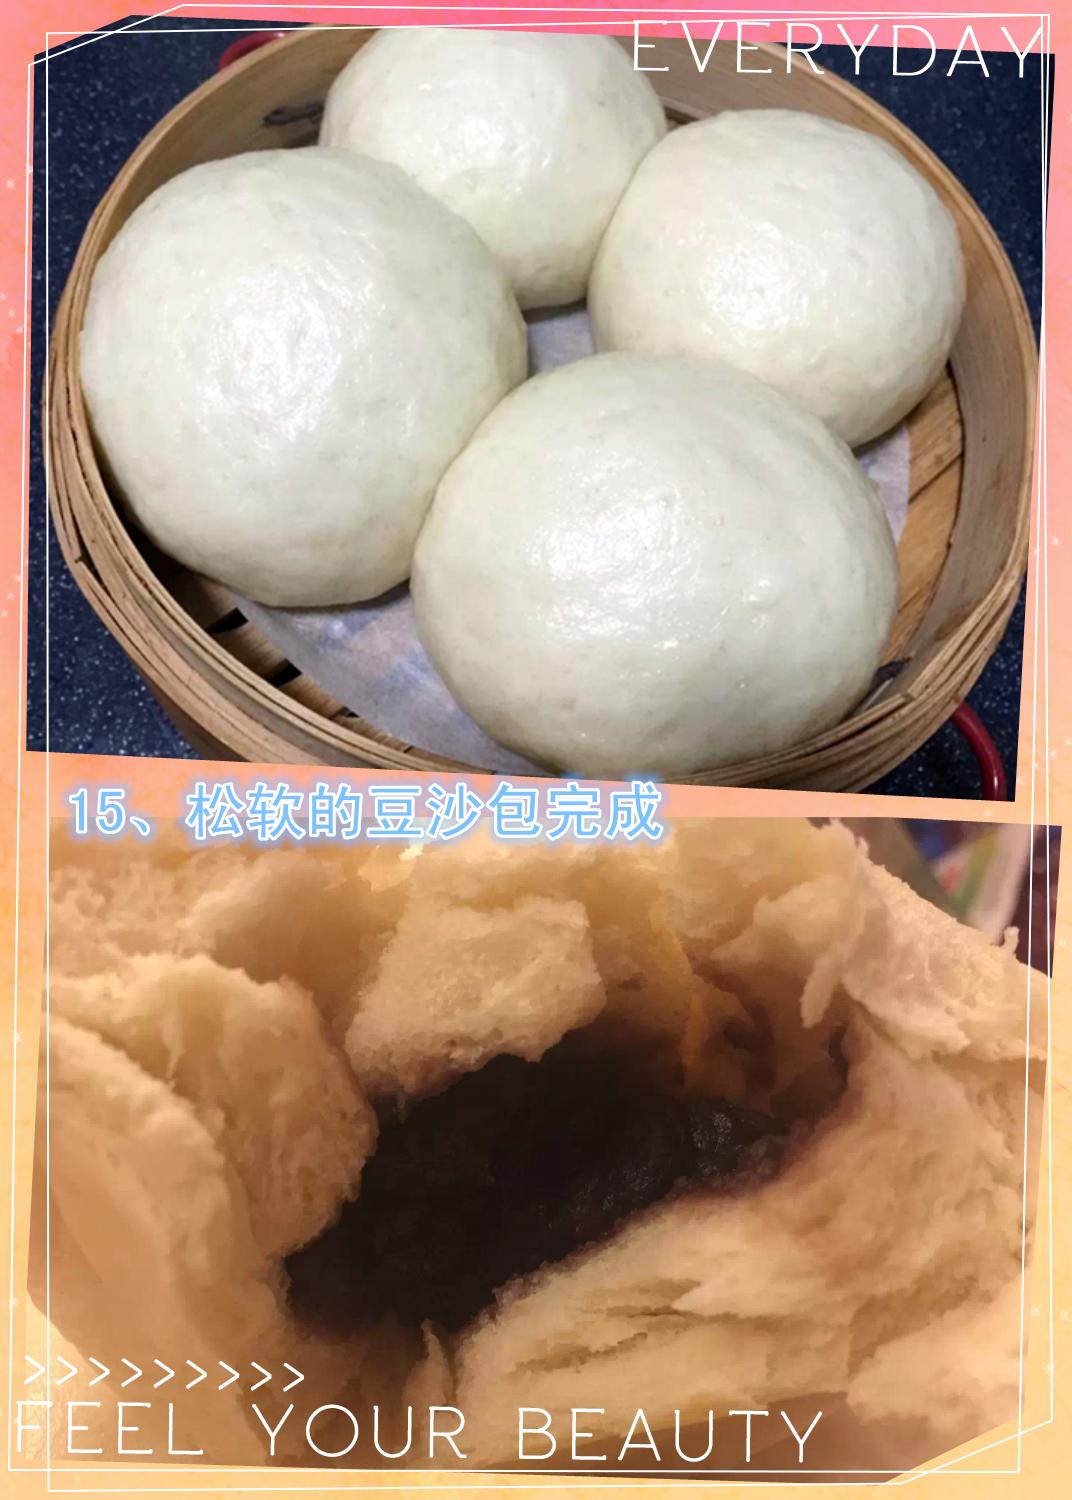
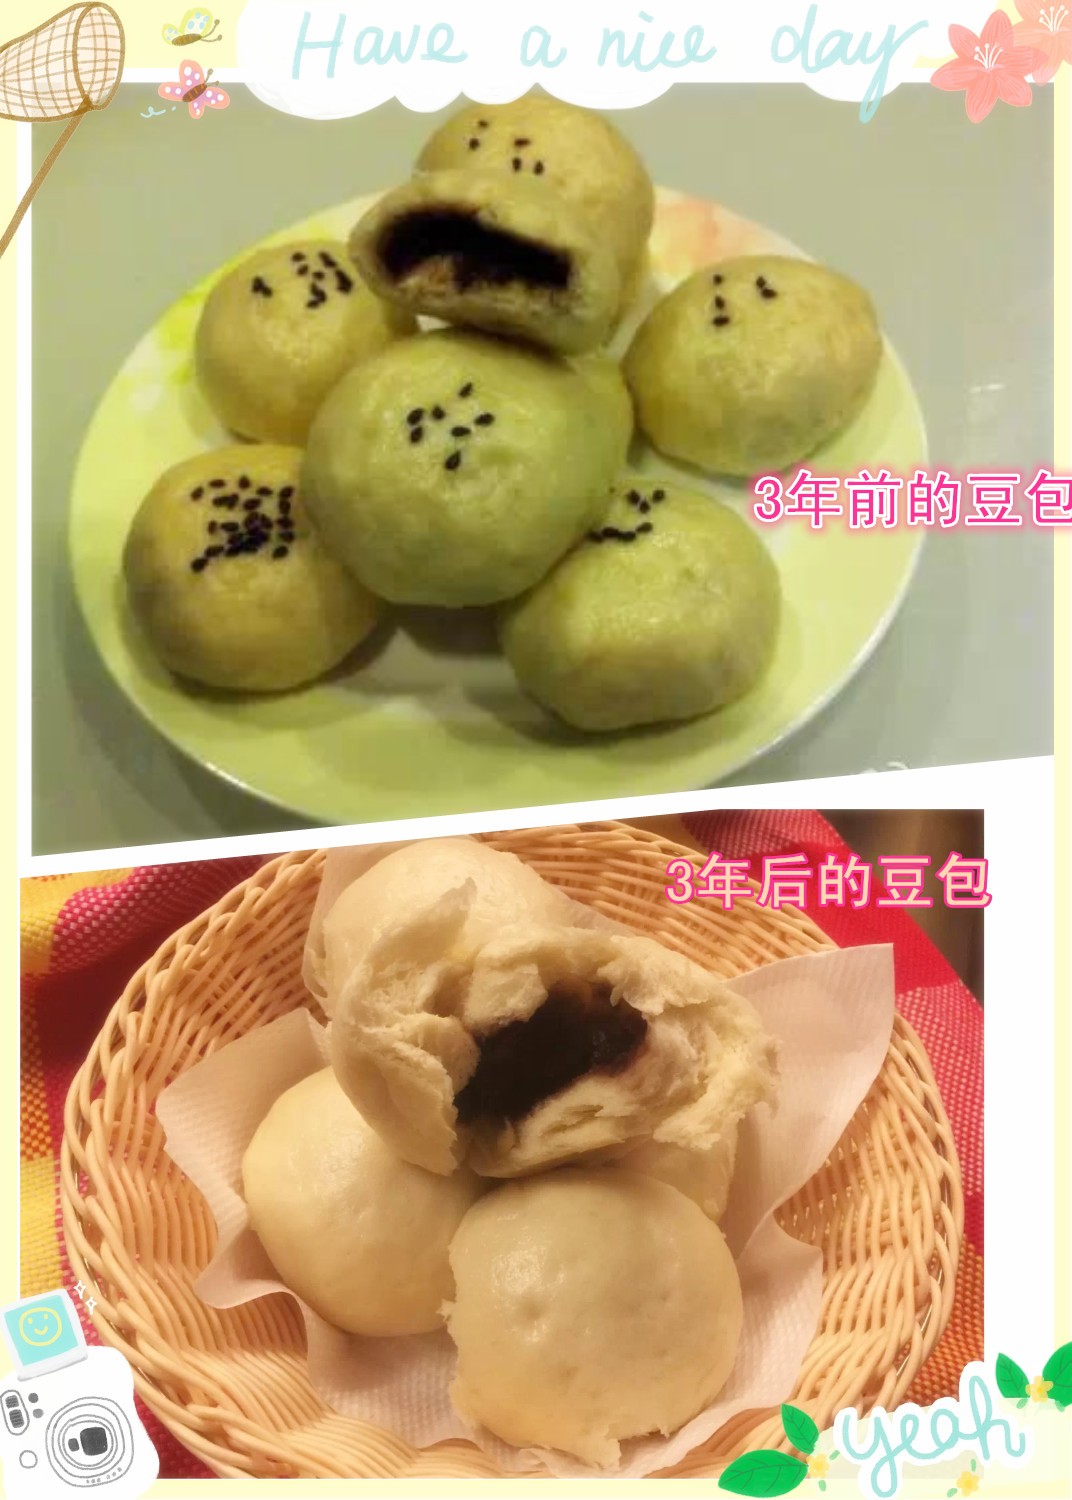
14. Okay, done.
TIPS:
1. When wrapping the bean buns, the second step of rolling into a ball is very important; try to make the surface smooth, this will improve the shape and uniformity of the bean buns.
2. The sealed side should face downwards during steaming, don’t forget.
3. The ones I made are quite small, so I steamed them for 15 minutes, you can adjust the time based on the size.
4. Regarding the fermentation part: If you don’t have an oven at home, you can use the following method to ferment: Put 500ml of water in a pot (the water should be about 1cm below the steaming rack), put the steaming rack in, boil on high for 1 minute and then turn off the heat (do not let it boil), place the container on the steaming rack, cover with a lid, and after 20 minutes, turn on the heat again, boil for 10 seconds then turn off, and after 20 minutes, repeat the 10 seconds.