Click the above “Beginner Learning Vision“, select to add “Star” or “Pin“
Important content delivered promptly
As a popular deep learning framework, PyTorch seems to be surpassing TensorFlow in popularity. According to previous statistics, while TensorFlow still dominates the industry, PyTorch has gained a strong presence in top conferences in the fields of vision and NLP.
In this article, I will focus on the custom data loading pipeline template of PyTorch and related tricks, as well as how to optimize the data loading pipeline. We will start with PyTorch’s Dataset class. The Dataset module in PyTorch is located under utils.data.
from torch.utils.data import DatasetThis article will elaborate on the Dataset object from the original template, the torchvision transforms module, using pandas to assist in loading, the built-in data splitting functionality in torch, and DataLoader.
Original Dataset Template
The official PyTorch provides a standardized code module for custom data loading, which we refer to as the original template. Its code structure is as follows:
from torch.utils.data import Datasetclass CustomDataset(Dataset): def __init__(self, ...): # stuff def __getitem__(self, index): # stuff return (img, label) def __len__(self): # return examples size return countAccording to this standardized code template, we only need to add the reading logic to the __init__(), __getitem__(), and __len__() methods based on our data loading task. All three methods are essential for data loading under the PyTorch paradigm and for subsequent data loading. Among them:
-
The __init__() function is used to initialize the data loading logic, such as reading a CSV file containing labels and image paths, defining transform combinations, etc.
-
The __getitem__() function is used to return data and labels. Its purpose is to be called by the subsequent data loader.
-
The __len__() function returns the number of samples.
Now let’s fill in a few lines of code in this framework to create a simple numerical example. Create an example with numbers from 1 to 100:
from torch.utils.data import Datasetclass CustomDataset(Dataset): def __init__(self): self.samples = list(range(1, 101)) def __len__(self): return len(self.samples) def __getitem__(self, idx): return self.samples[idx] if __name__ == '__main__': dataset = CustomDataset() print(len(dataset)) print(dataset[50]) print(dataset[1:100])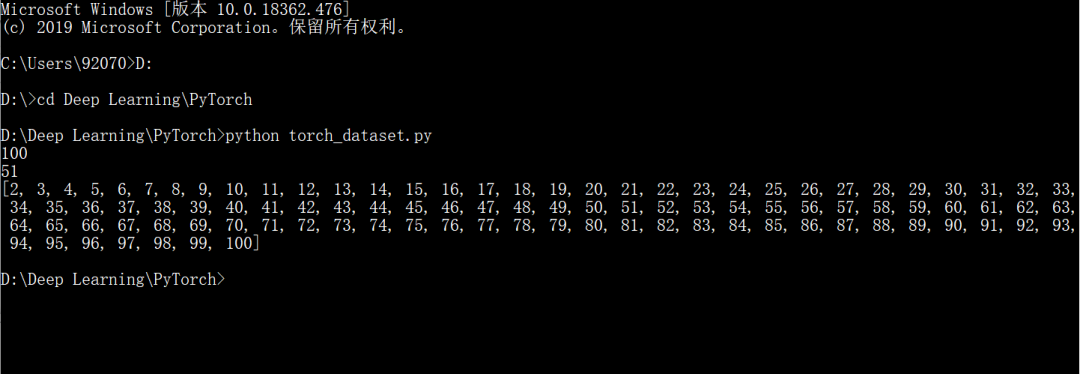
Adding torchvision.transforms
Next, let’s see how to read data from memory and how to embed torchvision’s transforms functionality during the reading process. torchvision is an auxiliary library independent of torch for data, models, and some image augmentation operations. It mainly includes the default dataset module, classic models module, transforms image enhancement module, and utils module. When using torch to read data, it is usually paired with the transforms module for some processing and enhancement work.
The reading module after adding transforms can be rewritten as:
from torch.utils.data import Datasetfrom torchvision import transforms as Tclass CustomDataset(Dataset): def __init__(self, ...): # stuff ... # compose the transforms methods self.transform = T.Compose([T.CenterCrop(100), T.ToTensor()]) def __getitem__(self, index): # stuff ... data = # Some data read from a file or image # execute the transform data = self.transform(data) return (img, label) def __len__(self): # return examples size return count if __name__ == '__main__': # Call the dataset custom_dataset = CustomDataset(...)As we can see, we used the Compose method to aggregate various data processing methods to define the data transformation method. Typically placed under the __init__() function as an initialization method. We will illustrate with a cat and dog image dataset.

Define the data loading method as follows:
class DogCat(Dataset): def __init__(self, root, transforms=None, train=True, val=False): """ get images and execute transforms. """ self.val = val imgs = [os.path.join(root, img) for img in os.listdir(root)] # train: Cats_Dogs/trainset/cat.1.jpg # val: Cats_Dogs/valset/cat.10004.jpg imgs = sorted(imgs, key=lambda x: x.split('.')[-2]) self.imgs = imgs if transforms is None: # normalize normalize = T.Normalize(mean = [0.485, 0.456, 0.406], std = [0.229, 0.224, 0.225]) # trainset and valset have different data transform # trainset need data augmentation but valset don't. # valset if self.val: self.transforms = T.Compose([ T.Resize(224), T.CenterCrop(224), T.ToTensor(), normalize ]) # trainset else: self.transforms = T.Compose([ T.Resize(256), T.RandomResizedCrop(224), T.RandomHorizontalFlip(), T.ToTensor(), normalize ]) def __getitem__(self, index): """ return data and label """ img_path = self.imgs[index] label = 1 if 'dog' in img_path.split('/')[-1] else 0 data = Image.open(img_path) data = self.transforms(data) return data, label def __len__(self): """ return images size. """ return len(self.imgs)if __name__ == "__main__": train_dataset = DogCat('./Cats_Dogs/trainset/', train=True) print(len(train_dataset)) print(train_dataset[0])Since this dataset is already divided into training and validation sets, we need to differentiate during reading and transforms. The running example is as follows:
Using pandas
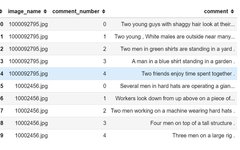
Often, the directory addresses and labels of the data are provided through a CSV file. As shown below:
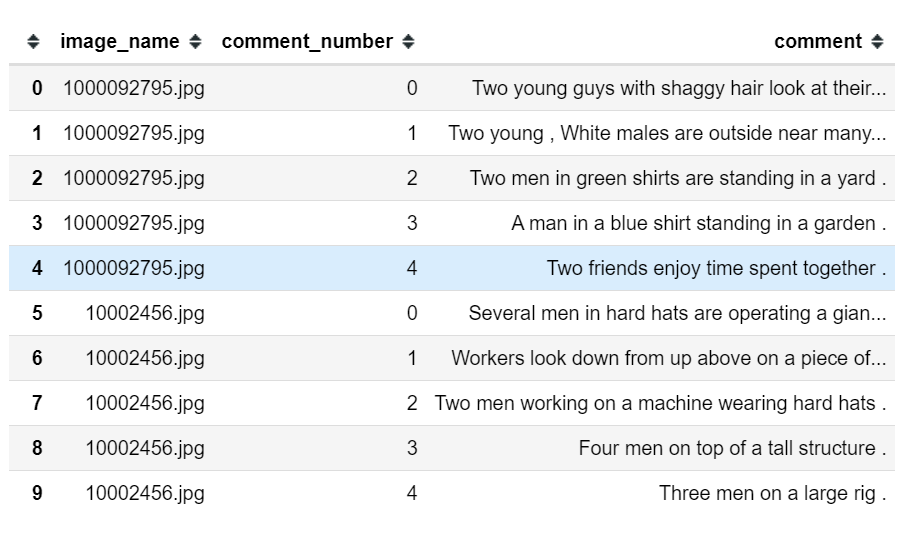
At this time, in the data loading pipeline, we need to use pandas to merge the image addresses and labels contained in the CSV file in the __init__() method. The corresponding data loading pipeline template can be rewritten as:
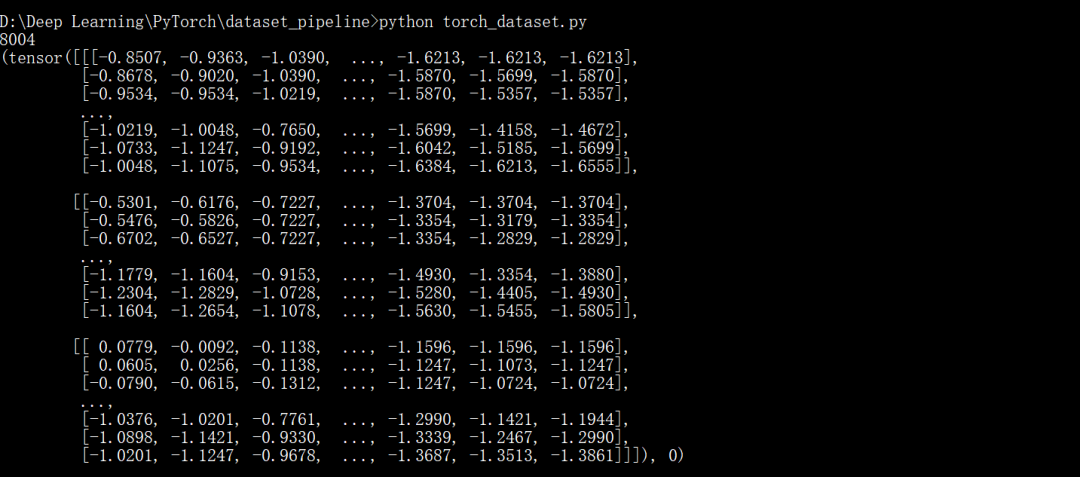
class CustomDatasetFromCSV(Dataset): def __init__(self, csv_path): """ Args: csv_path (string): path to csv file transform: pytorch transforms for transforms and tensor conversion """ # Transforms self.to_tensor = transforms.ToTensor() # Read the csv file self.data_info = pd.read_csv(csv_path, header=None) # First column contains the image paths self.image_arr = np.asarray(self.data_info.iloc[:, 0]) # Second column is the labels self.label_arr = np.asarray(self.data_info.iloc[:, 1]) # Calculate len self.data_len = len(self.data_info.index) def __getitem__(self, index): # Get image name from the pandas df single_image_name = self.image_arr[index] # Open image img_as_img = Image.open(single_image_name) # Transform image to tensor img_as_tensor = self.to_tensor(img_as_img) # Get label of the image based on the cropped pandas column single_image_label = self.label_arr[index] return (img_as_tensor, single_image_label) def __len__(self): return self.data_lenif __name__ == "__main__": # Call dataset dataset = CustomDatasetFromCSV('./labels.csv')Taking mnist_label.csv as an example:
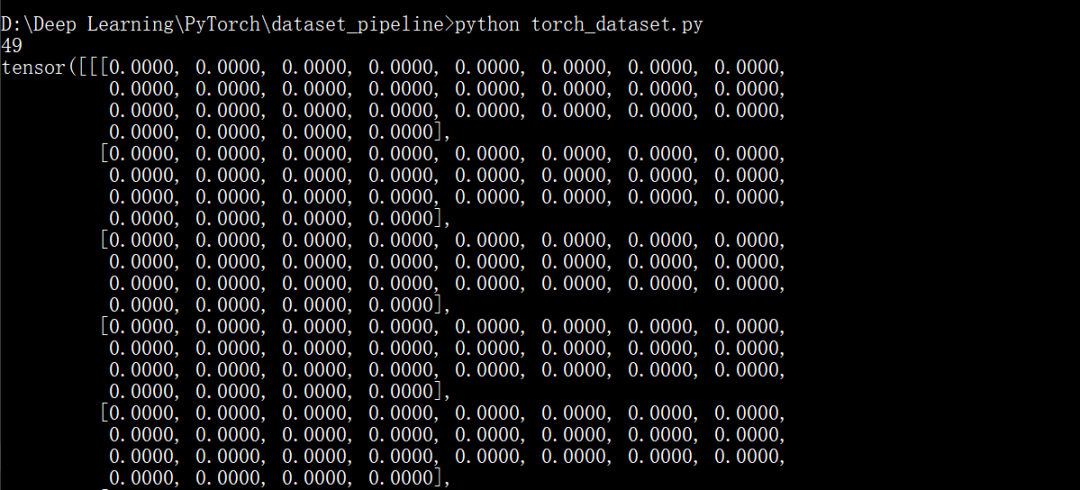
from torch.utils.data import Datasetfrom torch.utils.data import DataLoaderfrom torchvision import transforms as Tfrom PIL import Imageimport osimport numpy as npimport pandas as pdclass CustomDatasetFromCSV(Dataset): def __init__(self, csv_path): """ Args: csv_path (string): path to csv file transform: pytorch transforms for transforms and tensor conversion """ # Transforms self.to_tensor = T.ToTensor() # Read the csv file self.data_info = pd.read_csv(csv_path, header=None) # First column contains the image paths self.image_arr = np.asarray(self.data_info.iloc[:, 0]) # Second column is the labels self.label_arr = np.asarray(self.data_info.iloc[:, 1]) # Third column is for an operation indicator self.operation_arr = np.asarray(self.data_info.iloc[:, 2]) # Calculate len self.data_len = len(self.data_info.index) def __getitem__(self, index): # Get image name from the pandas df single_image_name = self.image_arr[index] # Open image img_as_img = Image.open(single_image_name) # Check if there is an operation some_operation = self.operation_arr[index] # If there is an operation if some_operation: # Do some operation on image # ... # ... pass # Transform image to tensor img_as_tensor = self.to_tensor(img_as_img) # Get label of the image based on the cropped pandas column single_image_label = self.label_arr[index] return (img_as_tensor, single_image_label) def __len__(self): return self.data_lenif __name__ == "__main__": transform = T.Compose([T.ToTensor()]) dataset = CustomDatasetFromCSV('./mnist_labels.csv') print(len(dataset)) print(dataset[5])The running example is as follows:
Training and Validation Set Split
Generally, to ensure the stability of model training, we need to divide the data into training and validation sets. The Dataset object in torch also provides the random_split function as a data splitting tool, and the split results can be directly used for subsequent DataLoader.
Using the Kaggle flower dataset as an example:
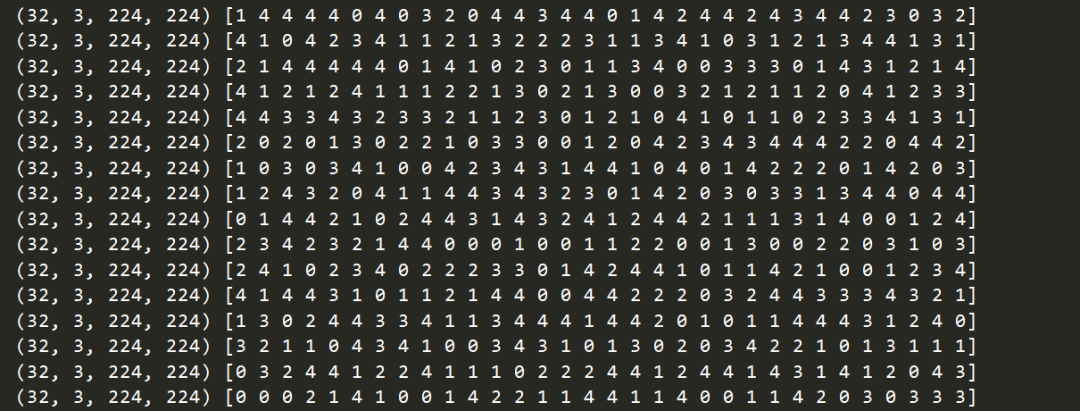
from torch.utils.data import DataLoaderfrom torchvision.datasets import ImageFolderfrom torchvision import transforms as Tfrom torch.utils.data import random_splittransform = T.Compose([ T.Resize((224, 224)), T.RandomHorizontalFlip(), T.ToTensor() ])dataset = ImageFolder('./flowers_photos', transform=transform)print(dataset.class_to_idx)trainset, valset = random_split(dataset, [int(len(dataset)*0.7), len(dataset)-int(len(dataset)*0.7)])trainloader = DataLoader(dataset=trainset, batch_size=32, shuffle=True, num_workers=1)for i, (img, label) in enumerate(trainloader): img, label = img.numpy(), label.numpy() print(img, label)valloader = DataLoader(dataset=valset, batch_size=32, shuffle=True, num_workers=1)for i, (img, label) in enumerate(trainloader): img, label = img.numpy(), label.numpy() print(img.shape, label)Here, we used the ImageFolder module, which can directly read the folders corresponding to each label, with some running examples as shown below:
Using DataLoader
After writing the dataset method, we also need to use DataLoader to feed it to the model one by one. We have already used the DataLoader function in the previous section for data splitting. Essentially, DataLoader simply calls the __getitem__() method and returns data and labels in batches. The usage is as follows:
from torch.utils.data import DataLoaderfrom torchvision import transforms as Tif __name__ == "__main__": # Define transforms transformations = T.Compose([T.ToTensor()]) # Define custom dataset dataset = CustomDatasetFromCSV('./labels.csv') # Define data loader data_loader = DataLoader(dataset=dataset, batch_size=10, shuffle=True) for images, labels in data_loader: # Feed the data to the modelThis concludes the main methods and processes of the PyTorch data loading pipeline. Based on the fundamental framework of the Dataset object, specific details can be customized.
Good news! The Beginner Learning Vision knowledge group is now open to the public👇👇👇


Download 1: OpenCV-Contrib Extension Module Chinese Version Tutorial
Reply "Extension Module Chinese Tutorial" in the background of the "Beginner Learning Vision" public account to download the first OpenCV extension module tutorial in Chinese on the internet, covering installation of extension modules, SFM algorithms, stereo vision, target tracking, biological vision, super-resolution processing, and more than twenty chapters.

Download 2: Python Vision Practical Project 52 Lectures
Reply "Python Vision Practical Project" in the background of the "Beginner Learning Vision" public account to download 31 practical vision projects, including image segmentation, mask detection, lane line detection, vehicle counting, eye line addition, license plate recognition, character recognition, emotion detection, text content extraction, and facial recognition, to help quickly learn computer vision.

Download 3: OpenCV Practical Project 20 Lectures
Reply "OpenCV Practical Project 20 Lectures" in the background of the "Beginner Learning Vision" public account to download 20 practical projects based on OpenCV for advanced learning of OpenCV.

Discussion Group

Welcome to join the reader group of the public account to communicate with peers. Currently, there are WeChat groups for SLAM, 3D vision, sensors, autonomous driving, computational photography, detection, segmentation, recognition, medical imaging, GAN, algorithm competitions, etc. (will be gradually refined in the future). Please scan the WeChat number below to join the group, and note: "Nickname + School/Company + Research Direction", for example: "Zhang San + Shanghai Jiao Tong University + Vision SLAM". Please follow the format, otherwise, you will not be accepted. After successful addition, you will be invited to relevant WeChat groups based on your research direction. Please do not send advertisements in the group, otherwise, you will be removed. Thank you for your understanding~