MLNLP community is a well-known machine learning and natural language processing community both domestically and internationally, covering NLP graduate students, university professors, and researchers in enterprises.
The vision of the community is to promote communication and progress among the academic and industrial circles of natural language processing and machine learning, especially for beginners.
Reprinted from | Machine Heart
Implementing a GPT model can sometimes be quite simple.
Currently, large language models (LLMs) are considered a breakthrough direction in artificial intelligence. People are trying to use them for various complex tasks, such as question answering, creative writing, mathematical reasoning, and coding. The recent explosive popularity of ChatGPT is the best example.
However, for practitioners in machine learning, the threshold for large models is very high: due to their massive size, they are difficult to train, and for a long time this area has been monopolized by large companies. However, recently, there have been more and more methods to simplify GPT models. In mid-January, former Tesla AI Senior Director Andrej Karpathy (who has now returned to OpenAI) released a complete tutorial on building a GPT model from scratch. However, the scale of the GPT trained is still 10,000 to 1,000,000 times smaller than OpenAI’s GPT-3.
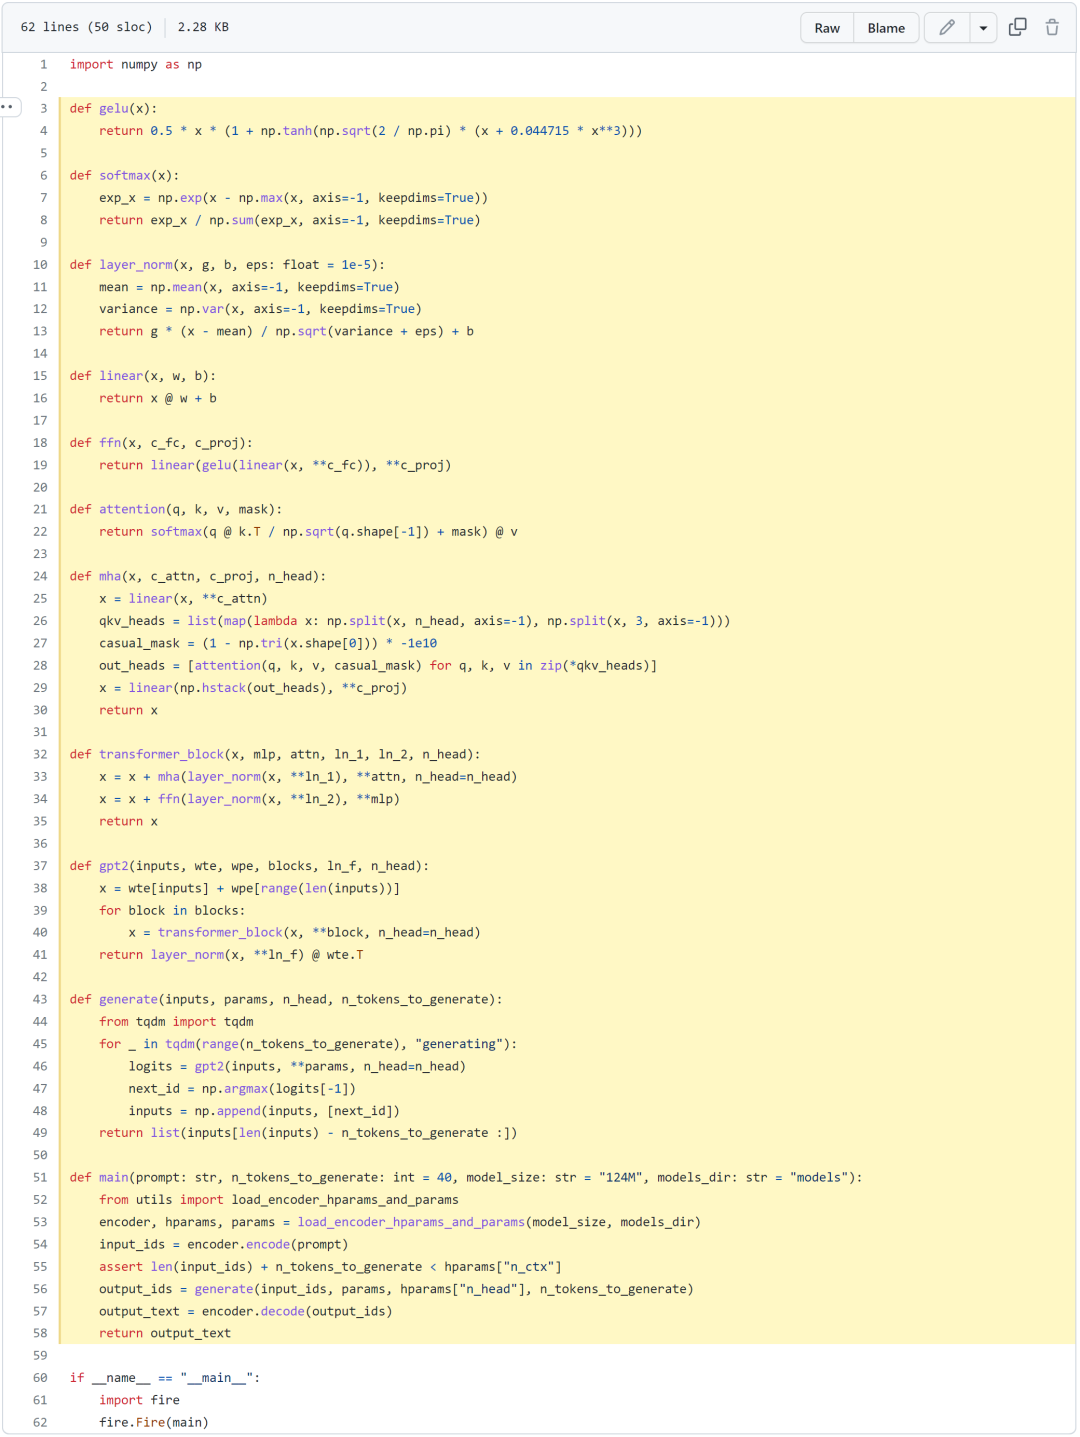
Recently, Jay Mody, an undergraduate software engineering student at McMaster University in Canada, implemented a GPT model from scratch using only 60 lines of code with the NumPy library, naming it PicoGPT. Moreover, he also loaded the trained GPT-2 model weights into his implementation and generated some text. Below is the demonstration of the 60 lines of code.
However, to achieve this, you need to be familiar with Python and NumPy, and have some basic experience in training neural networks. The author states that this blog aims to provide a simple and understandable complete introduction to GPT. Therefore, the author only uses already trained model weights to implement the forward pass code.
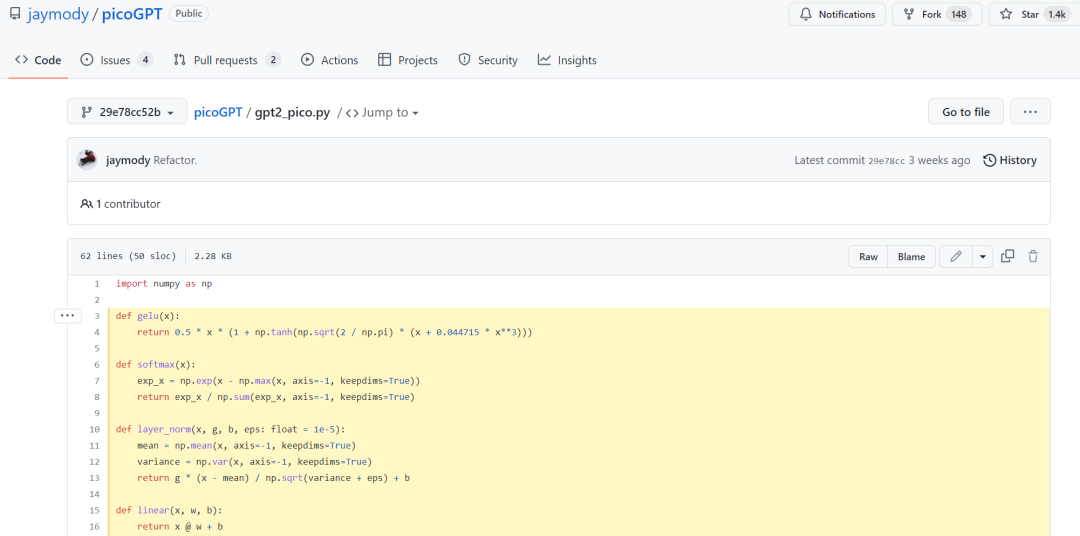
Code address:
https://github.com/jaymody/picoGPT/blob/29e78cc52b58ed2c1c483ffea2eb46ff6bdec785/gpt2_pico.py#L3-L58
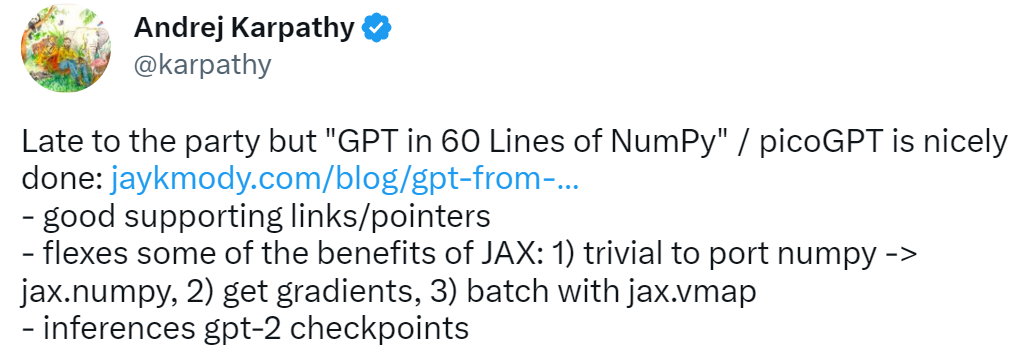
For this research, Andrej Karpathy commented with four words: better late than never. Back then, Karpathy’s minGPT and nanoGPT required 300 lines of code.
It is worth mentioning that this tutorial is not completely zero-threshold. To help readers understand, the author first introduces what GPT is, how its input and output work, and other details, all explained very thoroughly.
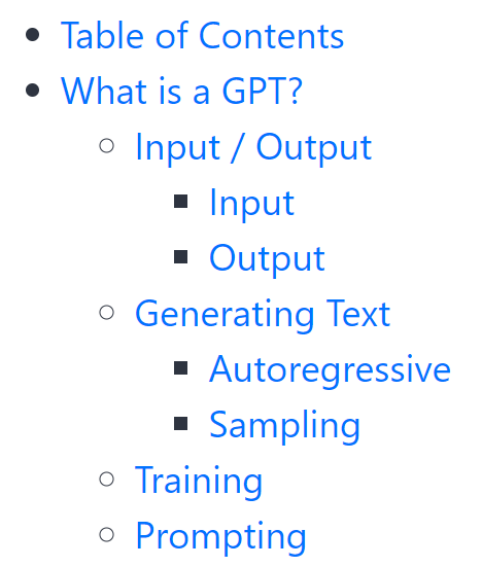
As for what GPT can actually do, the author provides several examples: it can write emails, summarize books, give you ideas for Instagram captions, explain black holes to a 5-year-old, and write SQL code.
By carefully reading this part, you can roughly understand some basic knowledge of GPT. With this background introduction, the next step is setting it up.
Project Introduction
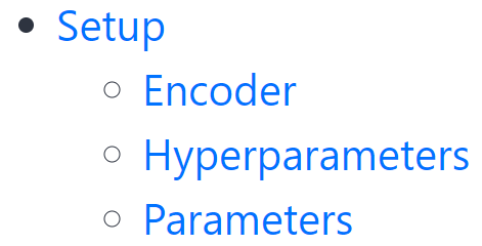
Setup
This chapter mainly introduces how to set up the encoder, hyperparameters, and parameters.
What you need to do first is clone the code repository:

Then install the dependencies:

Note that if you are using an M1 Macbook, before running pip install, you need to change tensorflow to tensorflow-macos in requirements.txt. The files in this project include encoder.py, utils.py, gpt2.py, gpt2_pico.py:
-
encoder.py: contains the code for OpenAI BPE Tokenizer, directly taken from the gpt-2 repo;
-
utils.py: contains code for downloading and loading GPT-2 model weights, tokenizer, and hyperparameters;
-
gpt2.py: contains GPT model and generation code, can be run as a python script;
-
gpt2_pico.py: same as gpt2.py, but with fewer lines of code.
Among them, gpt2.py needs to be implemented from scratch, so what you need to do is first delete gpt2.py and recreate an empty file:
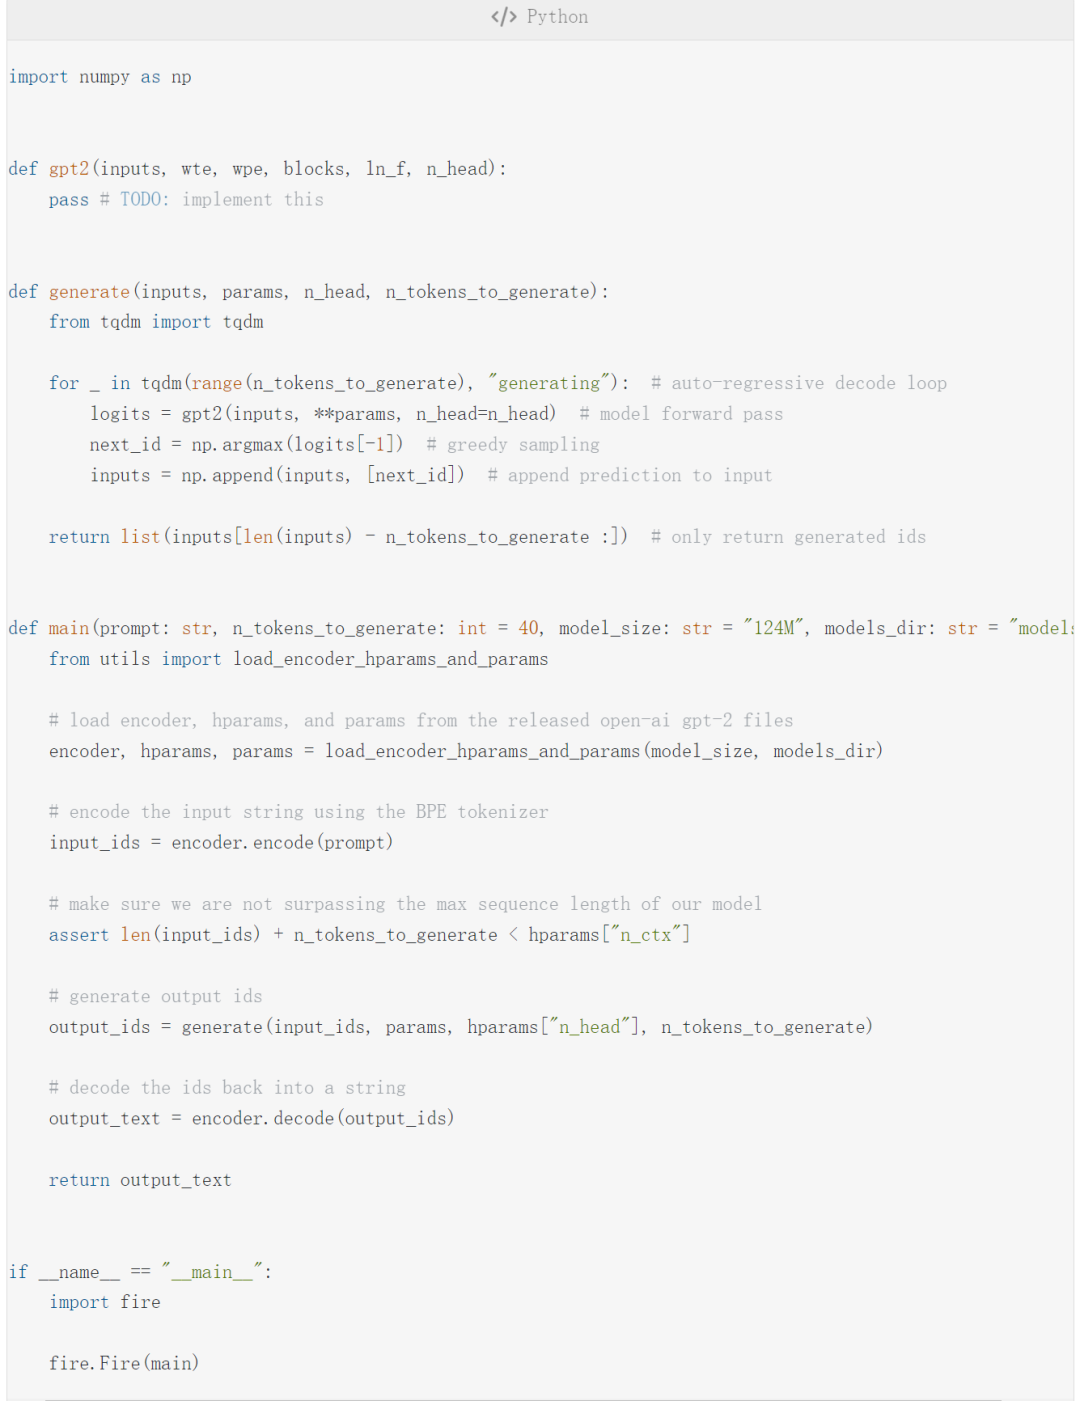
Then copy the following code into gpt2.py:
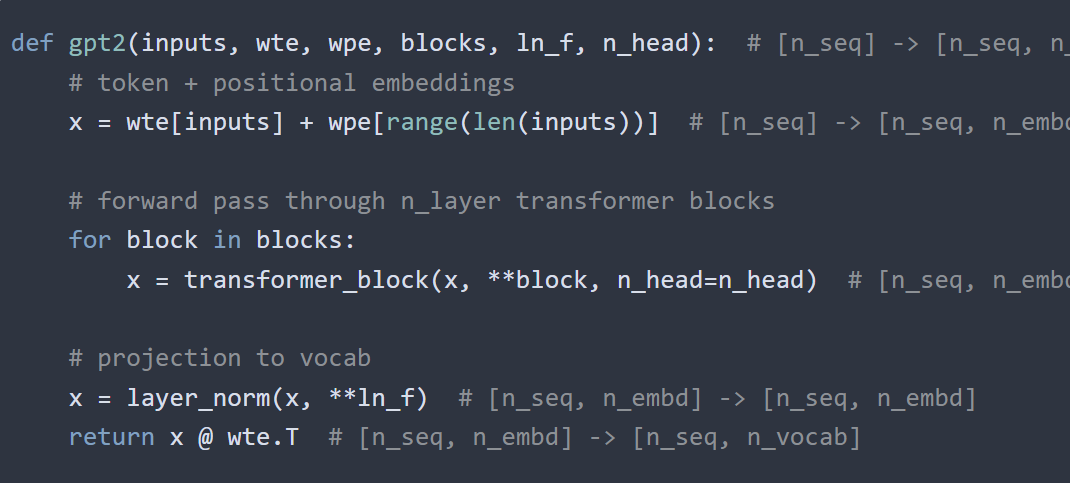
The above code contains 4 main parts:
-
gpt2 function is the actual code for implementing GPT;
-
generate function implements the autoregressive decoding algorithm;
-
-
fire.Fire(main) converts the file into a CLI application, so that the code can finally be run: python gpt2.py “some prompt here”.
The main function contains encode, hparams, params parameters, executing the following code:
Then the necessary model and tokenizer files will be downloaded to models/124M folder.
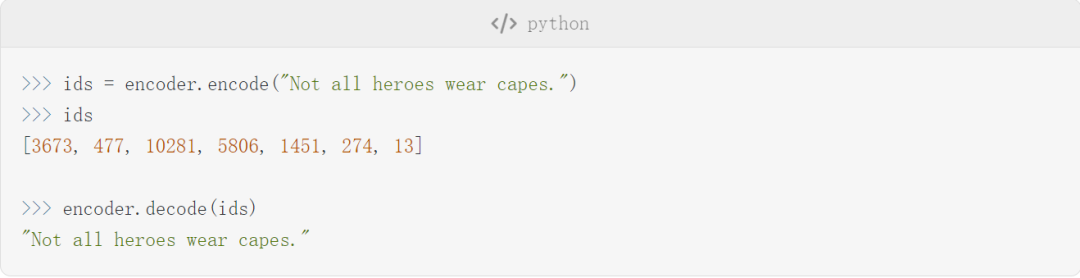
Once the setup is complete, the author begins to introduce some details about the encoder, hyperparameters, and parameters. For instance, the encoder used in this article is the same BPE tokenizer as that used in GPT-2. Below are some text examples of encoding and decoding with this encoder:
The actual token looks like this:
It is important to note that sometimes tokens are words (e.g., Not), sometimes they are words but preceded by a space (e.g., Ġall, where Ġ represents a space), sometimes they are parts of words (e.g., capes is split into Ġcap and es), and sometimes they are punctuation marks (e.g., .).
One advantage of BPE is that it can encode any string, breaking down any content not present in the vocabulary into substrings it understands:
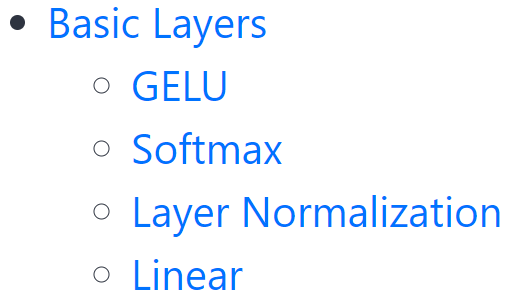
Further details will not be elaborated here. Next, we will introduce the basics of neural networks, which is even more fundamental, mainly including GELU, Softmax functions, as well as Layer Normalization and Linear.
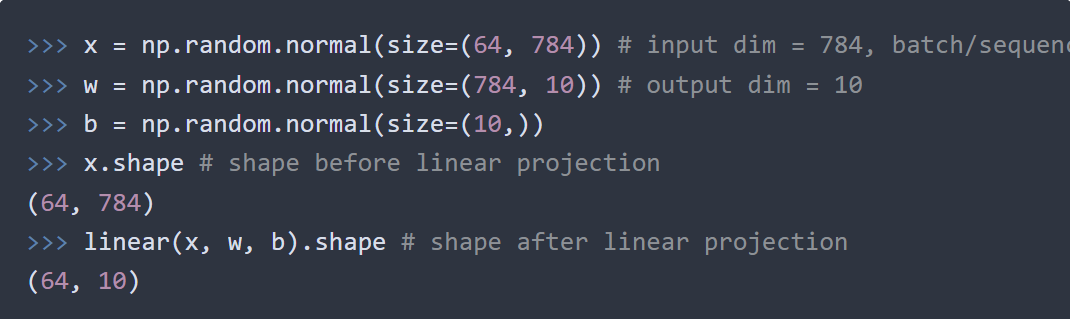
Each small section has code examples; for instance, in the Linear section, the author demonstrates standard matrix multiplication + bias:

The code for projecting from one vector space to another is as follows:
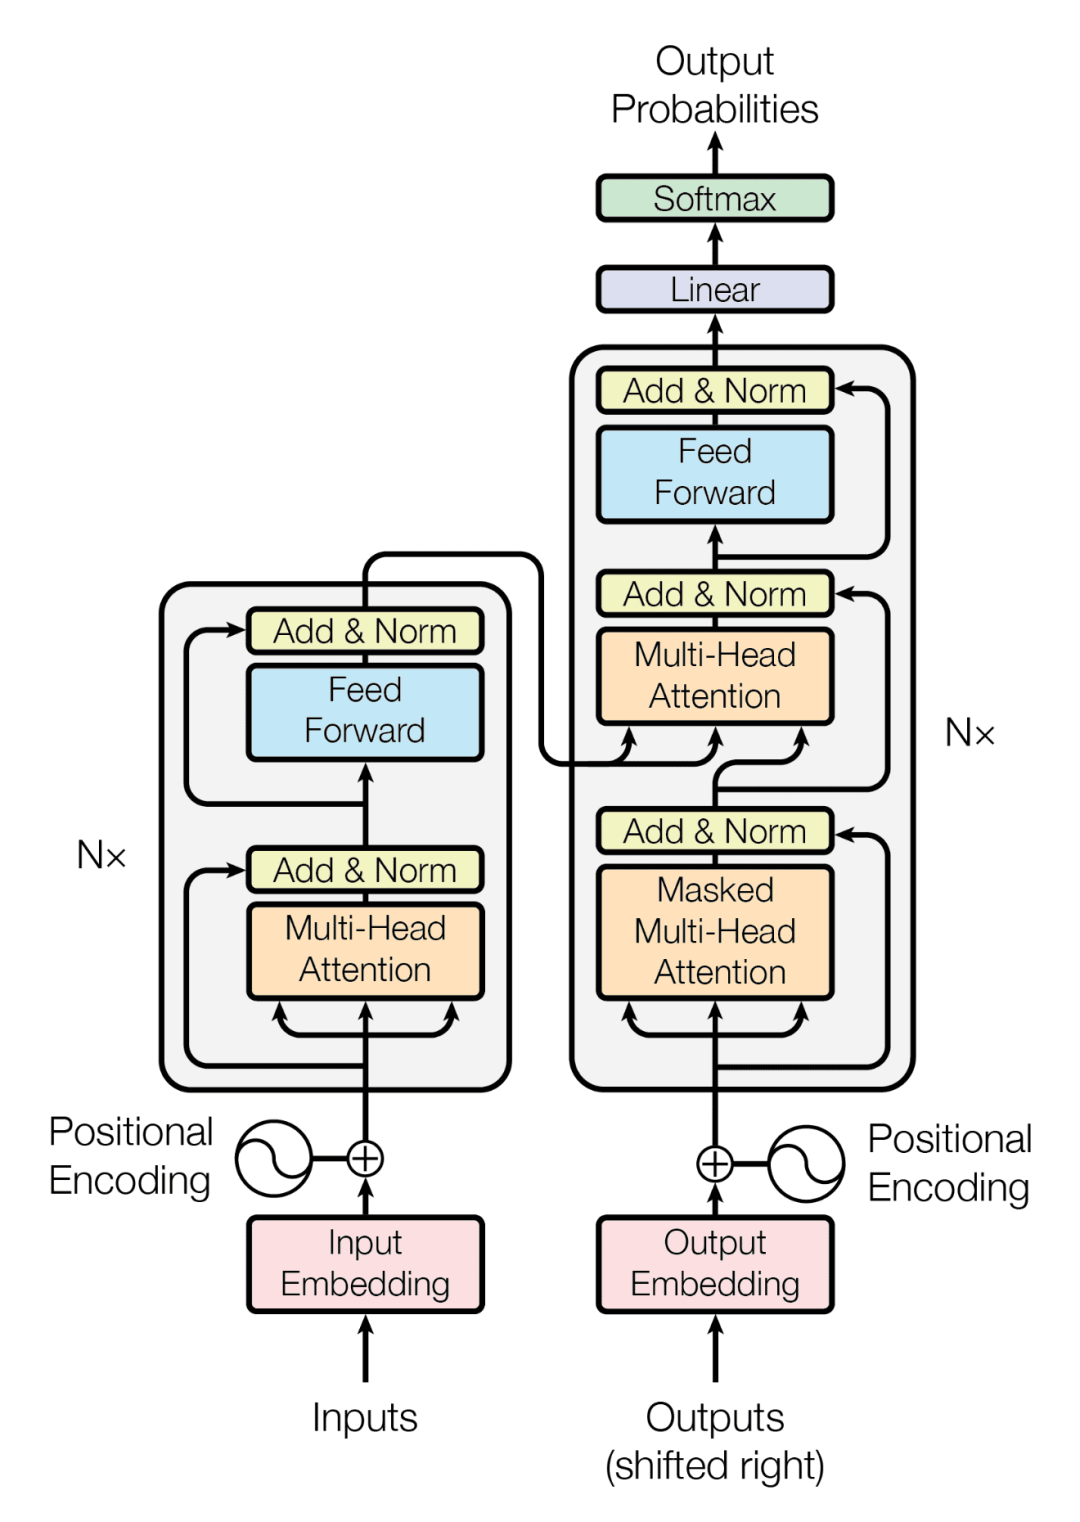
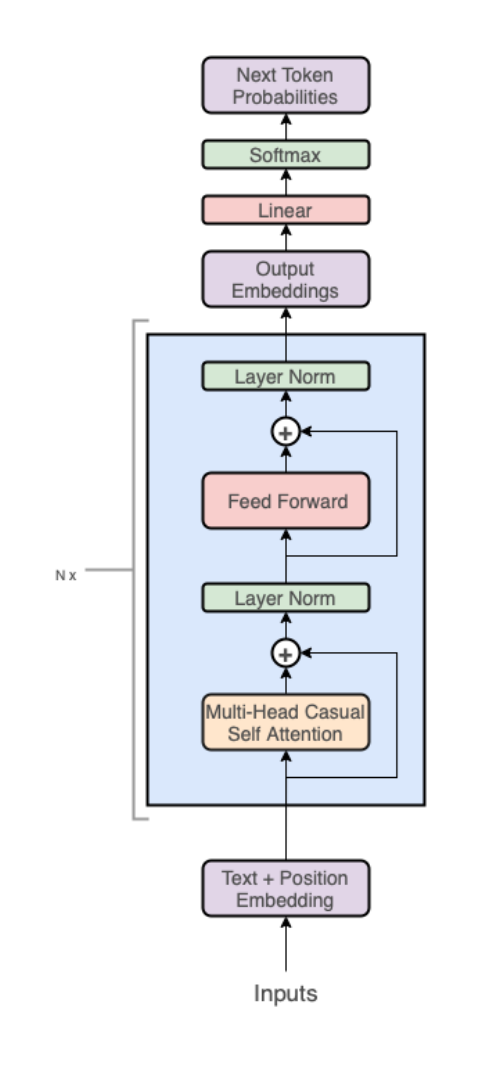
This section introduces the architecture of GPT itself.
The Transformer architecture is as follows:
Transformer only uses a stack of decoders (the right part of the diagram):
It should be noted that by eliminating the encoder, the cross-attention layer in the middle has also been removed.
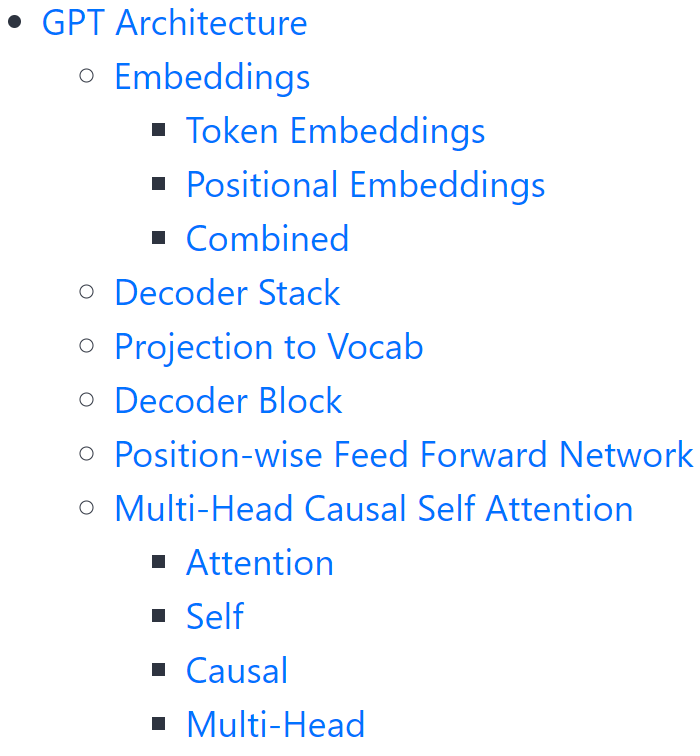
At a high level, the GPT architecture consists of the following three parts:
-
Text + position embeddings;
-
Transformer decoder stack;
-
Projection to the vocabulary.
The code looks like this:
Next, we will further break down each part of the above three components, and will not elaborate here.
This concludes the author’s implementation of GPT; the next step is to combine them and run the code to get gpt2.py. Its entire content is only 120 lines of code (if comments and spaces are removed, it is 60 lines).
The author tested the results in the following way:
The output result is as follows:
As the author said: this experiment was successful.
This article only roughly introduces the overall process following the author’s thoughts. For those who want to know more, you can refer to the original link.
Technical Group Invitation

△Long press to add assistant
Scan the QR code to add the assistant on WeChat
Please note: Name-School/Company-Research Direction
(e.g., Xiao Zhang-Harbin Institute of Technology-Dialogue System)
to apply to join technical groups such as Natural Language Processing/Pytorch
About Us
MLNLP community is a grassroots academic community jointly built by scholars in machine learning and natural language processing both domestically and internationally. It has now developed into a well-known community for machine learning and natural language processing, aiming to promote progress among the academic and industrial circles of machine learning and natural language processing.
The community can provide an open communication platform for related practitioners’ further studies, employment, and research. Everyone is welcome to pay attention to and join us.