
Runway, as a pioneering tool in the field of AI video creation, offers powerful features that allow even complete beginners to easily produce high-quality video works.
Today, we will delve into the core functionalities of Runway, from obtaining prompts, generating videos, to a complete case analysis, guiding you step by step to create an emotional animated short film.
1. Detailed Explanation of Runway’s Prompt Tool: How to Quickly Obtain Official Prompts
Runway has built-in prompt assistance tools and template functions, providing users with detailed operational references.
Using it can greatly reduce the complexity of generating content:
1. Log in to the Runway official website and go to the video generation feature page.
2. Click the Text-to-Video module and find the prompt document or tool button (usually in the feature panel).
3. In the prompt tool, select the generation style or theme you need, such as “anime style”, “winter scene”, “emotional story”, etc.
4. View the system-recommended prompt templates, for example, “a snow-covered forest, sunlight filtering through the branches, the camera slowly moving to the edge of a cliff”.
5. Modify the template prompts, combining your creativity for personalized adjustments.
6. Import the modified prompts into the generation tool, preview the effects in real-time, and optimize.
This process allows even beginners to quickly find inspiration and create short film content that meets their needs.
2. Generating Anime Story Videos with Runway: A Complete Process from Concept to Final Film
2.1 Story Concept and Scene Breakdown
Before making the video, it is essential to break down the story into visualized shots. Here is an example story: Story content:
On a snowy day, a little kitten discovers a dying little tiger at the edge of a cliff and bravely rescues it. Years later, the little tiger grows up and protects the kitten from beast attacks in the forest.
Scene breakdown:
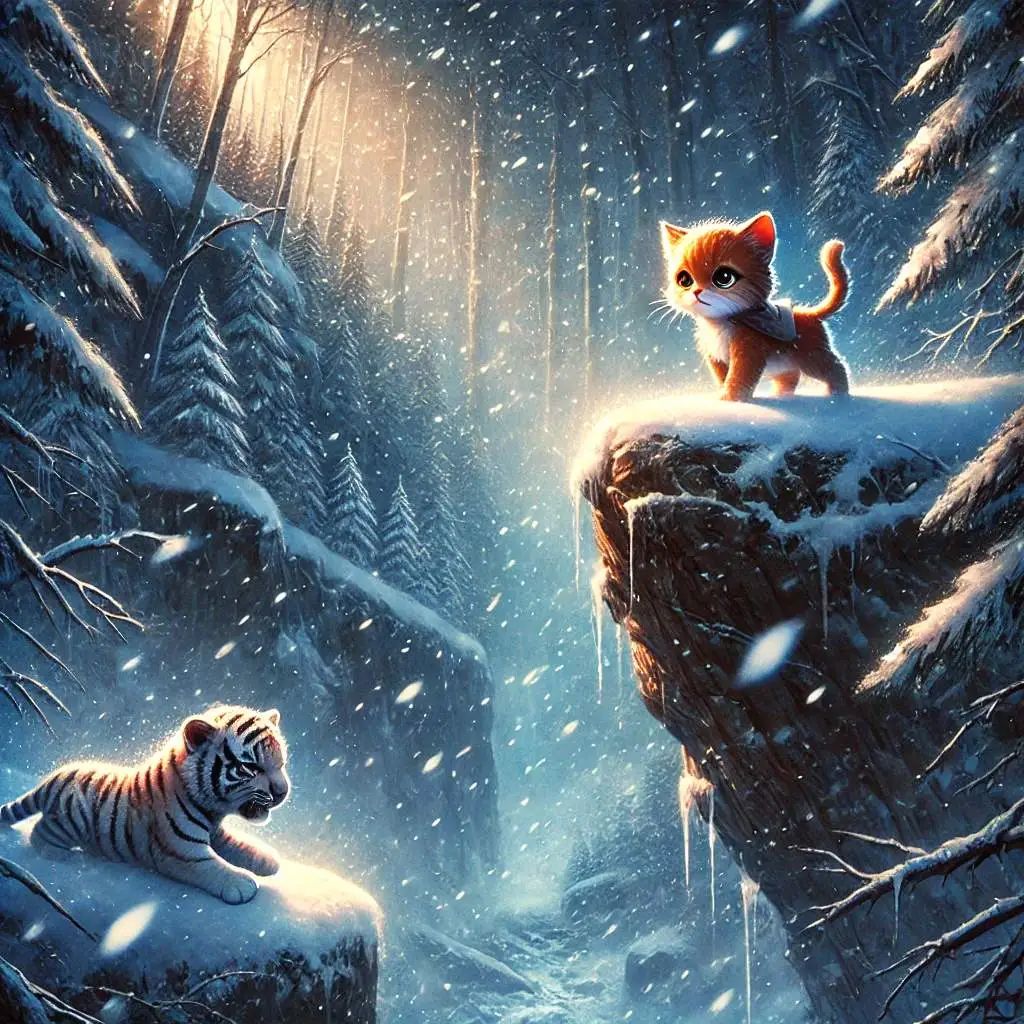
1. Shot 1: On a snowy cliff, the little kitten curls up by the rocks and discovers a newborn little tiger.
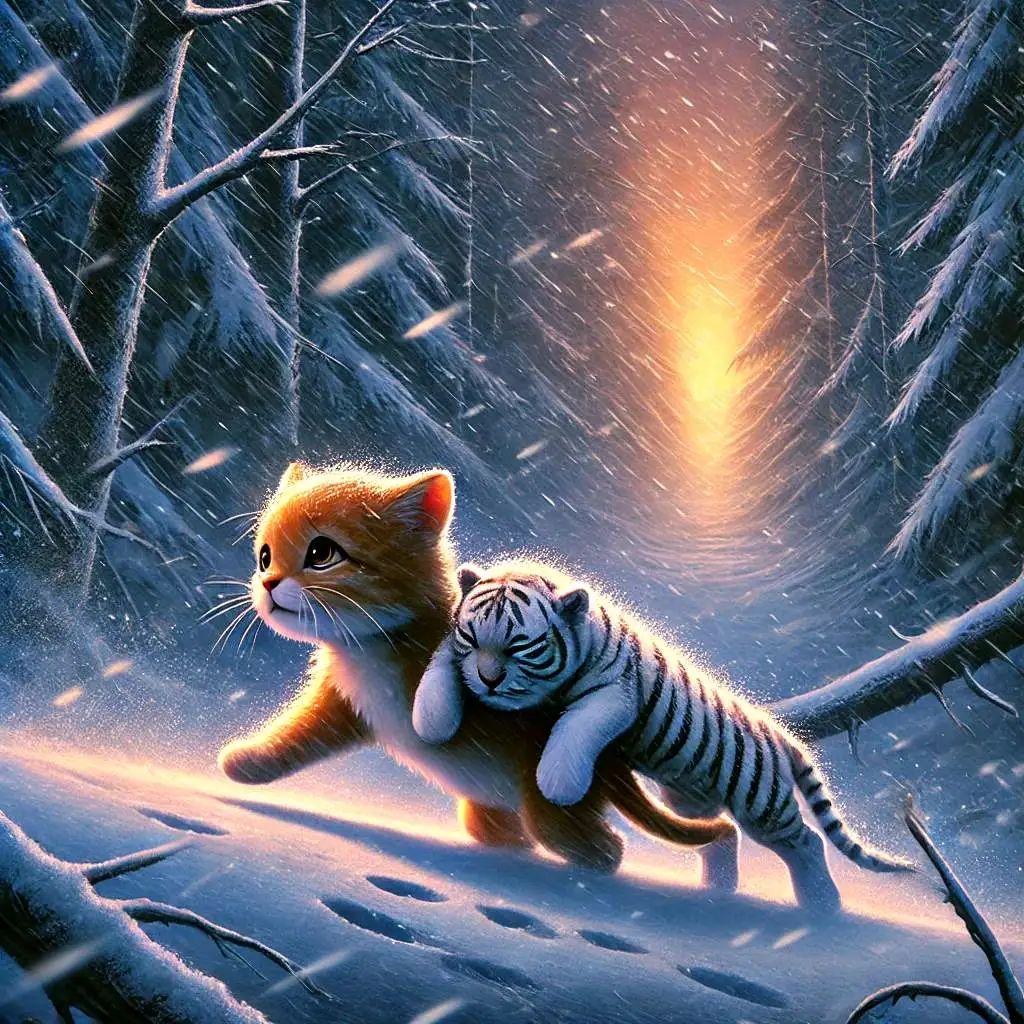
2. Shot 2: The little kitten struggles to drag the little tiger back to a warm cave.
3. Shot 3: Years later, the little tiger has grown up, and the kitten is by its side.
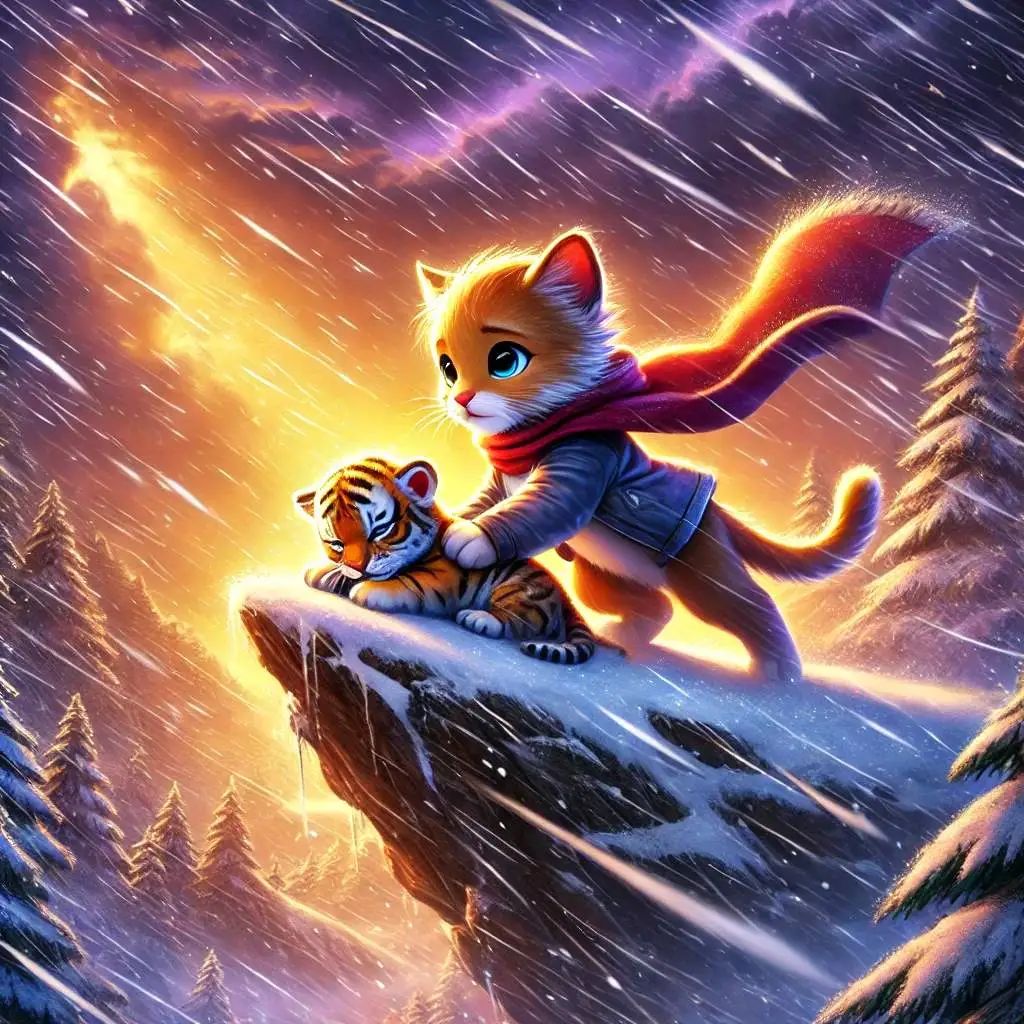
4. Shot 4: A beast suddenly attacks, and the little tiger stands up to fend it off.
5. Shot 5: Under the sunset, the little kitten and the tiger cuddle together, as if recounting their unchanging friendship.2.2 Prompt Design and Scene Generation
Step 1: Log in to Runway and enter the generation tool
1. Open the Runway platform, log in, and select the “Text-to-Video” function module.
2. Click to create a new project named “The Story of the Cat and the Tiger”.
Step 2: Input prompts and generate initial scenes
Runway generates scenes based on prompts, so the writing of prompts needs to be as detailed as possible, including scene descriptions, visual styles, and atmospheres. Here are examples of prompt designs for the shots:
Shot 1 prompt: “At the edge of a snow-covered cliff, an orange little cat curls up under the rocks, discovering a newborn little tiger. The background is a cold winter forest, with wind and snow, the camera slowly zooming in on the cat’s expression, the image having an anime style, soft lighting, and a warm and brave emotional tone.”
Shot 2 prompt: “The little cat uses all its strength to drag the little tiger through the wind and snow into a warm cave. Image details include paw prints in the snow, the cat’s panting, and the warm orange glow inside the cave.”
Shot 3 prompt: “Years later, in a lush green forest, the little tiger has grown up and is protecting an elderly little cat. The camera focuses on the little tiger’s strong body and the cat’s peaceful expression, with a soft realistic style.”
After inputting the prompts, click “Generate” and wait a few minutes to obtain the initial scene results.
Step 3: Optimize generated results
If the scenes do not meet expectations, you can adjust the prompts to add more detailed descriptions, such as changing the “lighting effects” or “style keywords”.
Perform secondary editing on the generated scenes; Runway supports direct modification of elements like color and lighting.
2.3 Video Composition and Dynamic Effects Addition
Step 1: Import generated scenes
1. Import each shot’s generated scene into Runway’s video editing tool.
2. Arrange them in story order and adjust the duration of shot transitions (recommended 3-5 seconds per shot).
Step 2: Add dynamic effects
1. Use Runway’s “dynamic effects” tool to add camera movements (such as push-pull shots, rotation effects).
2. In “scene transitions”, choose suitable transition effects, such as “fade out” or “black screen transition”.
Step 3: Video composition and export
1. Ensure the style of each shot is consistent, such as color tone, lighting, and image quality.
2. Click “Generate Video”, wait for the system to render automatically, and export in MP4 format once completed.
2.4 Voiceover and Background Sound Effects
Step 1: Automatically generate voiceovers
1. In Runway, select the “Text-to-Speech” tool to add dialogues for the characters.
2. Input dialogues for the kitten and the little tiger, such as: “Kitten (anxiously): ‘Are you okay?'”
3. Choose a suitable voice type (such as “soft female voice” or “deep male voice”), generate the voice, and import it into the video editing tool.
Step 2: Add background music and sound effects
1. Select suitable background music from Runway’s built-in sound effect library, such as “warm strings” or “tense battle rhythm”.
2. Add environmental sounds (like wind and snow sounds, footsteps) for each shot.
2.5 Editing and Final Output
Step 1: Editing and proofreading
Adjust the duration of shots to ensure smooth pacing.
Check if the visuals and sound effects are synchronized, and optimize transition effects.
Step 2: Export the final product
Select a high-definition output format (recommended 1080P or above).
Save the final film locally or directly share it on social media platforms.
3. Creative Tips and Key Points Analysis (about 200 words)
During the creative process, several tips can help improve the quality of the work:
1. Prompt precision: The more specific the prompts, the closer the generated results are to expectations. Adding emotional vocabulary and visual details is key, for example, “cold snowy night” is more effective than simply “snowy night”.
2. Clear shot logic: Break down the story through shots to ensure natural transitions and smooth pacing.
3. Style consistency: Maintain consistency in visuals, sound effects, and color tones to avoid overly fragmented generated results.
4. Points to Note During Creation
1. Generation limitations: Runway is more suitable for short video creation; complex long films may need to be completed in segments.
2. Scene consistency: Sometimes the styles of different shots may not be uniform; adjustments to prompts can optimize this.
3. Copyright issues: Confirm the copyright scope of generated content to avoid infringement issues when used commercially.
With the above processes and tips, anyone can give it a try.
As a well-known AI application, there will be further discussions in the future, stay tuned.