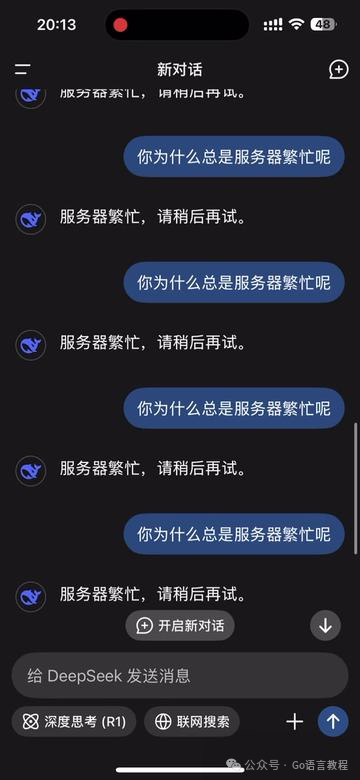
Today, I bring you a somewhat “heavyweight” content – how to deploy the DeepSeek large model locally, solving those common “server busy” problems.
You know, AI models always run quickly in the cloud, but when you need them, the server lags like a turtle. Doesn’t that drive you a bit crazy?
So today, I’m here to give you a tutorial on how to deploy DeepSeek locally. Trust me, once you get this step done, you’ll never fear web pages freezing again!
First, let’s tackle a big question: how to run AI models locally.
After all, nobody wants to be tortured by the message “server busy, please try again later”. OK, without further ado, let’s see how simple it is to deploy the DeepSeek large model locally.
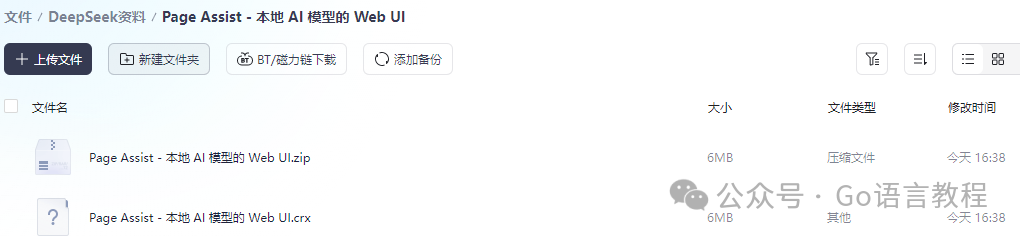
For your convenience, I have organized all the software resources used in this tutorial into a cloud drive, so you can download what you need.
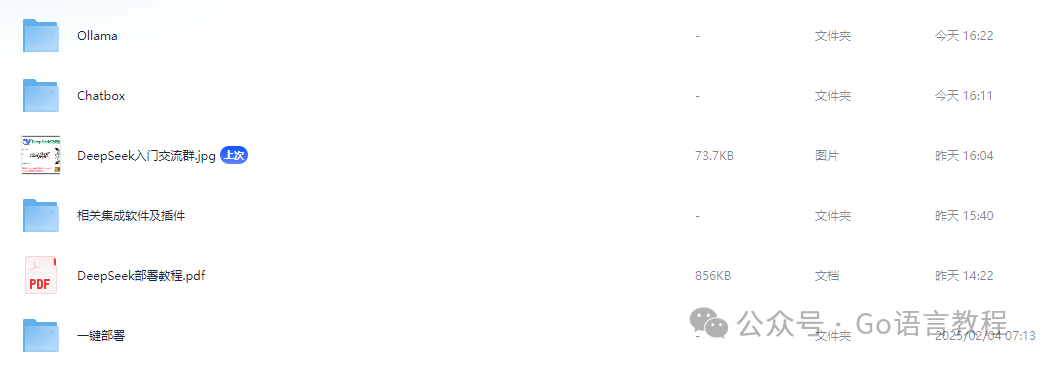
Click the public account card below and reply with the keyword: deepseek, to get the cloud drive link.
This tutorial is based on a Windows system environment, but the principles are the same.
1. Install Ollama Tool
If you haven’t heard of Ollama, it’s an essential tool for running DeepSeek! It’s like your computer’s “super assistant”, specifically designed to call and run these large models.
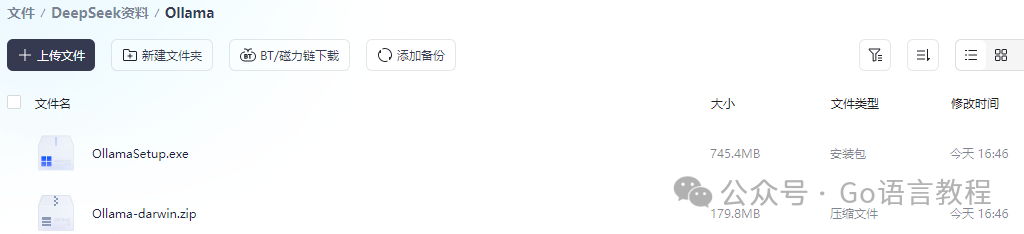
We need to install it first. In fact, the installation process is not complicated; after clicking the “install” button, the whole process is basically “next, next, next, nothing to worry about”.
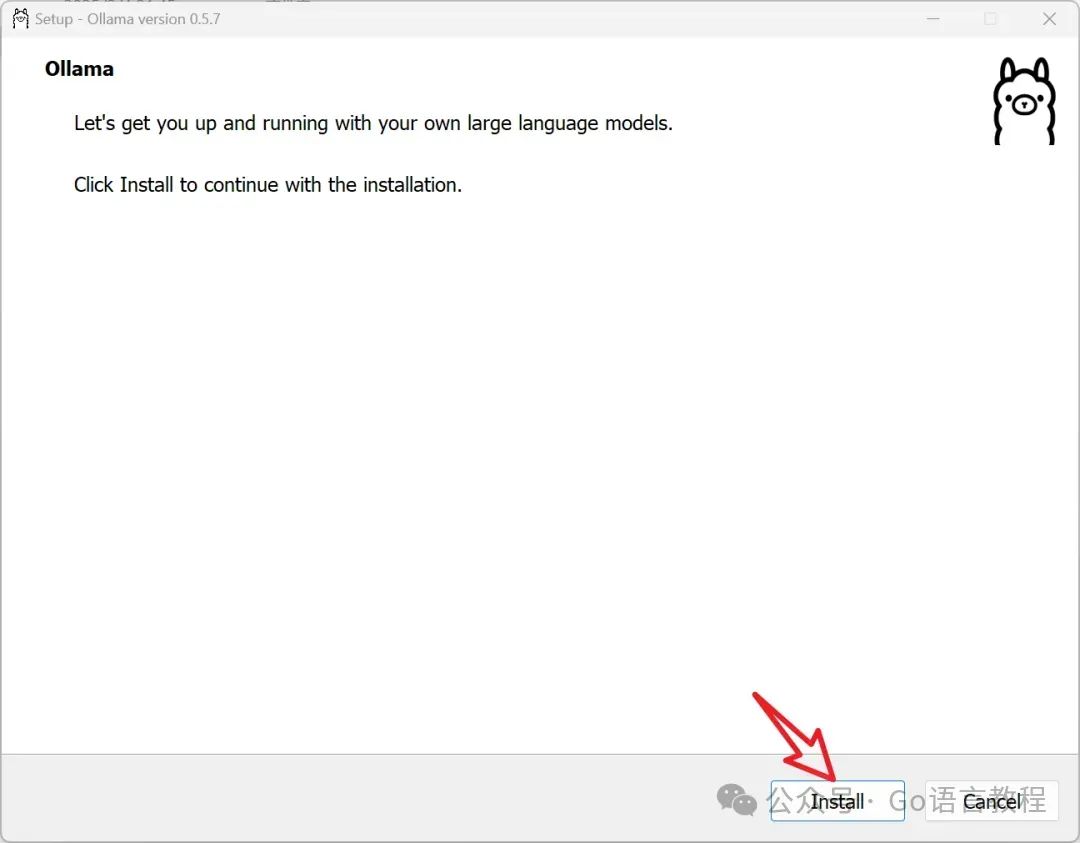
After a moment, Ollama will be successfully installed on your computer.
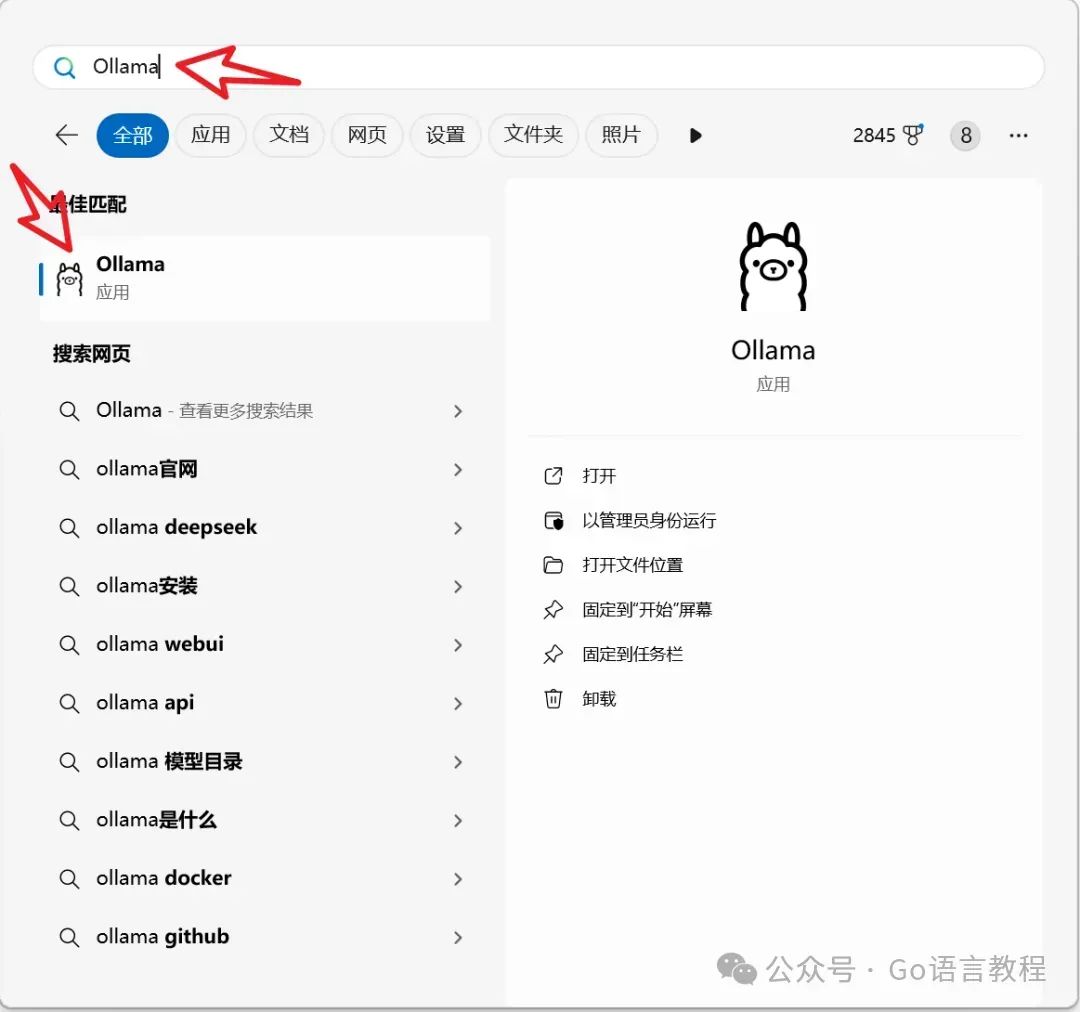
Once installed, simply search for “Ollama” in your computer’s start menu and click to launch it. OK, done! Yes, installation is that simple.
2. Install DeepSeek Model
With Ollama ready, we can now install the DeepSeek model. This step is relatively a bit more complex, but not difficult.
First, you need to open the DeepSeek model page and choose a model version suitable for your computer.
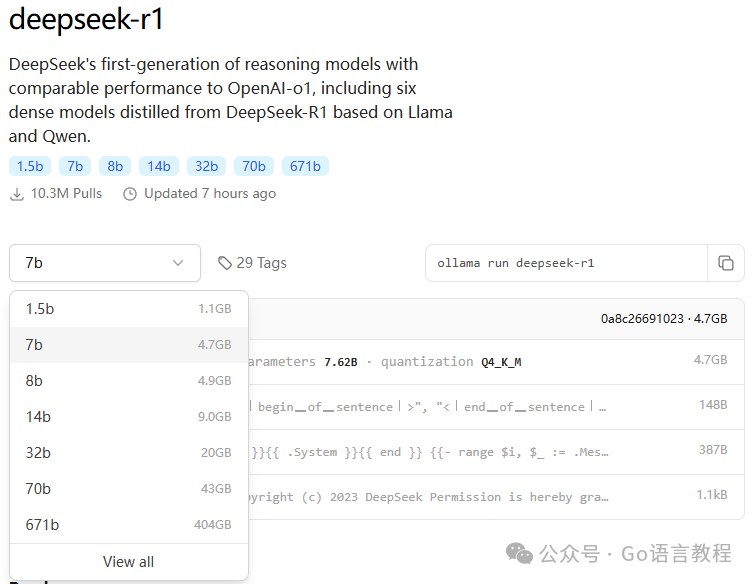
There are several options here:
-
1.5B: Suitable for computers with lower hardware configurations (like 4GB RAM and integrated graphics). -
7B: Most computers can run this version; the performance is balanced, recommended to choose this. -
32B: Only suitable for super high-performance devices; computers with 32GB RAM and 12GB video memory may run it.
I strongly recommend choosing the 7B version, which has a high cost-performance ratio and can be easily handled by most computers.
After selecting the version, copy the command: ollama run deepseek-r1:7b. Then, press “Win key + R”, type cmd to open the command line window.
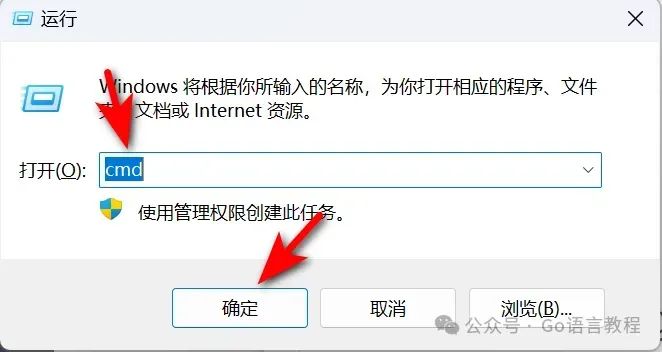
Next, paste the command you just copied into the command line window and press enter. DeepSeek will start downloading.
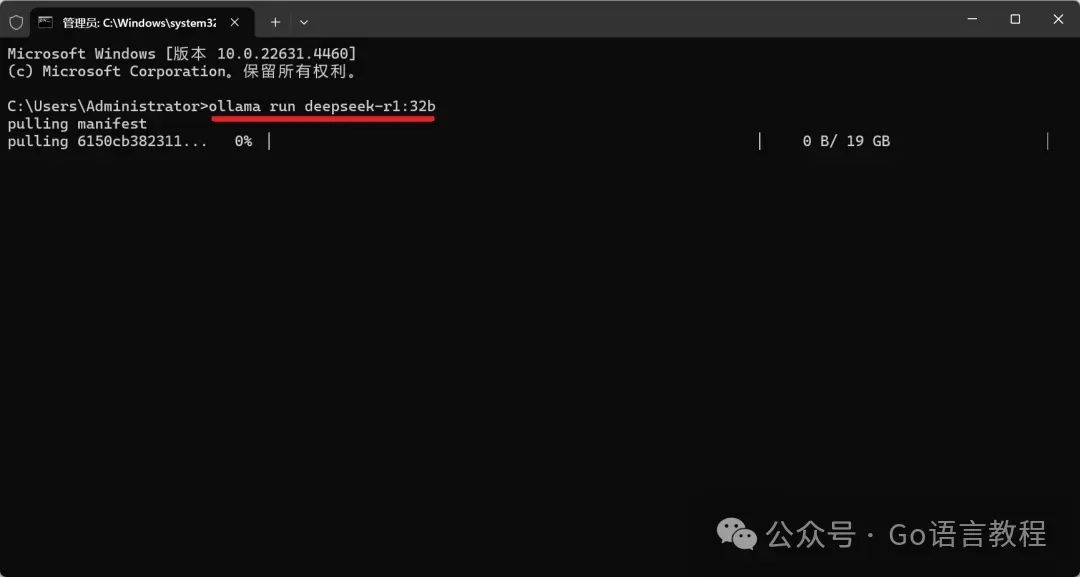
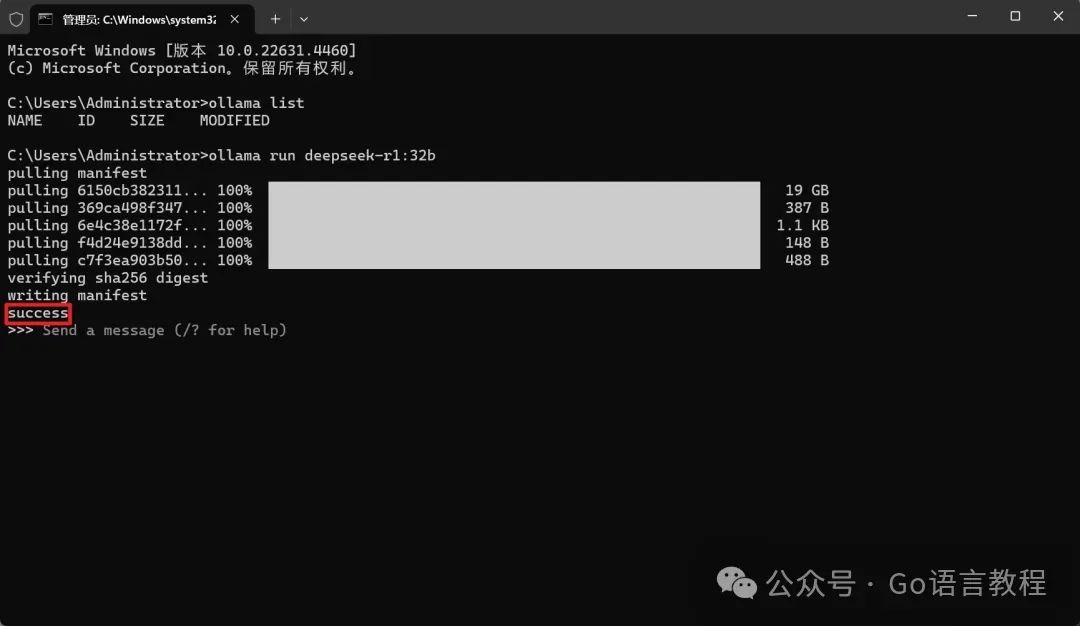
When the command line shows “success”, it means the installation was successful! But don’t worry, the size of 7B is not large, and it can be done in a few minutes.
3. Install ChatBox Client (Optional)
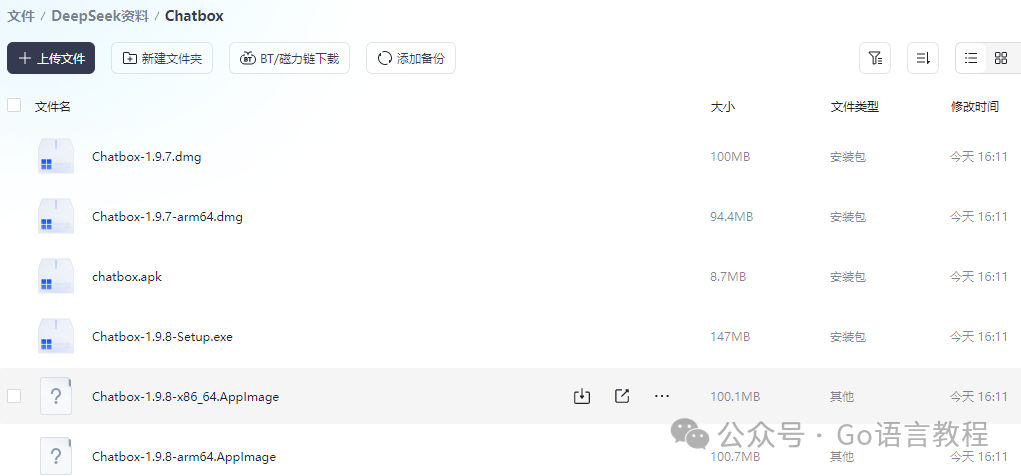
If you don’t want to use the command line every time, you can try installing the ChatBox client, which provides a more user-friendly graphical interface. You can find various versions of ChatBox in the cloud drive I provided, just double-click to install, simple and easy to understand.
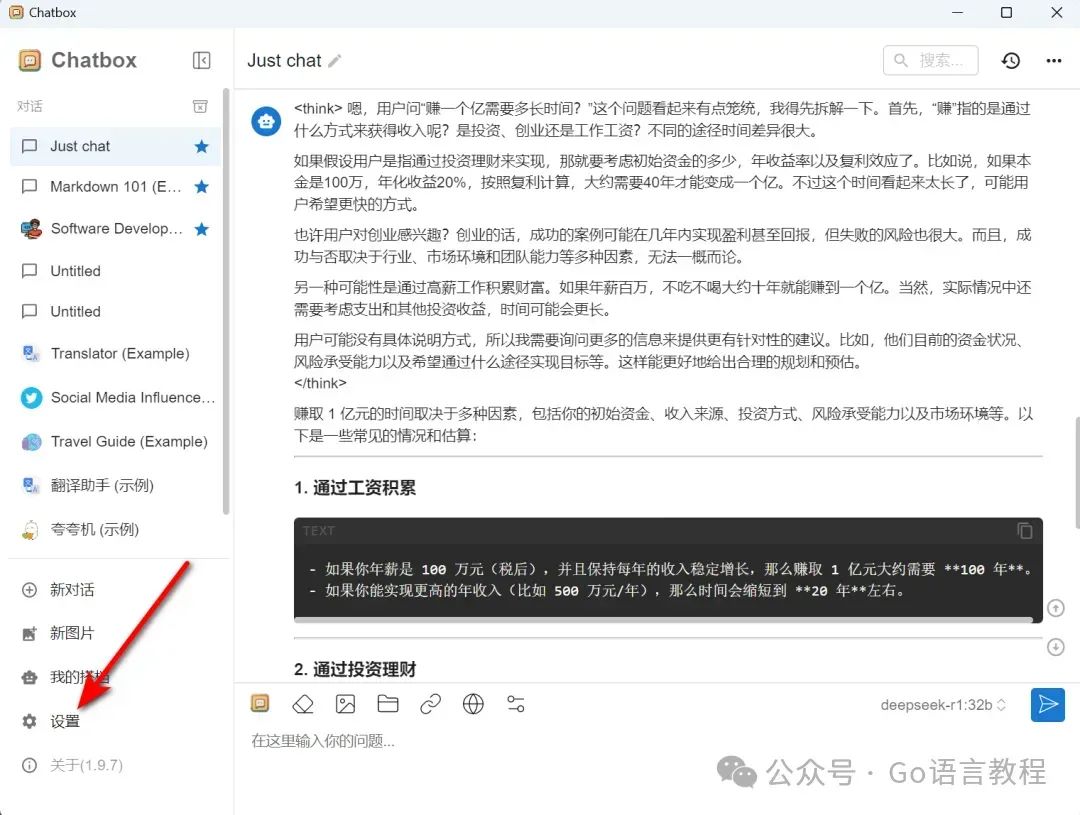
After installation, open ChatBox, click the [Settings] button on the left, and fill in the following information:
-
API Key: Enter your DeepSeek command (e.g., ollama run deepseek-r1:7b) -
API Domain: Keep it as default. -
Select Model: Choose the model version you just downloaded.
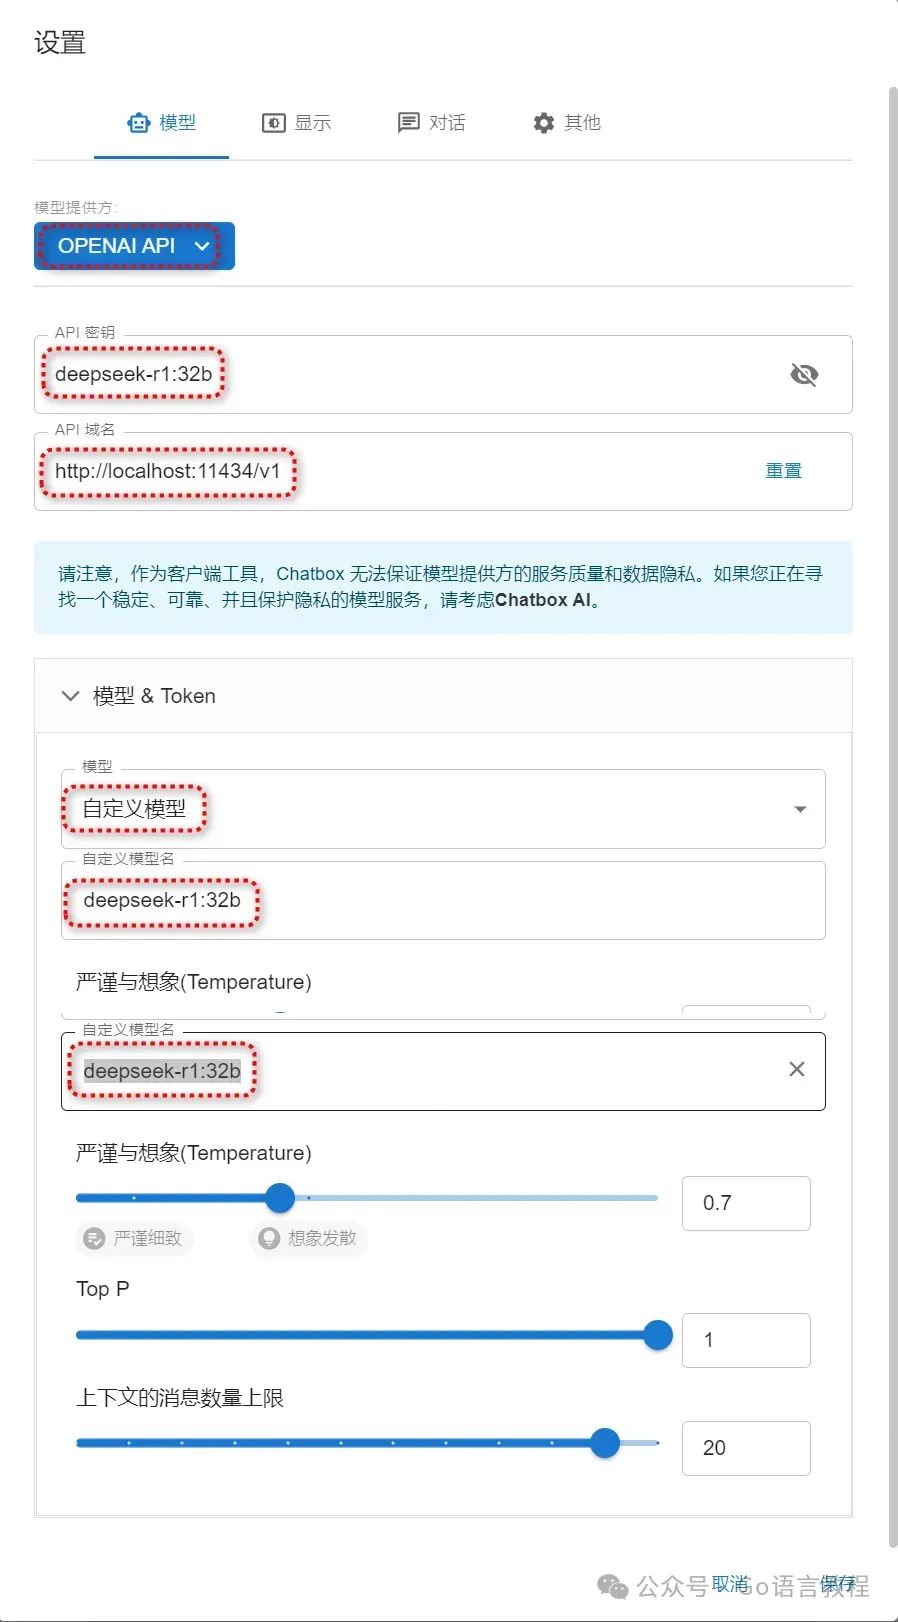
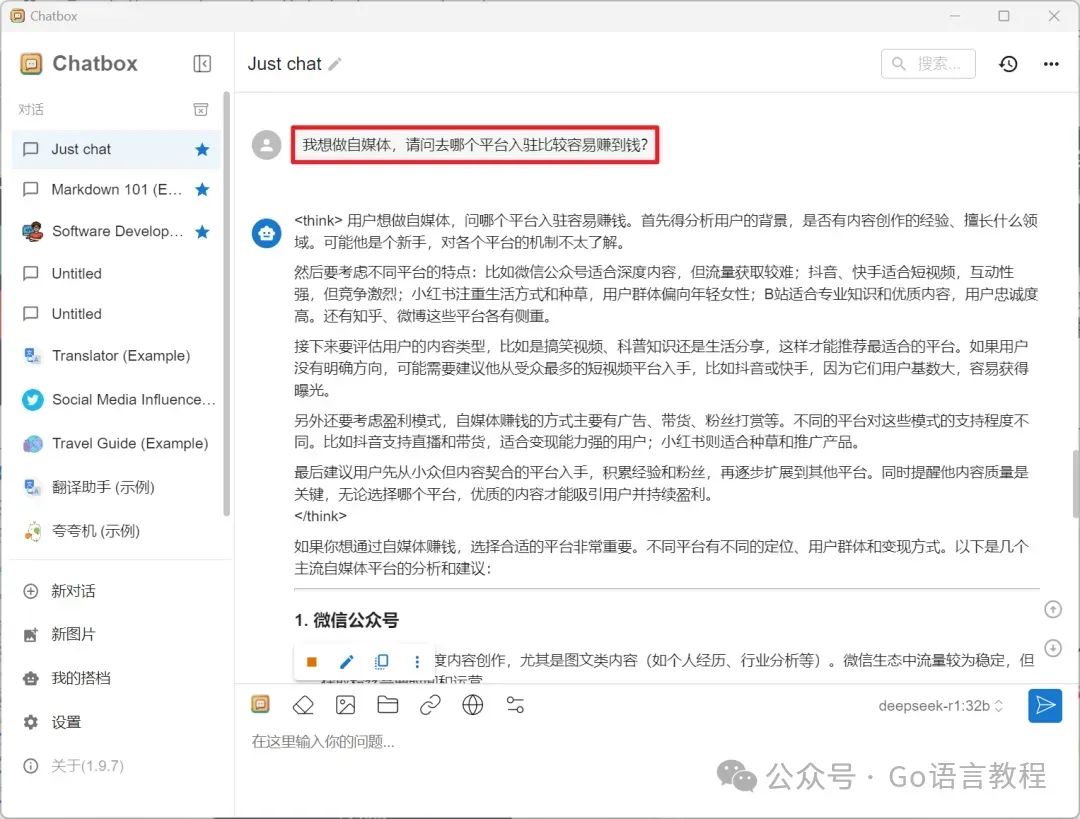
After completing the settings, click [Save]. Now you can directly input questions in ChatBox, and DeepSeek will respond to you.
4. Install Browser Extension (Another Option)
If you prefer using a browser, don’t worry, there’s an easier way! By installing a browser extension, you can also enjoy the fun of running DeepSeek locally. The operation is super simple:
-
Open the browser’s extension center and enable “Developer Mode”. -
Drag the plugin package I provided into it to complete the installation. -
After installation, you’ll see the “Page Assist – Web UI for Local AI Models” extension icon. Click it, select the DeepSeek model, and then input your question, and the model will respond!
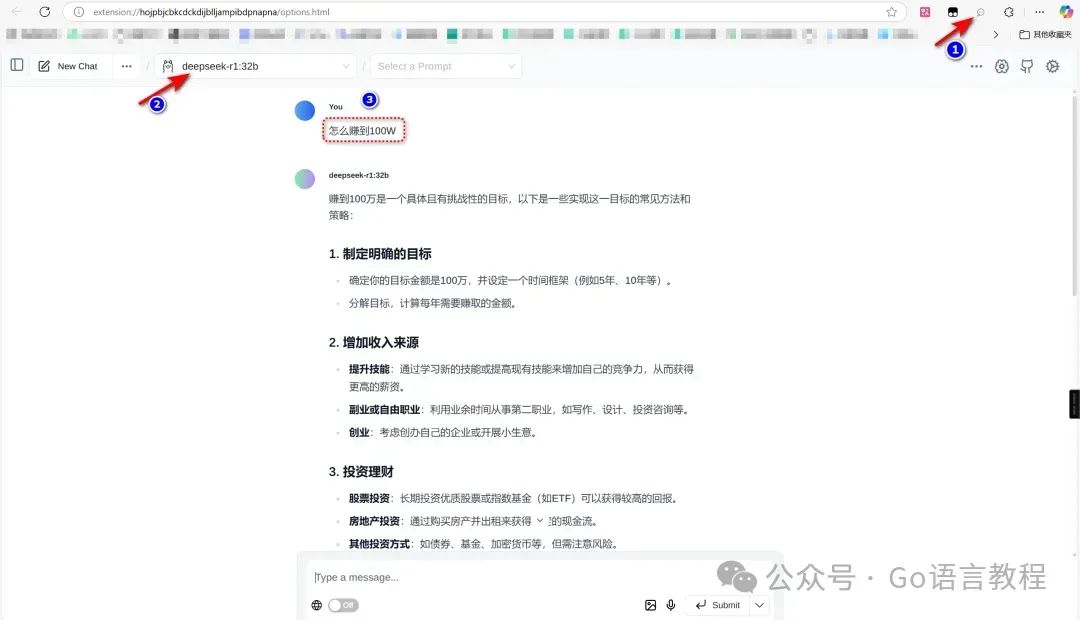
This method also supports different versions of models like 7B, 32B, etc., and you don’t need to install any complex clients; you can achieve it directly through the browser.
5. Done!
Alright, the installation work for DeepSeek is complete! Whether using the command line, ChatBox client, or browser extension, you can choose the method that suits you best. With these simple steps, you can easily get rid of the troubles of server busyness.
I think DeepSeek is indeed a powerful tool, especially since it can run locally. You no longer have to worry about server downtime or connection issues. Although it does have certain hardware requirements, if you choose the right model version, like the 7B version, most computers can run it smoothly without worrying about overload or lag.
Overall, my experience with DeepSeek has been very good; it can run large models smoothly locally, saving waiting time and reducing uncertainty from external environments. I hope this tutorial helps you successfully deploy DeepSeek locally! If you have any questions, don’t forget to leave a message to me, and we can discuss solutions together.
Finally, I have created a comprehensive guide from beginner to advanced for DeepSeek, completely free: https://www.songshuhezi.com/deepseek
At the same time, you are welcome to join the group below to explore the latest ways to use DeepSeek together.