If we talk about which AI software is the best for architectural design, it must be Stable Diffusion! Previously, we also introduced the basic usage of Midjourney in architectural workflows (click the blue text beside to jump if interested), but although the images generated by MJ are beautiful, the control is too poor, and the generated drawings are not what you want! SD, on the other hand, can accurately control the shapes! Without further ado, let’s directly start today’s tutorial.
SD Software Setup
Model Loading
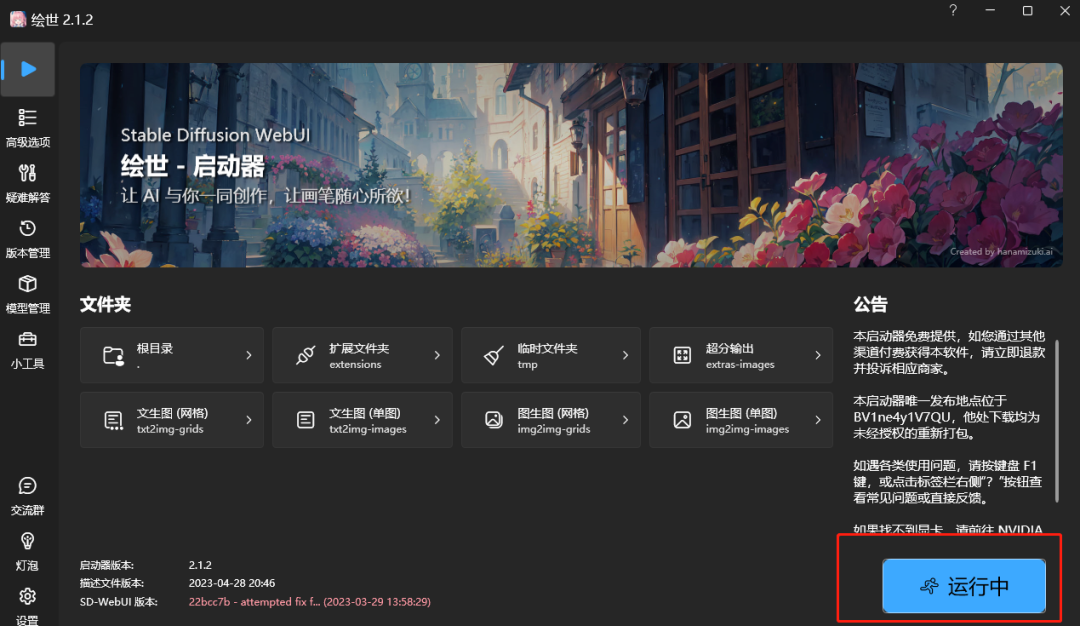
First, let’s open the SD installation package. If you don’t have the installation package, you can click here.
 Note: The integration package is organized by the Bilibili user Qiuye.
Before opening the official software, we need to download the large model. What is a large model? Simply put, it is the control model for the main architectural shapes. So where should we get this model?
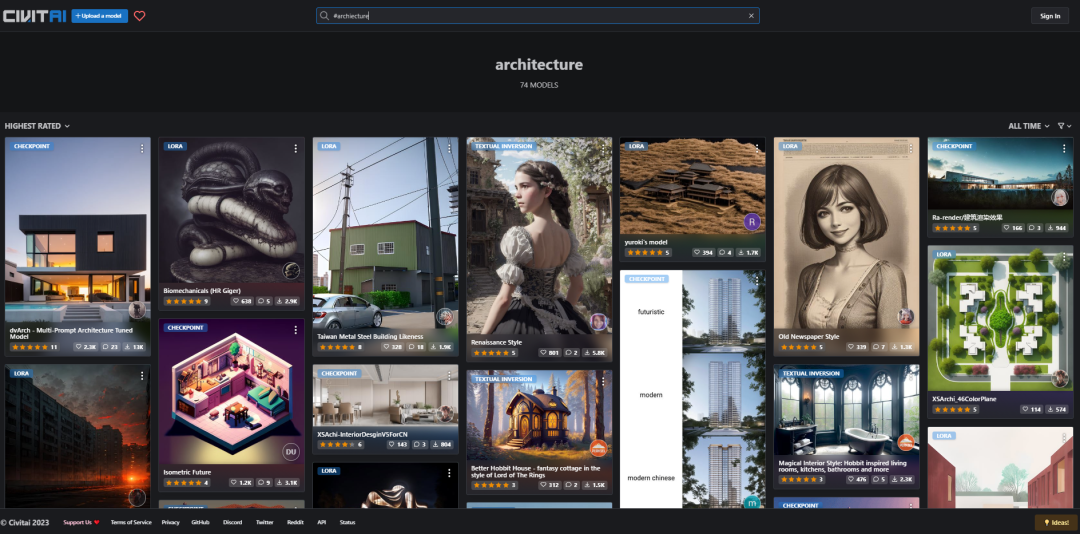
First, open the Civitai official website https://civitai.com/, and enter the keyword #architecture in the search bar to see many models shared by experts, all available for free download!
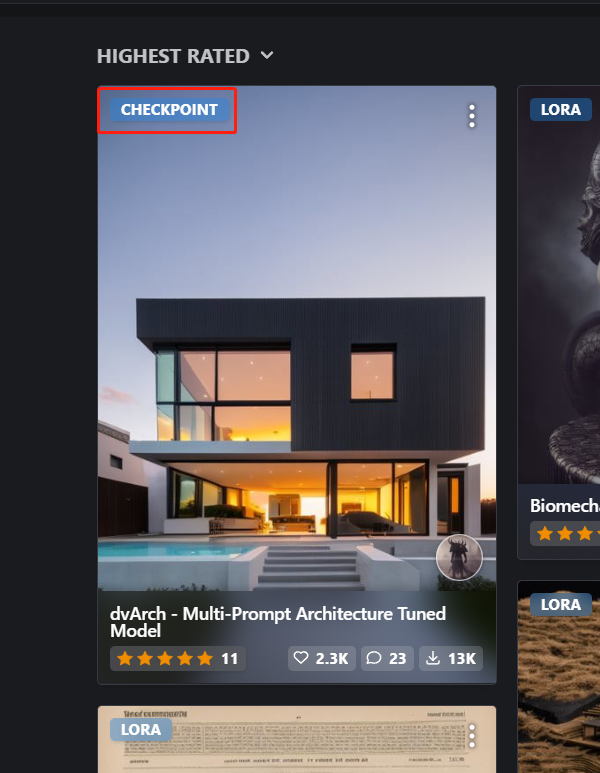
First, pay attention to the tags; if it has the checkpoint tag, it is a large model.
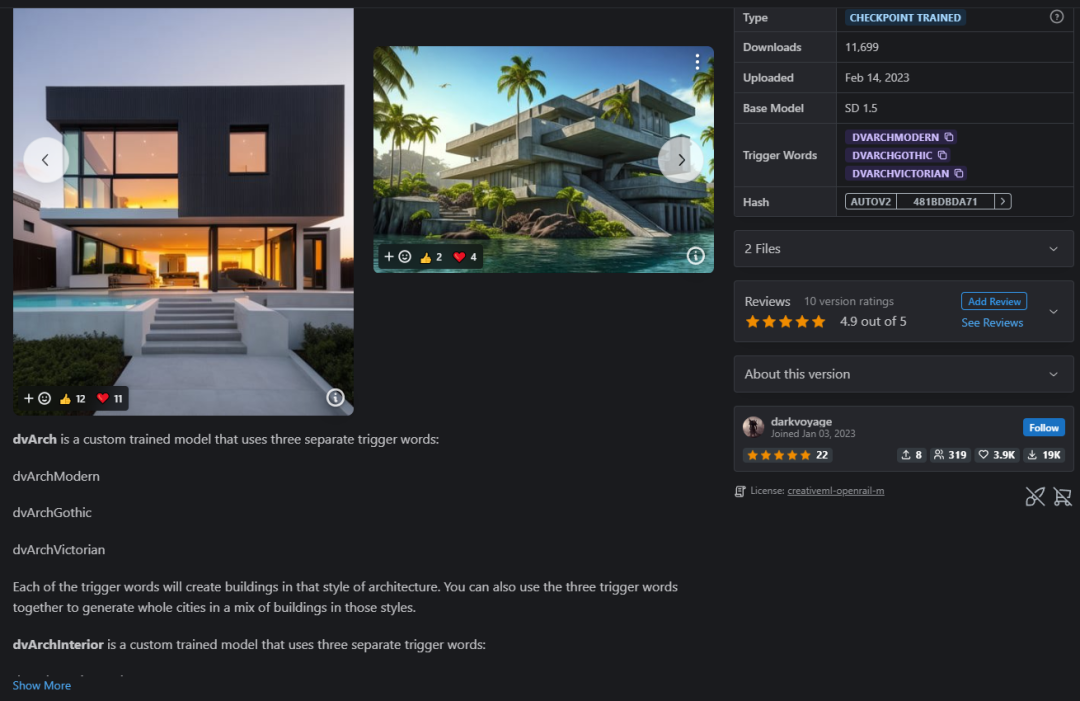
By clicking on the detailed introduction, you can see the matching SD version, related keywords, suitable effects, etc.
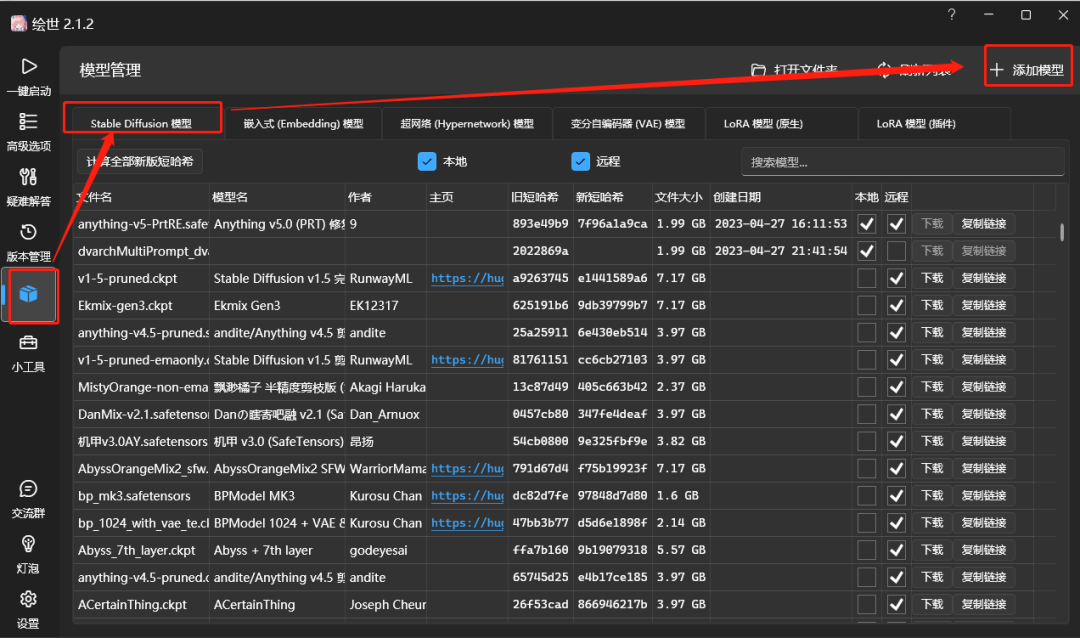
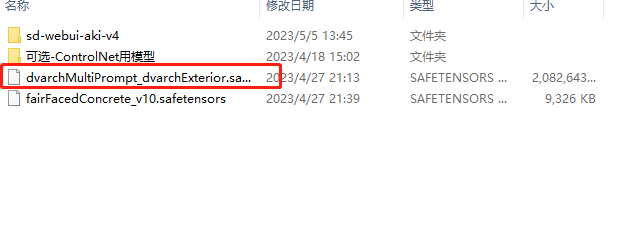
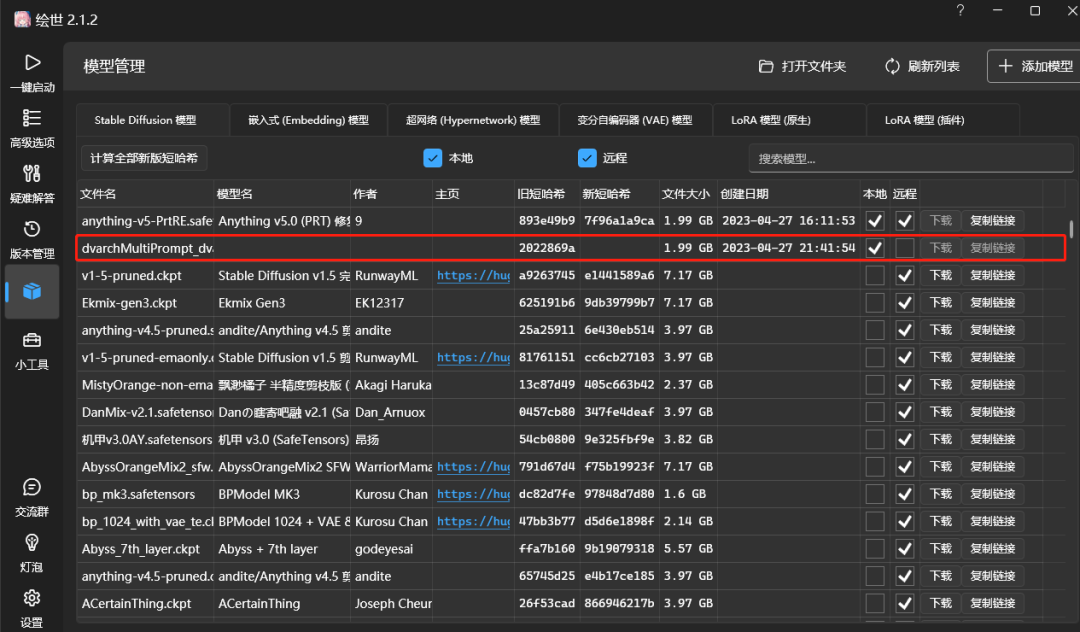
After downloading the large model, go back to the launcher, click on the model settings on the left, and load the model you just downloaded as shown in the image.
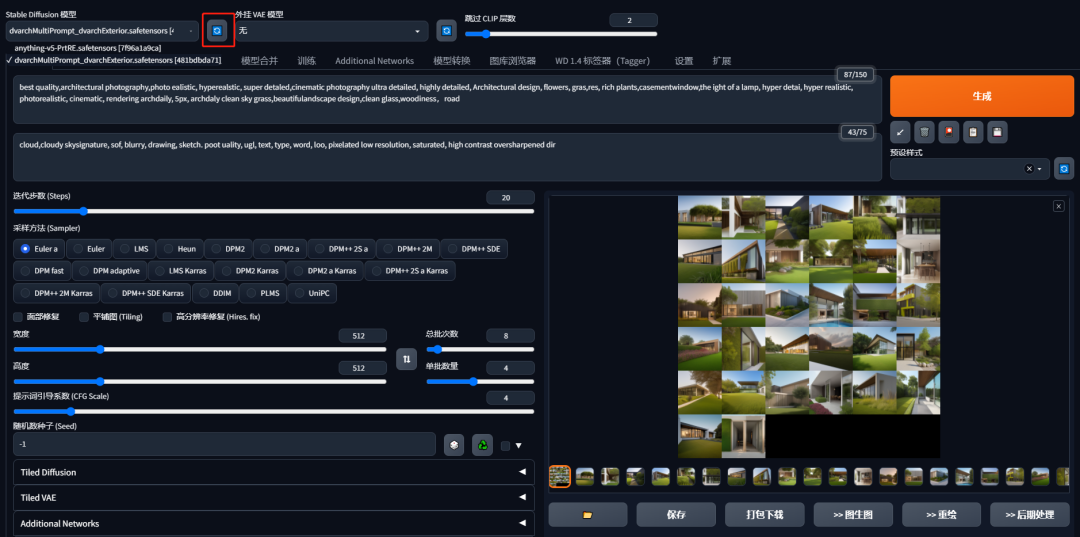
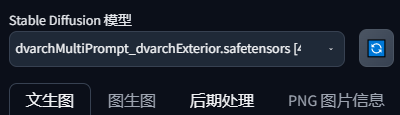
Then, in the operation interface, select the Stable Diffusion model, and choose the one we just downloaded. If it doesn’t appear, click the refresh button next to it!
Image Generation Method One
Text-to-Image Generation
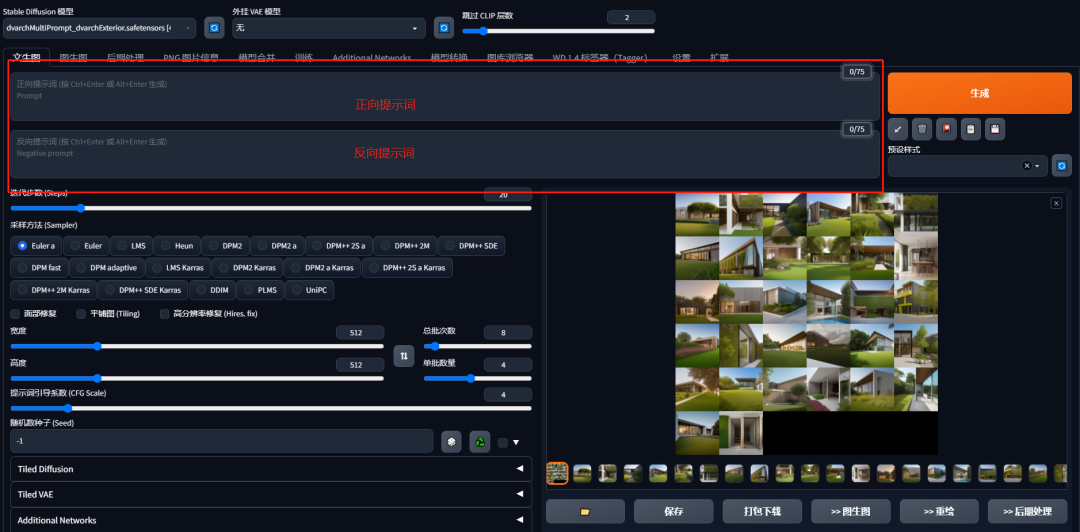
The basic generation logic is similar to MJ, which generates based on the prompt. However, unlike MJ, SD requires reverse prompts.
How to write prompts? Similar to MJ, the architectural main style + materials + surrounding environment + perspective + which rendering company style + design by a certain master, the more detailed, the better. If you can’t write it yourself, you can also use ChatGPT for assistance; detailed methods can be found in previous articles (click me to jump).
The reverse prompt generally includes content that you do not want to appear: blurry, low quality, text, watermark, for example, in the case below, if the weather is sunny, then write cloudy for the surrounding environment, etc. You can try adding more.
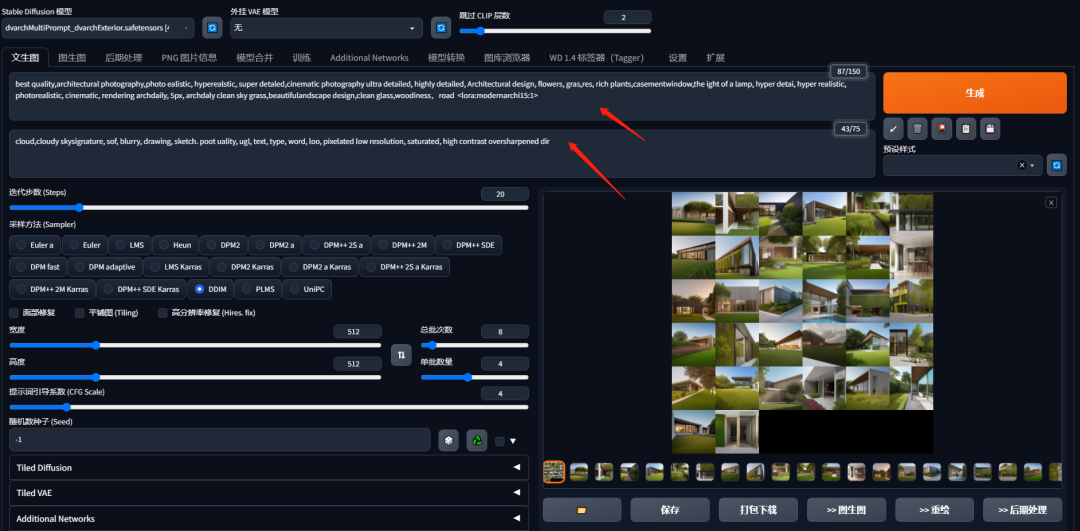
Then, we sequentially input all the prompts.
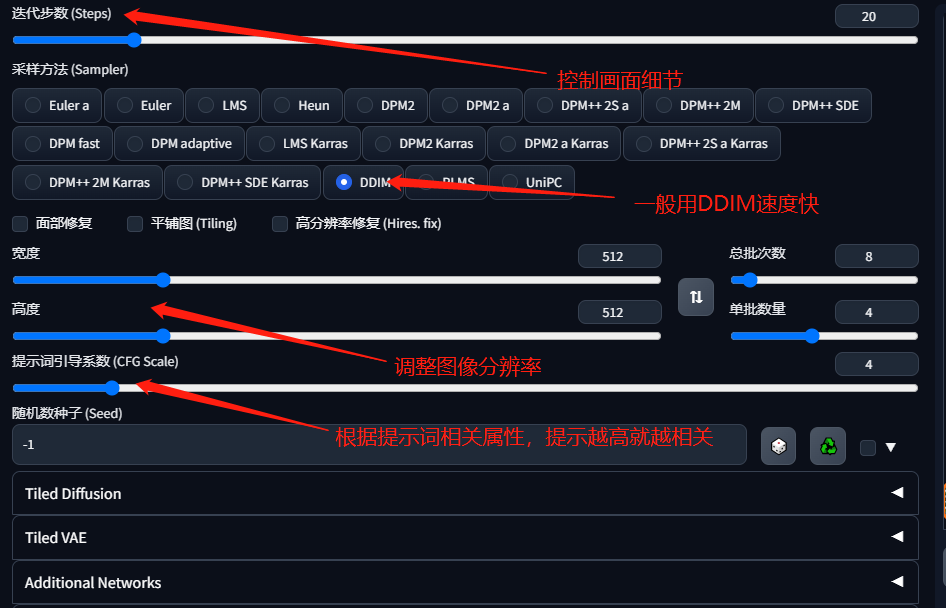
Iteration Steps: The higher the value, the more details in the image, but more is not always better; you can try adjusting it.
Sampling Method: You can use any; usually, DDIM is preferred for speed.
Width and Height: Control the image resolution; adjust based on your needs.
Prompt Guidance Coefficient: The larger the number, the more relevant it is to your desired effect (not absolute); needs adjustment.
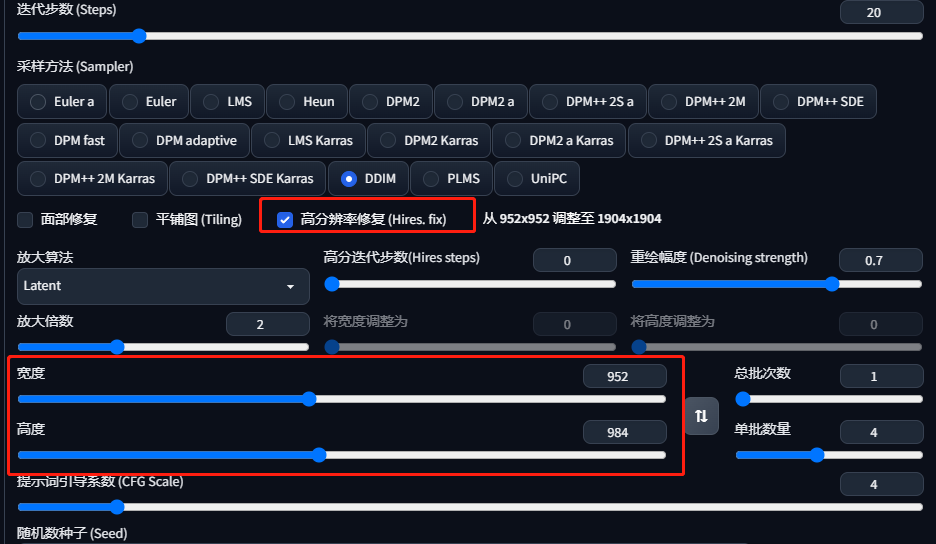
If you want to generate high-definition images, click on high-resolution repair and increase the image’s width and height!
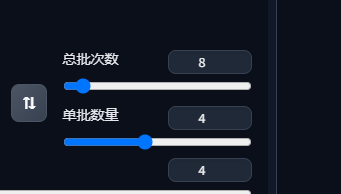
There is also a parameter next to it to set the number of images generated. For example, if we want to generate 32 images at once, we can set it to 8 batches, with 4 images per batch.

Click generate directly, and in a few seconds, 32 architectural designs will be generated!
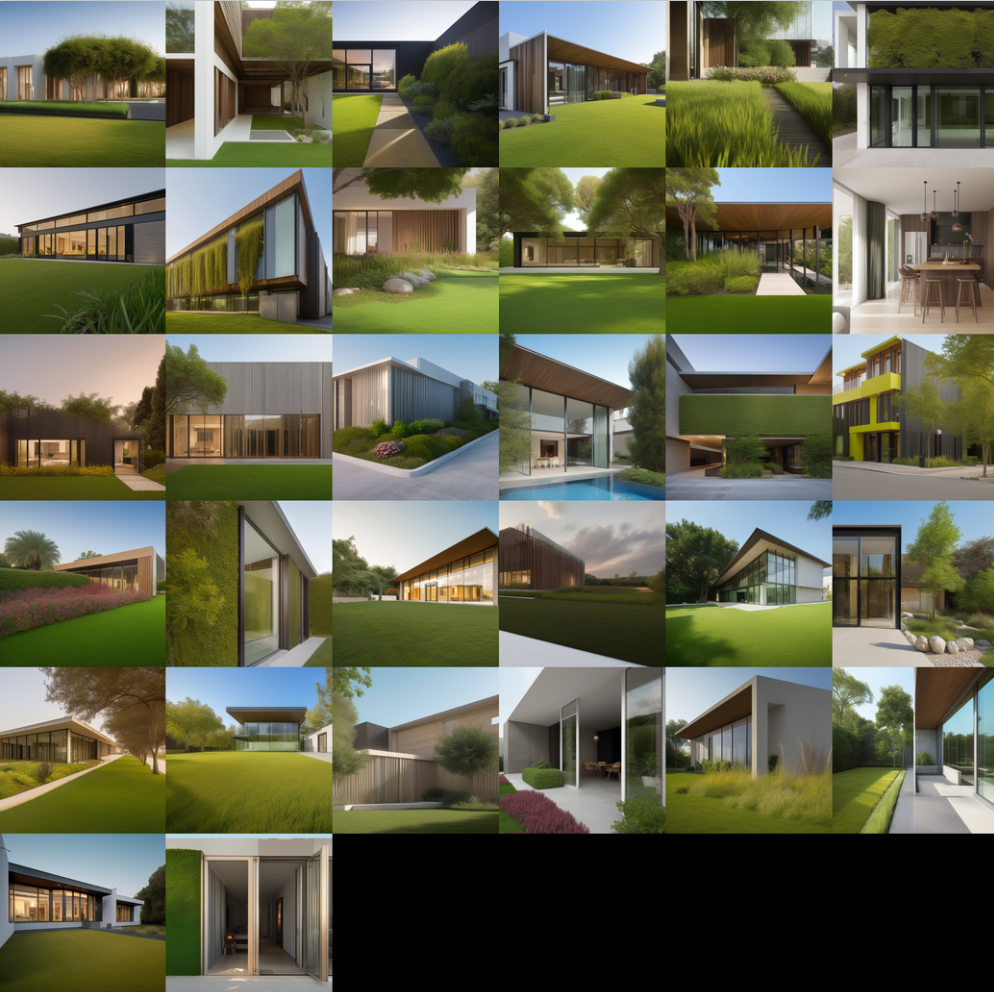
Open one to take a look; at first glance, it looks fine, but it lacks detail and is a bit rough. At this point, we need to load Lora for settings!
Image Generation Method Two
Combining Lora for Text-to-Image Generation
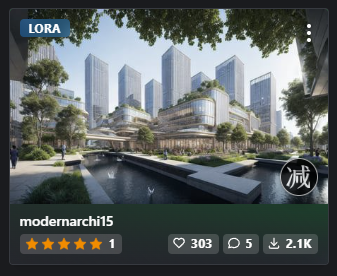

If you want your drawings to have more detail, loading Lora is essential. First, we go to Civitai to download Lora, finding the style of drawing you want to download.
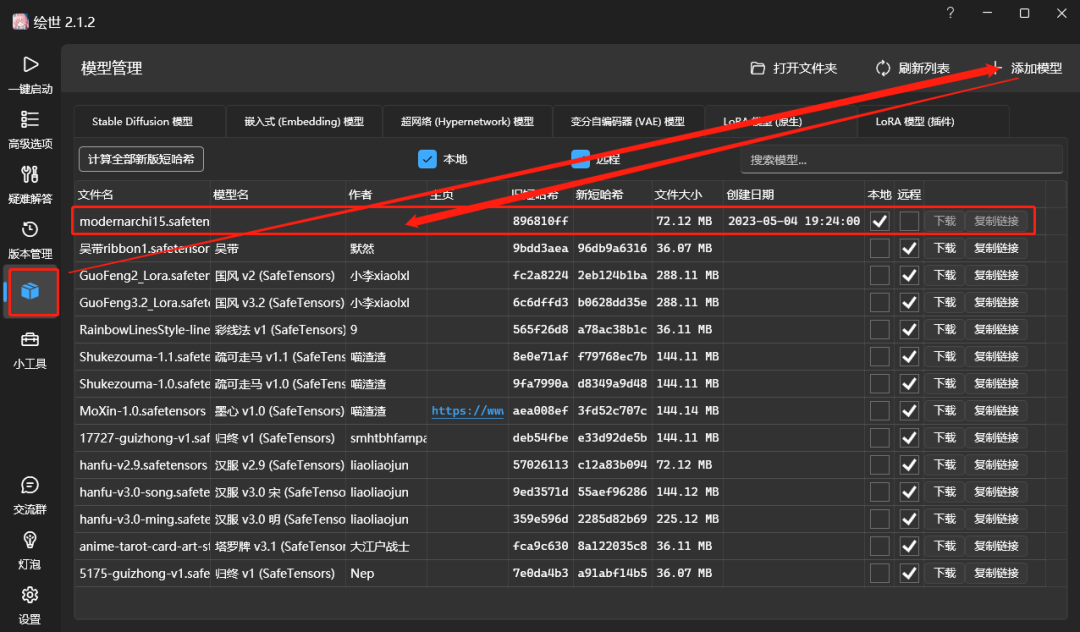
Similar to the previous method of loading the large model, go back to the launcher, click on the Lora model, and load the Lora model you just downloaded.

Click the red button, and click to load Lora as shown in the image above.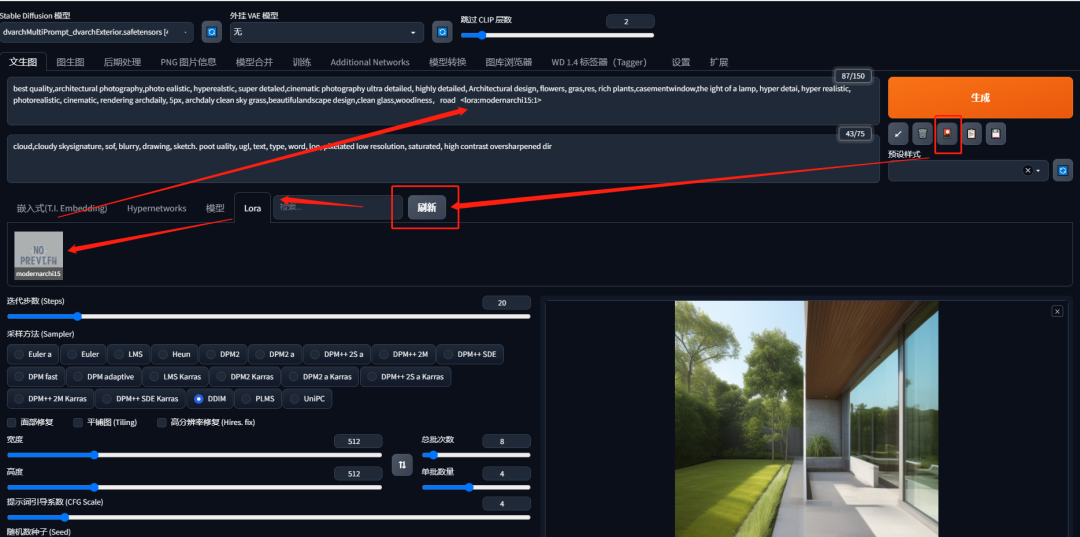
Then click refresh, and the Lora model you just downloaded will appear. Click on the Lora model, and the related prompts will appear in the positive prompts, and then we generate it.
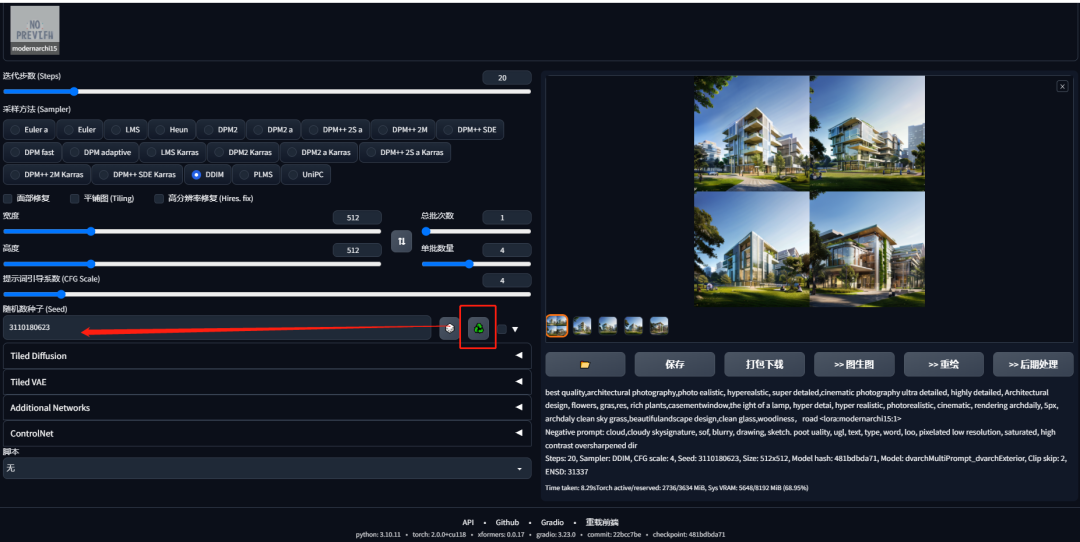
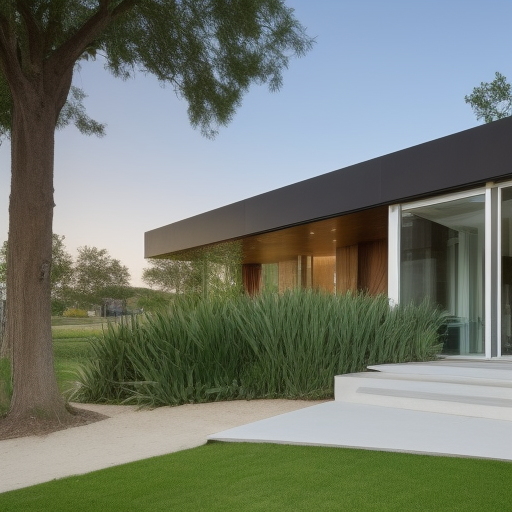
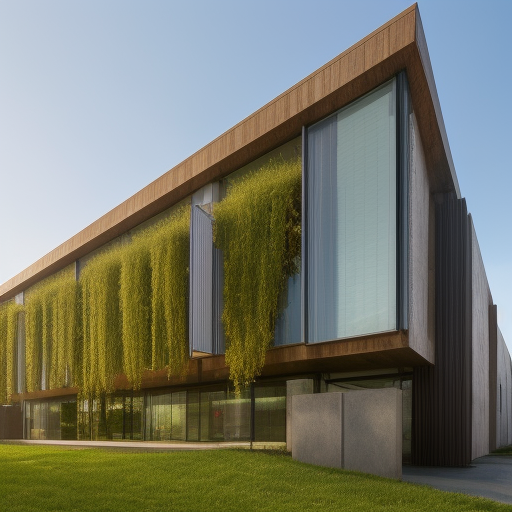
Then, if you are very satisfied with this result, you can click this icon, and the generated drawings will be more related to what you want in the future, continuing to refine.

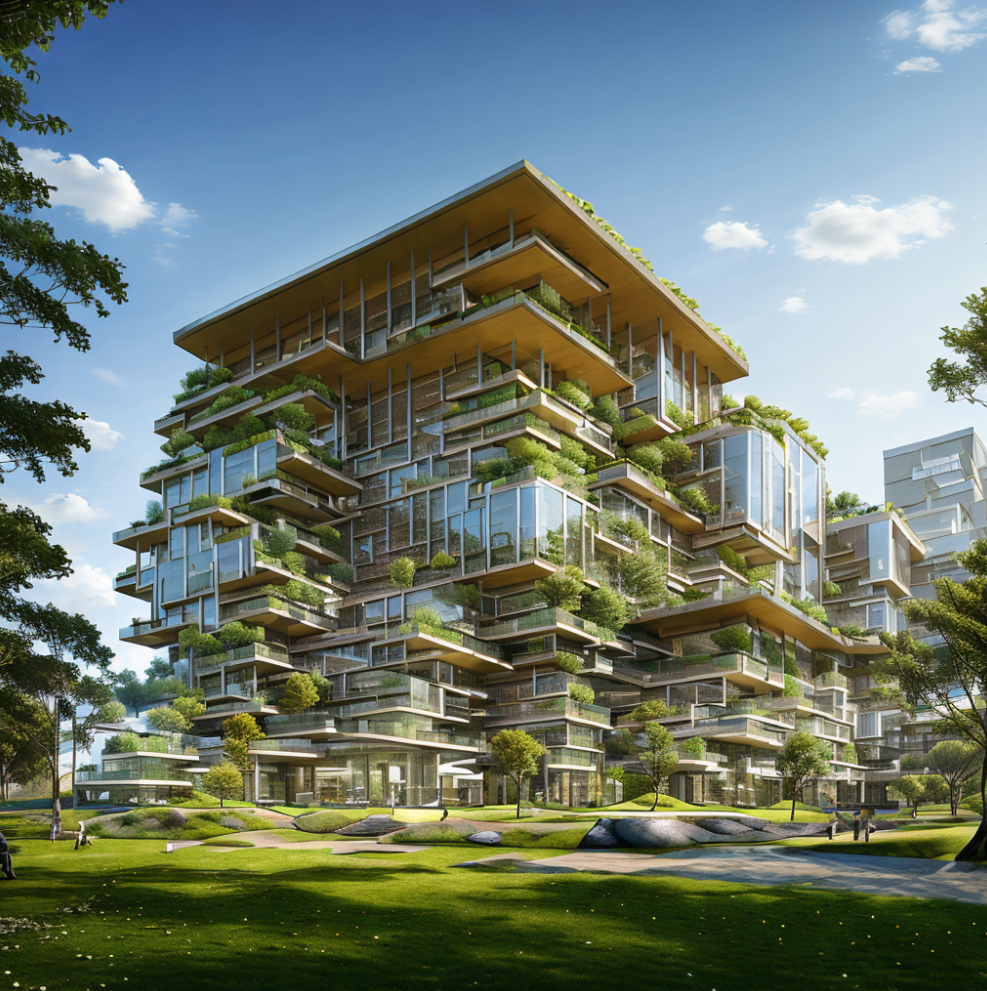
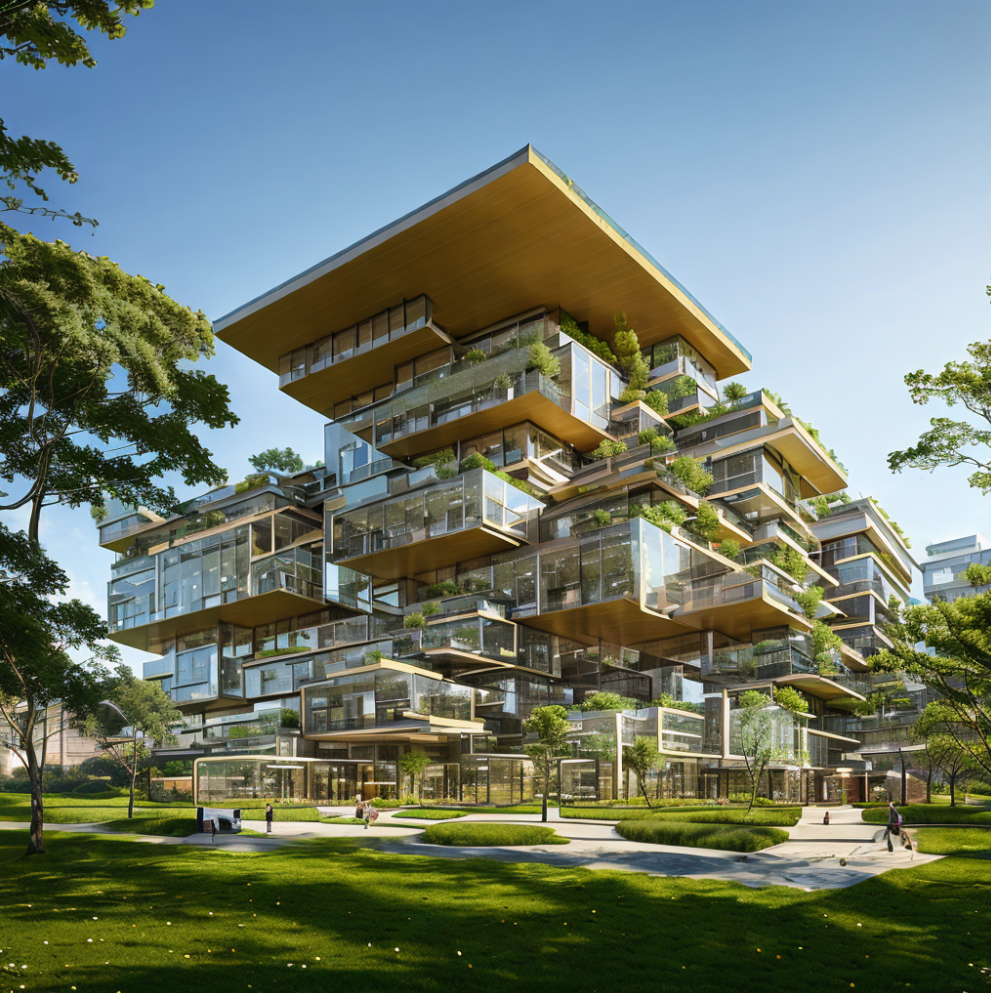
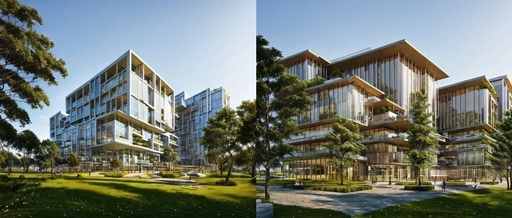
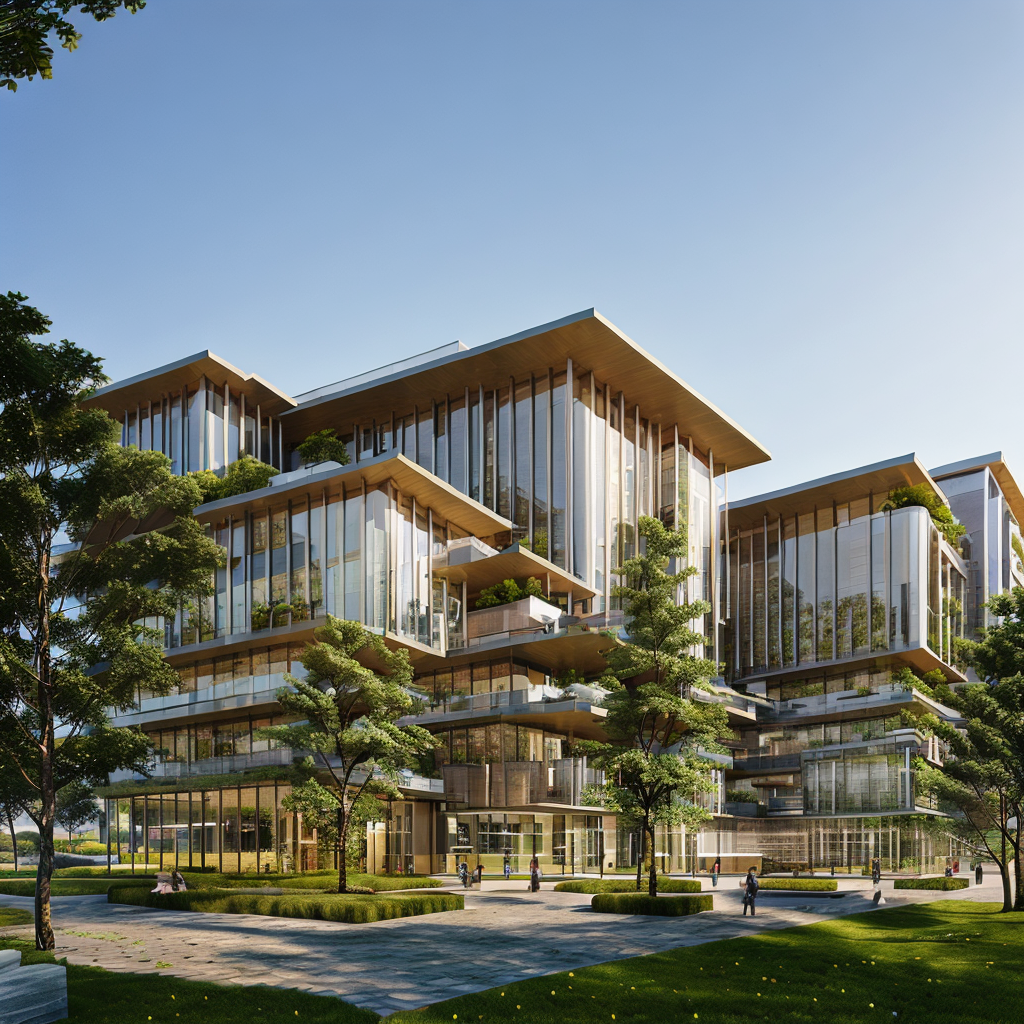
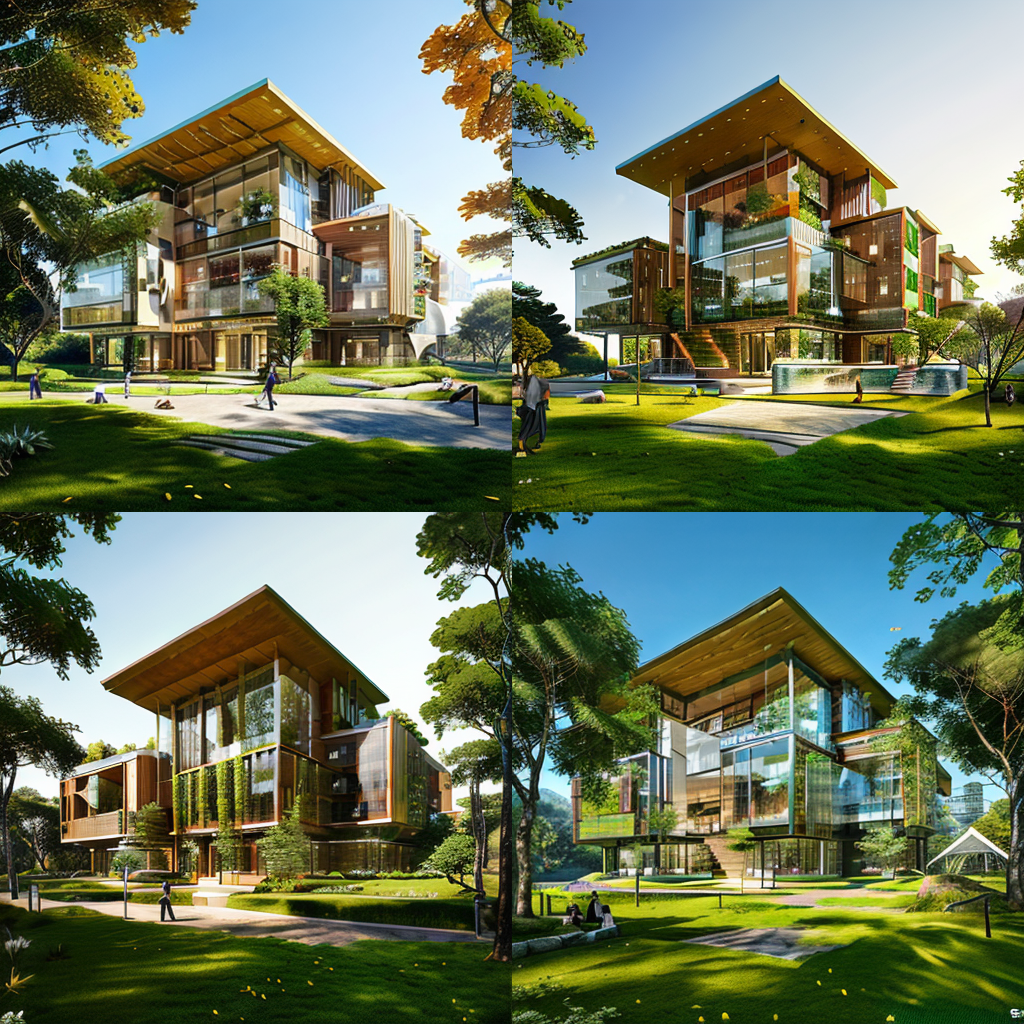
I then generated many plans in sequence, achieving completely photo-realistic renderings!
Image Generation Method Three
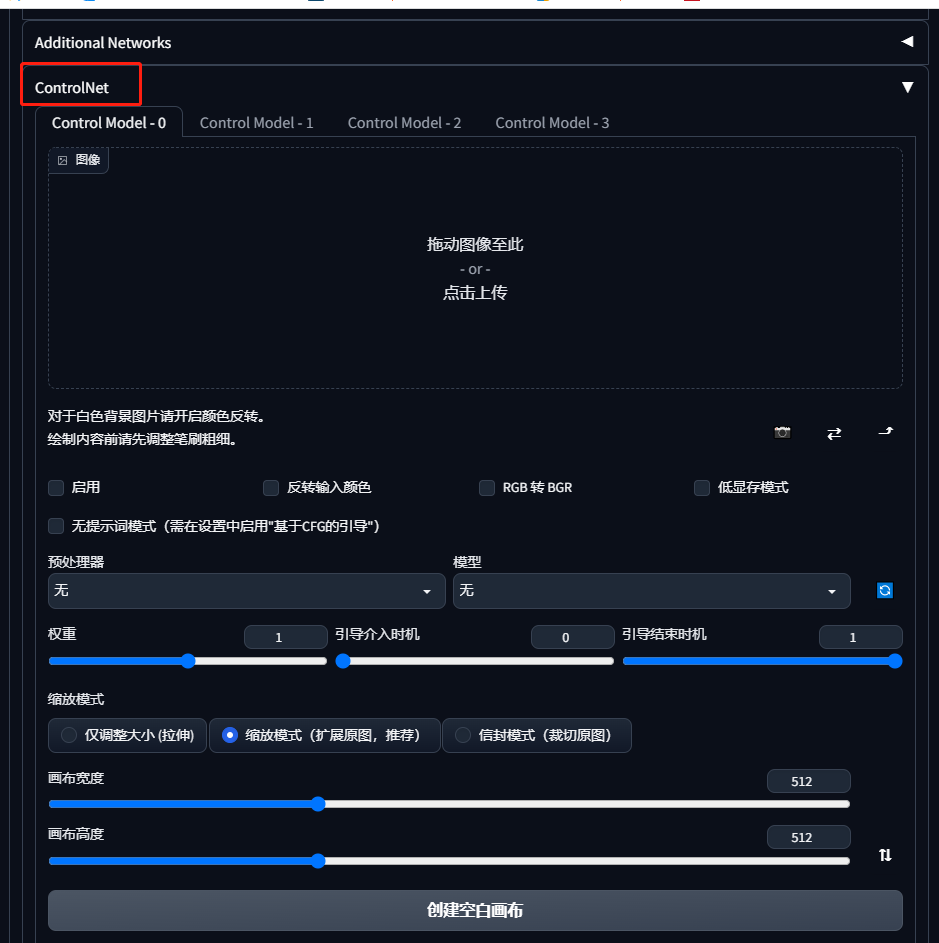
ControlNet Precise Control of Drawings
Why is SD considered the strongest architectural AI software? Because of the ControlNet plugin, which can perfectly control the generation of drawings based on your sketches or SU models, and can be used as rendering images or generating designs!
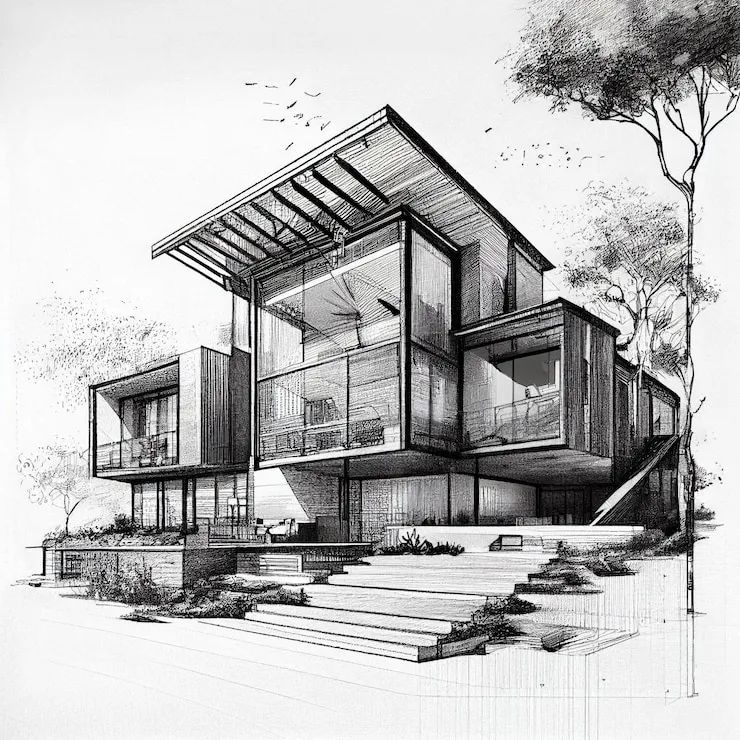
We found a hand-drawn drawing and opened the ControlNet plugin.
Click to upload and import the hand-drawn image we just found.
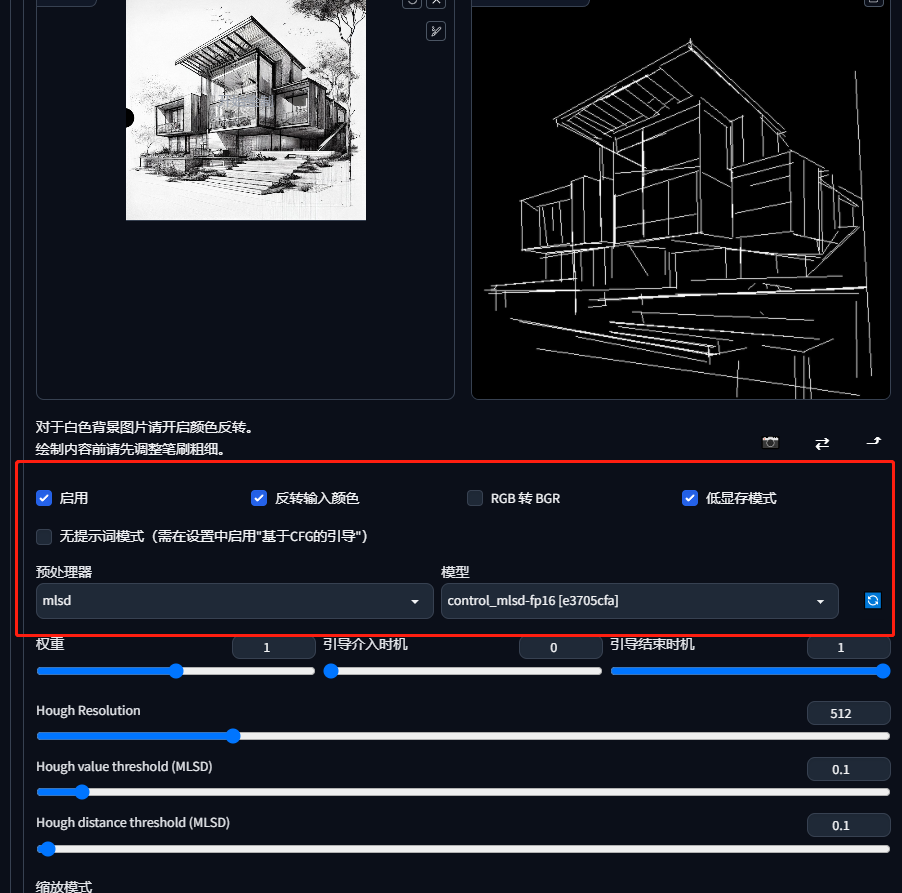
Set it as shown in the image.
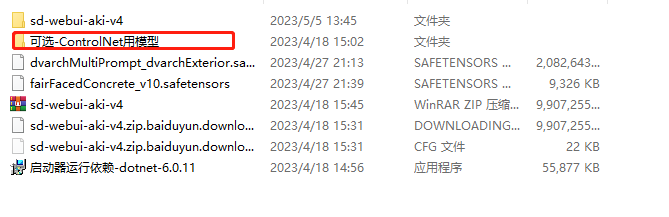
Some students may find that the ControlNet model option is unavailable because the con model in the installation package has not been placed in the corresponding location.
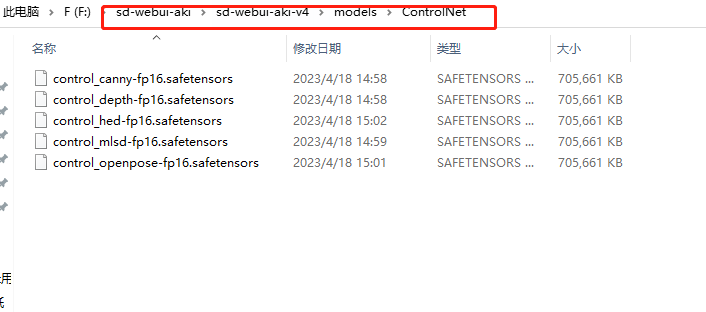
Just place it in this path.

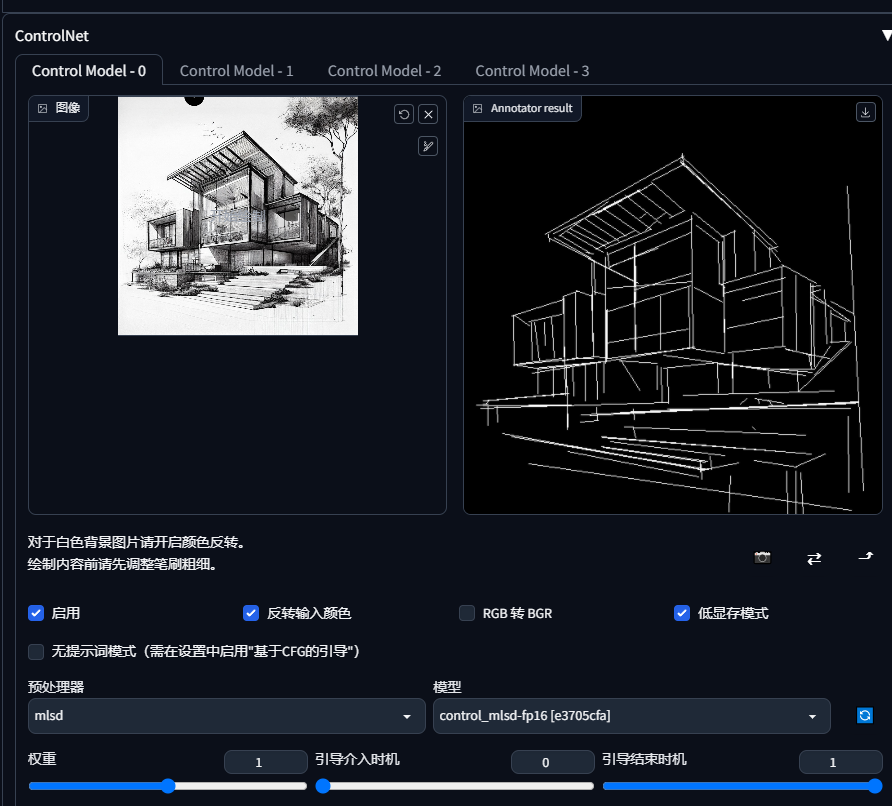
Click preview, and we can see the recognition results.
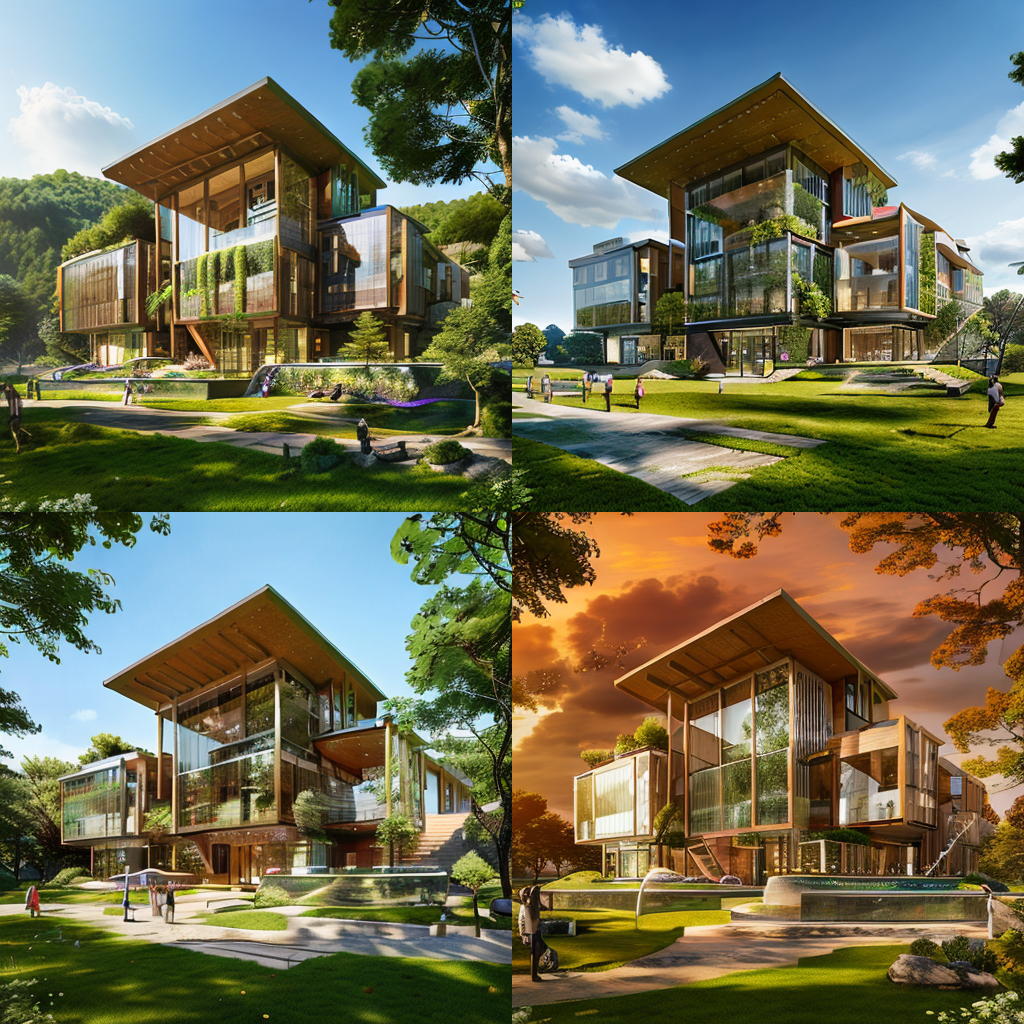
Basically, it perfectly controls the shapes, but of course, you need to adjust the parameters and generate multiple times to achieve the desired effect.
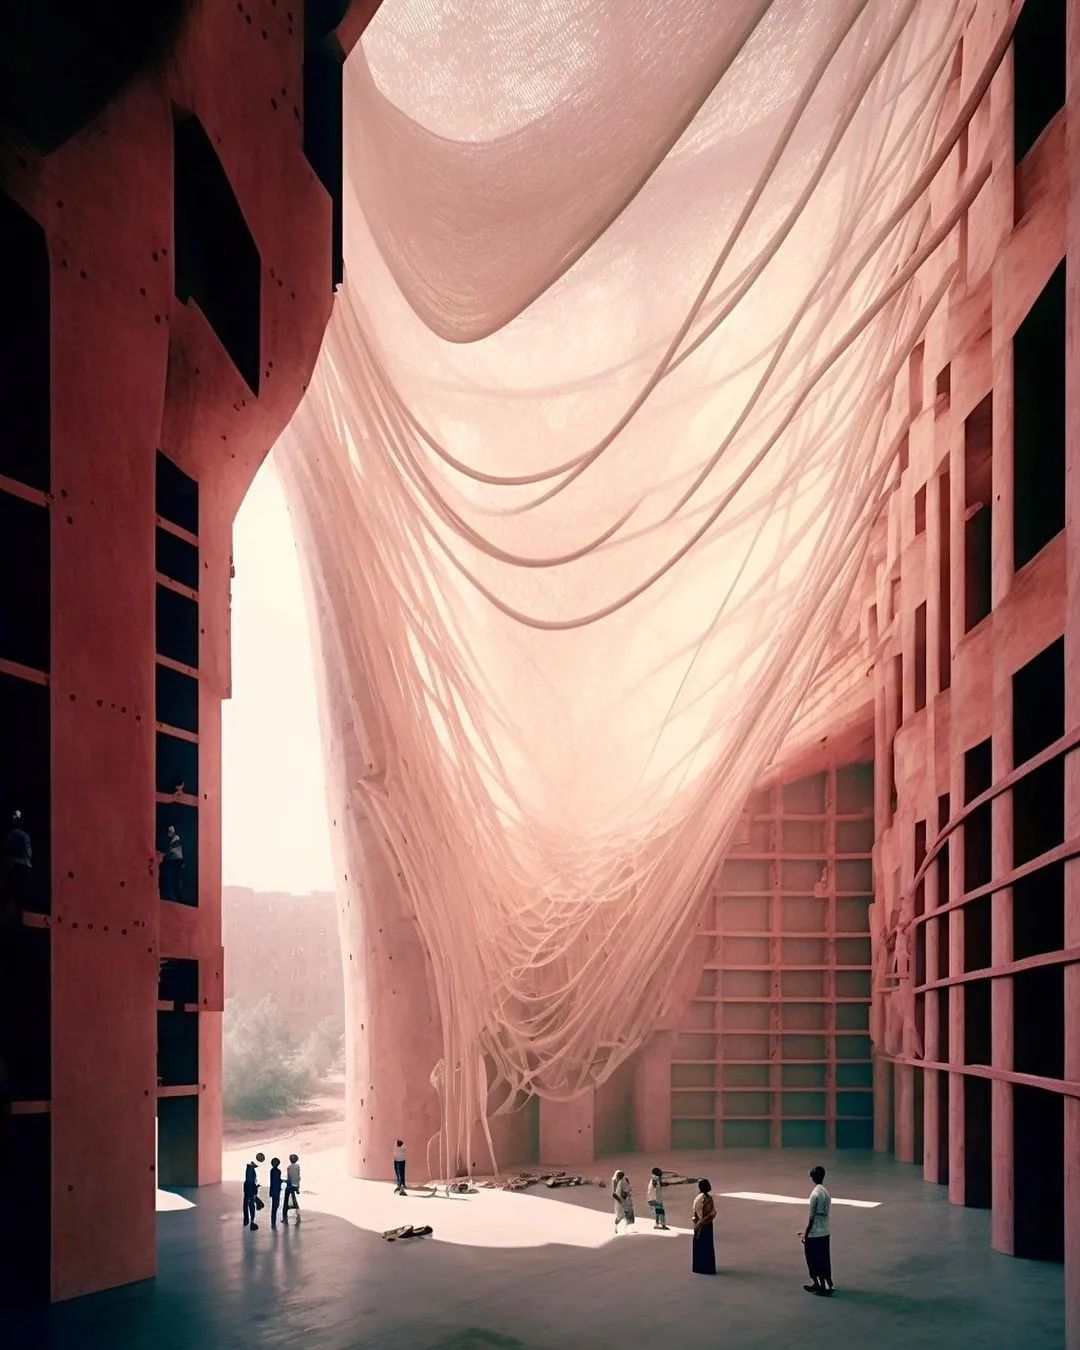
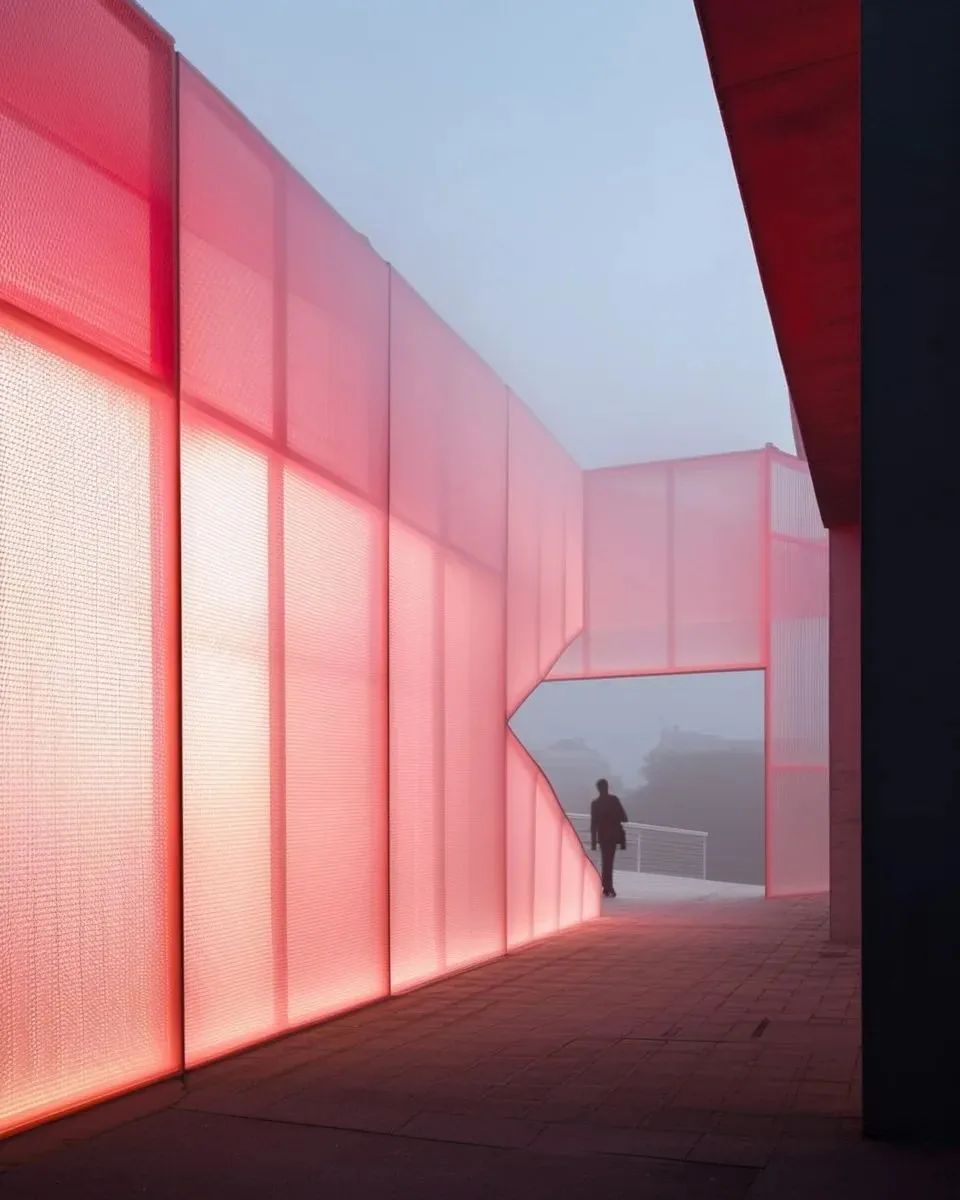
Now let’s take a look at the general effects generated by SD.