
Click on the above “Beginner’s Guide to Vision”, choose to add “Star” or “Top”
Essential insights delivered promptly
 IntroductionWhat does a high-performance PyTorch training pipeline look like? Is it about achieving the highest accuracy model? The fastest runtime? Easy to understand and extend? Or easily parallelized? The answer is, it includes all of the above.
How can you achieve the most efficient PyTorch training with the least effort?A Medium blogger with two years of experience using PyTorch recently shared 10 sincere suggestions in this regard..
In the Efficient PyTorch section, the author provides tips for identifying and eliminating I/O and CPU bottlenecks. The second part discusses some tips for efficient tensor operations, and the third part covers debugging techniques on efficient models.
Before reading this article, you need to have a certain level of understanding of PyTorch.
Okay, let’s start with the most obvious one:
Advice 0: Understand where the bottlenecks in your code are.
Command-line tools like nvidia-smi, htop, iotop, nvtop, py-spy, strace, etc., should become your best partners. Is your training pipeline constrained by CPU? I/O? GPU? These tools will help you find the answers.
You might have never heard of these tools, or even if you have, you might not have used them. That’s okay. If you don’t use them right away, that’s fine. Just remember, others might be using them to train models, and they might be 5%, 10%, 15% faster than you—ultimately leading to different outcomes when it comes to market opportunities or job prospects.
Data PreprocessingAlmost every training pipeline starts with the Dataset class. It is responsible for providing data samples. Any necessary data transformations and augmentations can occur here. In short, the Dataset can report its size and provide data samples at a given index.If you are dealing with image-like data (2D, 3D scans), then disk I/O may become a bottleneck. To obtain the raw pixel data, your code needs to read data from disk and decode the image into memory. Each task is quick, but when you need to process hundreds or thousands of tasks as quickly as possible, it can become a challenge. Libraries like NVidia provide GPU-accelerated JPEG decoding. If you encounter I/O bottlenecks in your data processing pipeline, this method is definitely worth trying.Another option is that the access time of SSD disks is about 0.08–0.16 milliseconds. The access time of RAM is in the nanosecond range. We can directly store data in memory.
Advice 1: If possible, move all or part of the data to RAM.
If you have enough RAM to load and store your training data, this is the simplest way to eliminate the slowest data retrieval step from the pipeline.This advice may be particularly useful for cloud instances, like Amazon’s p3.8xlarge. This instance has EBS disks, which are severely limited in performance under default settings. However, this instance comes with an amazing 248Gb of RAM. That’s enough to store the entire ImageNet dataset in memory! You can achieve this with the following:
class RAMDataset(Dataset): def __init__(self, image_fnames, targets): self.targets = targets self.images = [] for fname in tqdm(image_fnames, desc="Loading files in RAM"): with open(fname, "rb") as f: self.images.append(f.read()) def __len__(self): return len(self.targets) def __getitem__(self, index): target = self.targets[index] image, retval = cv2.imdecode(self.images[index], cv2.IMREAD_COLOR) return image, targetI personally faced this bottleneck issue. I have a home PC equipped with 4x1080Ti GPUs. Once, I used a p3.8xlarge instance with 4 NVidia Tesla V100s and moved my training code there. Given that V100 is faster than my old 1080Ti, I expected to see a 15–30% speedup in training. To my surprise, the training time per epoch increased. This made me realize the importance of being aware of infrastructure and environmental differences, not just CPU and GPU speeds.Depending on your setup, you can keep the binary content of each file unchanged and decode it in RAM on the fly, or decode uncompressed images and retain the original pixels. But whatever method you choose, here’s the second piece of advice:
Advice 2: Profile, measure, compare. Every time you make any changes to the pipeline, deeply evaluate its overall impact.
Assuming you haven’t changed anything about the model, hyperparameters, or dataset, this advice focuses solely on training speed. You can set a magic command-line parameter (a magic switch) that, when specified, will run the training on some reasonable data samples. Using this feature, you can quickly profile the pipeline.
# Profile CPU bottlenecks
python -m cProfile training_script.py --profiling
# Profile GPU bottlenecks
nvprof --print-gpu-trace python train_mnist.py
# Profile system calls bottlenecks
strace -fcT python training_script.py -e trace=open,close,read

Advice 3: *Preprocess everything offline*
Advice 3: Preprocess everything offline
If you are training 512×512 size images made from multiple 2048×2048 images, resize them in advance. If you are using grayscale images as input to the model, adjust the color offline. If you are doing Natural Language Processing (NLP), perform tokenization in advance and store it on disk. Repeating the same operations during training is meaningless. When doing progressive learning, you can save training data at various resolutions, which is still faster than adjusting to the target resolution online.For tabular data, consider converting pd.DataFrame targets to PyTorch tensors when creating the Dataset.
Advice 4: Tune the number of workers in DataLoader
PyTorch uses a DataLoader class to simplify the batching process for training models. To speed things up, it can execute in parallel using multiple processes in Python. In most cases, it can be used directly. However, there are a few things to keep in mind:Each process generates a batch of data, and these batches are synchronized for use in the main process through mutexes. If you have N workers, then your script will need N times the RAM to store these batches of data in system memory. How much RAM is specifically needed?Let’s calculate:
-
Assuming we are training a Cityscapes image segmentation model with a batch size of 32, and RGB image size is 512x512x3 (height, width, channels). We normalize the image on the CPU (I’ll explain why this is important later). In this case, our final image tensor will be 512 * 512 * 3 * sizeof(float32) = 3,145,728 bytes. Multiplying by the batch size gives us 100,663,296 bytes, or about 100Mb;
-
Besides the images, we also need to provide ground-truth masks. Their respective sizes are (by default, the mask type is long, 8 bytes)—512 * 512 * 1 * 8 * 32 = 67,108,864 or about 67Mb;
-
Therefore, the total memory required for one batch of data is 167Mb. Assuming there are 8 workers, the total memory demand will be 167 Mb * 8 = 1,336 Mb.
Doesn’t sound too bad, right? However, when your hardware setup can accommodate more batches provided by 8 or more workers, problems arise. Perhaps it’s naive to place 64 workers, but this could consume at least close to 11Gb of RAM.When your data is 3D volumetric scans, the situation gets worse. In this case, a 512x512x512 single-channel volume will occupy 134Mb, and with a batch size of 32, 8 workers will occupy 4.2Gb, just to keep intermediate data in memory, you would need 32Gb of RAM.For this problem, there’s a partial solution—you can reduce the input data’s channel depth as much as possible:
-
Keep RGB images at 8-bit depth per channel. It’s easy to convert images to floating-point format or normalize them on the GPU.
-
Replace long data types with uint8 or uint16 in the dataset.
class MySegmentationDataset(Dataset):  ...  def __getitem__(self, index):    image = cv2.imread(self.images[index])    target = cv2.imread(self.masks[index])    # No data normalization and type casting here    return torch.from_numpy(image).permute(2,0,1).contiguous(),           torch.from_numpy(target).permute(2,0,1).contiguous()
class Normalize(nn.Module):    # https://github.com/BloodAxe/pytorch-toolbelt/blob/develop/pytorch_toolbelt/modules/normalize.py    def __init__(self, mean, std):        super().__init__()        self.register_buffer("mean", torch.tensor(mean).float().reshape(1, len(mean), 1, 1).contiguous())        self.register_buffer("std", torch.tensor(std).float().reshape(1, len(std), 1, 1).reciprocal().contiguous())    def forward(self, input: torch.Tensor) -> torch.Tensor:        return (input.to(self.mean.type) - self.mean) * self.std
class MySegmentationModel(nn.Module):  def __init__(self):    self.normalize = Normalize([0.221 * 255], [0.242 * 255])    self.loss = nn.CrossEntropyLoss()  def forward(self, image, target):    image = self.normalize(image)    output = self.backbone(image)    if target is not None:      loss = self.loss(output, target.long())      return loss    return output
By doing this, RAM requirements will significantly decrease. For the example above, the memory usage for efficiently storing data representations will be 33Mb per batch, down from 167Mb, reducing it to one-fifth of the original. Of course, this requires adding extra steps in the model to normalize the data or convert it to the appropriate data type. However, the smaller the tensor, the faster the transfer from CPU to GPU.The number of workers in the DataLoader should be chosen cautiously. You should look at how fast your CPU and I/O systems are, how much memory you have, and how fast your GPU processes data. Multi-GPU Training & Inference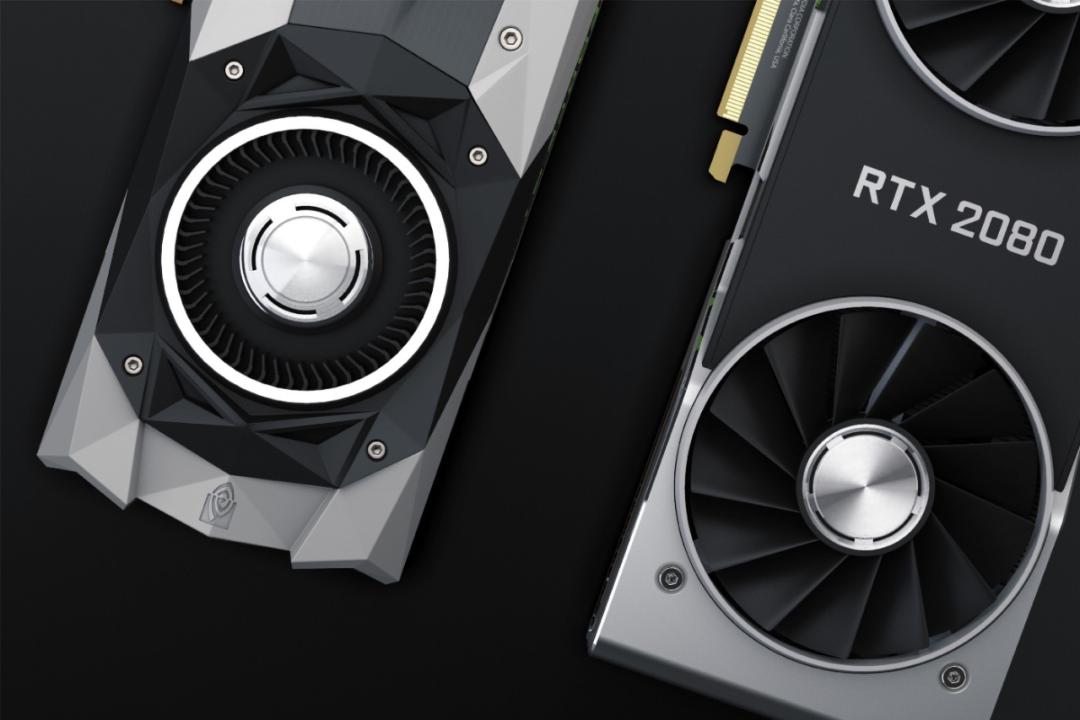 Neural network models are becoming increasingly large. Today, using multiple GPUs to increase training time has become a trend. Fortunately, it often enhances model performance to achieve larger batch sizes. PyTorch provides all the functionality to run on multiple GPUs with just a few lines of code. However, some considerations are not obvious at first glance.
model = nn.DataParallel(model) # Runs model on all available GPUsThe simplest way to run on multiple GPUs is to wrap the model in the nn.DataParallel class. Unless you are training an image segmentation model (or any other model that generates large tensors as output), it usually works well. At the end of the forward pass, nn.DataParallel collects all GPU outputs on the main GPU to perform the output backpropagation and complete the gradient update.Now, there are two issues:
-
GPU load imbalance;
-
Aggregating on the main GPU requires additional video memory
First, only the main GPU can perform loss calculations, backpropagation, and gradient steps, while the other GPUs wait below 60 degrees Celsius for the next batch of data.Secondly, the additional memory required to aggregate all outputs on the main GPU often forces you to reduce the batch size. nn.DataParallel evenly distributes the batch across multiple GPUs. Suppose you have 4 GPUs and a total batch size of 32; then, each GPU will receive a block of 8 samples. But the problem is, while all the main GPUs can easily fit these batches into their respective VRAM, the main GPU must allocate extra space to accommodate the batch size of 32 for the outputs of the other cards.For this uneven GPU utilization, there are two solutions:
-
Continue to compute losses using nn.DataParallel during the forward pass. In this case, it won’t return the dense prediction mask to the main GPU, but only a single scalar loss;
-
Use distributed training, also known as nn.DistributedDataParallel. Another benefit of distributed training is that it allows GPUs to achieve 100% utilization.
If you want to learn more, check out these three articles:
-
https://medium.com/huggingface/training-larger-batches-practical-tips-on-1-gpu-multi-gpu-distributed-setups-ec88c3e51255
-
https://medium.com/@theaccelerators/learn-pytorch-multi-gpu-properly-3eb976c030ee
-
https://towardsdatascience.com/how-to-scale-training-on-multiple-gpus-dae1041f49d2
Advice 5: If you have two or more GPUs
The amount of time saved largely depends on your setup; I observed that training the image classification pipeline on 4x1080Ti can save about 20% of time. It’s also worth mentioning that you can use nn.DataParallel and nn.DistributedDataParallel for inference as well. About Custom Loss FunctionsWriting custom loss functions is a fun exercise that I recommend everyone try from time to time. When it comes to complex loss functions, keep one thing in mind: they all run on CUDA, and you should write “CUDA-efficient” code. “CUDA-efficient” means “no Python control flow”. Switching back and forth between CPU and GPU, accessing individual values of GPU tensors can perform these tasks, but the performance will be poor.Recently, I implemented a custom cosine embedding loss function based on the paper “Segmenting and tracking cell instances with cosine embeddings and recurrent hourglass networks”. It looks very simple in text form but is somewhat complex to implement.When I wrote my first simple implementation (besides the bugs), it took a few minutes to compute the loss value for a single batch. To analyze CUDA bottlenecks, PyTorch provides a very convenient built-in profiler that is very easy to use and provides all the information needed to solve code bottlenecks:
def test_loss_profiling(): loss = nn.BCEWithLogitsLoss() with torch.autograd.profiler.profile(use_cuda=True) as prof: input = torch.randn((8, 1, 128, 128)).cuda() input.requires_grad = True target = torch.randint(1, (8, 1, 128, 128)).cuda().float() for i in range(10): l = loss(input, target) l.backward() print(prof.key_averages().table(sort_by="self_cpu_time_total"))Advice 9: If designing custom modules and losses—configure and test them
After profiling the initial implementation, I was able to speed it up by 100 times. More information on writing efficient tensor expressions in PyTorch will be covered in Efficient PyTorch — Part 2.Time VS MoneyLast but not least, sometimes investing in more powerful hardware may be more valuable than optimizing code. Software optimization is always a high-risk journey with uncertain outcomes; upgrading CPU, RAM, GPU, or all hardware at once may yield better results. Money and time are resources, and balancing both is key to success.
Upgrading hardware can more easily resolve certain bottlenecks.
In ConclusionUnderstanding how to make the most of everyday tools is key to improving proficiency. Try to avoid creating “shortcuts”; if you encounter unclear areas, dig deeper, as there’s always an opportunity to discover new knowledge. As the saying goes, “Reflect daily”: ask yourself, can my code be improved? This pursuit of excellence, like other skills, is essential for the path of a computer engineer.
Good news!
The Beginner's Guide to Vision knowledge community is now open to the public👇👇👇


Download 1: OpenCV-Contrib Extension Module Chinese Tutorial
Reply "Extension Module Chinese Tutorial" in the backend of the "Beginner's Guide to Vision" public account to download the first Chinese version of the OpenCV extension module tutorial, covering installation of extension modules, SFM algorithms, stereo vision, object tracking, biological vision, super-resolution processing, and more than twenty chapters of content.

Download 2: 52 Lectures on Python Vision Practical Projects
Reply "Python Vision Practical Projects" in the backend of the "Beginner's Guide to Vision" public account to download 31 practical vision projects including image segmentation, mask detection, lane line detection, vehicle counting, eyeliner addition, license plate recognition, character recognition, emotion detection, text content extraction, face recognition, etc., to help you quickly learn computer vision.

Download 3: 20 Lectures on OpenCV Practical Projects
Reply "OpenCV Practical Projects 20 Lectures" in the backend of the "Beginner's Guide to Vision" public account to download 20 practical projects based on OpenCV for advanced learning.

Group Chat

Welcome to join the public account reader group to exchange with peers. Currently, there are WeChat groups for SLAM, 3D vision, sensors, autonomous driving, computational photography, detection, segmentation, recognition, medical imaging, GAN, algorithm competitions, etc. (will gradually be subdivided in the future). Please scan the WeChat ID below to join the group, note: "Nickname + School/Company + Research Direction", for example: "Zhang San + Shanghai Jiao Tong University + Vision SLAM". Please follow the format for the note, otherwise, it will not be approved. After successful addition, you will be invited to join the relevant WeChat group based on your research direction. Please do not send advertisements in the group, otherwise, you will be removed from the group. Thank you for your understanding~