
import tensorflow as tf
from tensorflow.keras.datasets import mnist
# Load the MNIST dataset, including training and testing sets
(x_train, y_train), (x_test, y_test) = mnist.load_data()
# Data preprocessing
x_train = x_train.astype('float32') / 255.0
x_test = x_test.astype('float32') / 255.0
# Output dataset information
print("Number of training samples:", x_train.shape[0])
print("Number of testing samples:", x_test.shape[0])
print("Input image shape:", x_train.shape[1:])
print("Label samples:", set(y_train))
# Visualize some samples
import matplotlib.pyplot as plt
figure, axes = plt.subplots(3, 3, figsize=(10,10))
axes = axes.flatten()
for i in range(len(axes)):
    axes[i].imshow(x_train[i], cmap='gray')
    axes[i].axis('off')
    axes[i].set_title(str(y_train[i]))
plt.tight_layout()
plt.show()import tensorflow as tf
from tensorflow.keras.datasets import mnist
import matplotlib.pyplot as plt
# Load the MNIST dataset, including training and testing sets
(x_train, y_train), (x_test, y_test) = mnist.load_data()
# Data preprocessing
x_train = x_train.astype('float32') / 255.0
x_test = x_test.astype('float32') / 255.0
# Build the model
model = tf.keras.Sequential([
tf.keras.layers.Flatten(input_shape=(28, 28)), # Flatten the input to a 1D vector
tf.keras.layers.Dense(128, activation='relu'), # Fully connected layer 1, using ReLU activation function
tf.keras.layers.Dense(10, activation='softmax') # Fully connected layer 2, output probability distribution using Softmax activation function
])
# Compile the model
model.compile(optimizer='adam', loss='sparse_categorical_crossentropy', metrics=['accuracy'])
# Train the model
model.fit(x_train, y_train, epochs=5, batch_size=32, validation_data=(x_test, y_test))
# Randomly select a test sample for prediction
test_index = tf.random.uniform(shape=[], maxval=x_test.shape[0], dtype=tf.int64)
test_image = x_test[test_index]
test_label = y_test[test_index]
# Make predictions
predictions = model.predict(tf.expand_dims(test_image, axis=0))
predicted_label = tf.argmax(predictions, axis=1)
# Display prediction results
plt.imshow(test_image, cmap='binary')
plt.title(f'Predicted: {predicted_label[0]}, True Label: {test_label}')
plt.axis('off')
plt.show()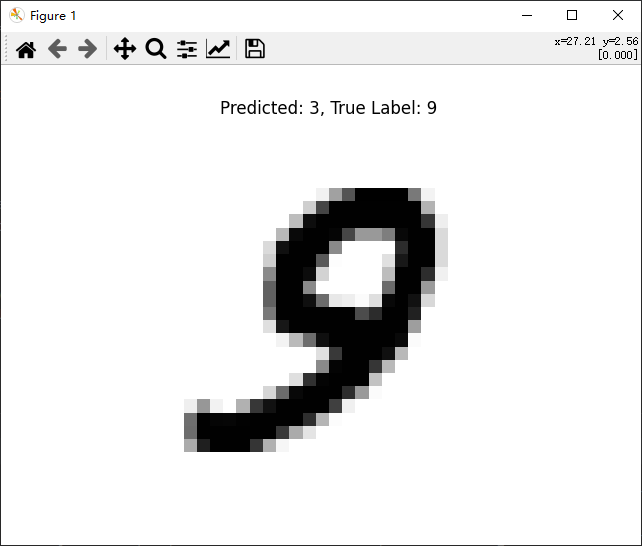
import tensorflow as tf
from tensorflow.keras.datasets import mnist
import matplotlib.pyplot as plt
# Load the MNIST dataset, including training and testing sets
(x_train, y_train), (x_test, y_test) = mnist.load_data()
# Data preprocessing
x_train = x_train.astype('float32') / 255.0
x_test = x_test.astype('float32') / 255.0
# Add channel dimension
x_train = tf.expand_dims(x_train, axis=-1)
x_test = tf.expand_dims(x_test, axis=-1)
# Build the model
model = tf.keras.Sequential([
    tf.keras.layers.Conv2D(32, 3, activation='relu', input_shape=(28, 28, 1)), # First convolutional layer
    tf.keras.layers.MaxPooling2D(),  # Max pooling layer
    tf.keras.layers.Flatten(),
    tf.keras.layers.Dense(128, activation='relu'),
    tf.keras.layers.Dense(10, activation='softmax')
])
# Compile the model
model.compile(optimizer='adam',              loss='sparse_categorical_crossentropy',              metrics=['accuracy'])
# Train the model
model.fit(x_train, y_train, epochs=5, batch_size=32, validation_data=(x_test, y_test))
# Randomly select a test sample for prediction
test_index = tf.random.uniform(shape=[], maxval=x_test.shape[0], dtype=tf.int64)
test_image = x_test[test_index]
test_label = y_test[test_index]
# Make predictions
predictions = model.predict(tf.expand_dims(test_image, axis=0))
predicted_label = tf.argmax(predictions, axis=1)
# Display prediction results
plt.imshow(test_image[:, :, 0], cmap='binary')
plt.title(f'Predicted: {predicted_label[0]}, True Label: {test_label}')
plt.axis('off')
plt.show()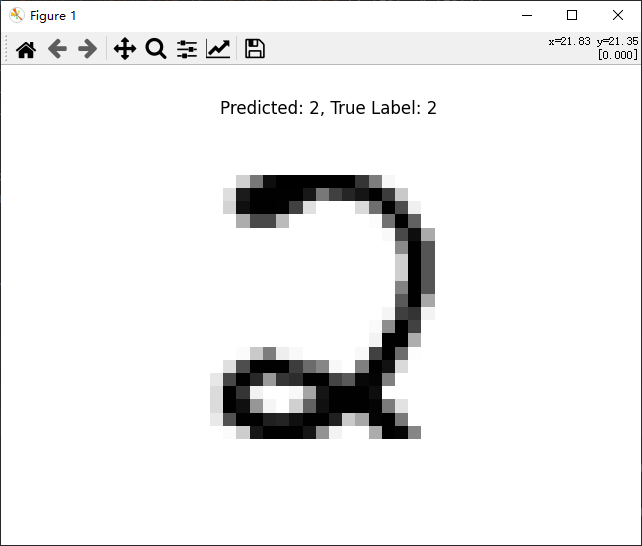
import tensorflow as tf
from tensorflow import keras
from tensorflow.keras import layers, optimizers
# Import the MNIST dataset
(x, y), (x_val, y_val) = keras.datasets.mnist.load_data()
x = tf.convert_to_tensor(x, dtype=tf.float32) / 255
y = tf.convert_to_tensor(y, dtype=tf.int32)
y = tf.one_hot(y, depth=10)
train_dataset = tf.data.Dataset.from_tensor_slices((x, y))
train_dataset = train_dataset.batch(200)
model = keras.Sequential([
    layers.Dense(512, activation='relu'),
    layers.Dense(256, activation='relu'),
    layers.Dense(10)])
optimizer = optimizers.SGD(learning_rate=0.001)
def train_epoch(epoch):
    for step, (x, y) in enumerate(train_dataset):
        with tf.GradientTape() as tape:
            x = tf.reshape(x, (-1, 28*28))
            out = model(x)
            loss = tf.reduce_sum(tf.square(out - y)) / x.shape[0]
        grads = tape.gradient(loss, model.trainable_variables)
        optimizer.apply_gradients(zip(grads, model.trainable_variables))
        if step % 100 == 0:
            print(epoch, step, 'loss', loss.numpy())
def train():
    for epoch in range(30):
        train_epoch(epoch)
if __name__ == '__main__':
    train()
29 0 loss <bound method _EagerTensorBase.numpy of <tf.Tensor: shape=(), dtype=float32, numpy=0.24838714>>
29 100 loss <bound method _EagerTensorBase.numpy of <tf.Tensor: shape=(), dtype=float32, numpy=0.29032478>>
29 200 loss <bound method _EagerTensorBase.numpy of <tf.Tensor: shape=(), dtype=float32, numpy=0.23255605>>

Want to know more
Quickly scan the code to follow