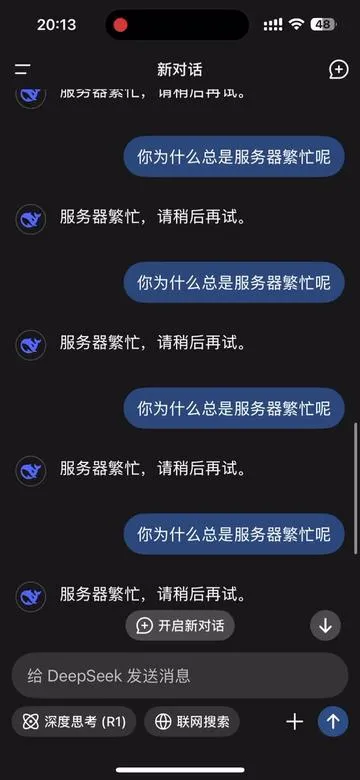
Today, let’s talk about the hardcore topic of deploying large models! I believe many programmer friends have experienced the frustration of opening a web page to use AI, only to be greeted with a pop-up saying “Server Busy, Please Try Again Later”. That sense of helplessness can really make one question life.
Well, who made us so dependent on it? Especially when dealing with large amounts of data, those temporary pauses can really break our mindset!
So, I had an idea—why not deploy a large model locally? With it, I can call it anytime, no lag, no limitations, and I can tweak it as I like. It’s truly a programmer’s dream! Today, I will guide you step-by-step in deploying DeepSeek, allowing you to enjoy an AI experience anytime, anywhere, without any hassle.
Before We Begin
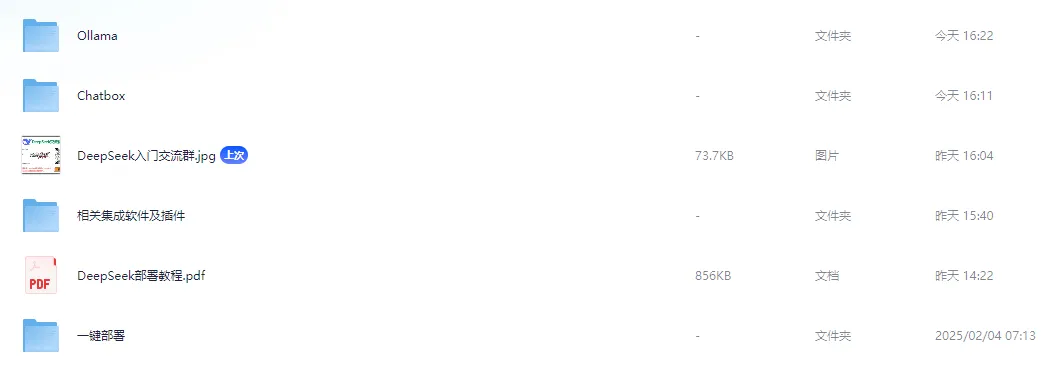
First, to avoid everyone searching for resources, I have packaged all the necessary software and tools. Here’s the download link:
Click the WeChat public account card below and reply with the keyword: deepseek to get the link to the cloud drive.
This tutorial is based on a Windows environment, but friends using Mac and Linux need not worry; the deployment method is nearly universal. Once you understand the core idea, the rest will be easy.
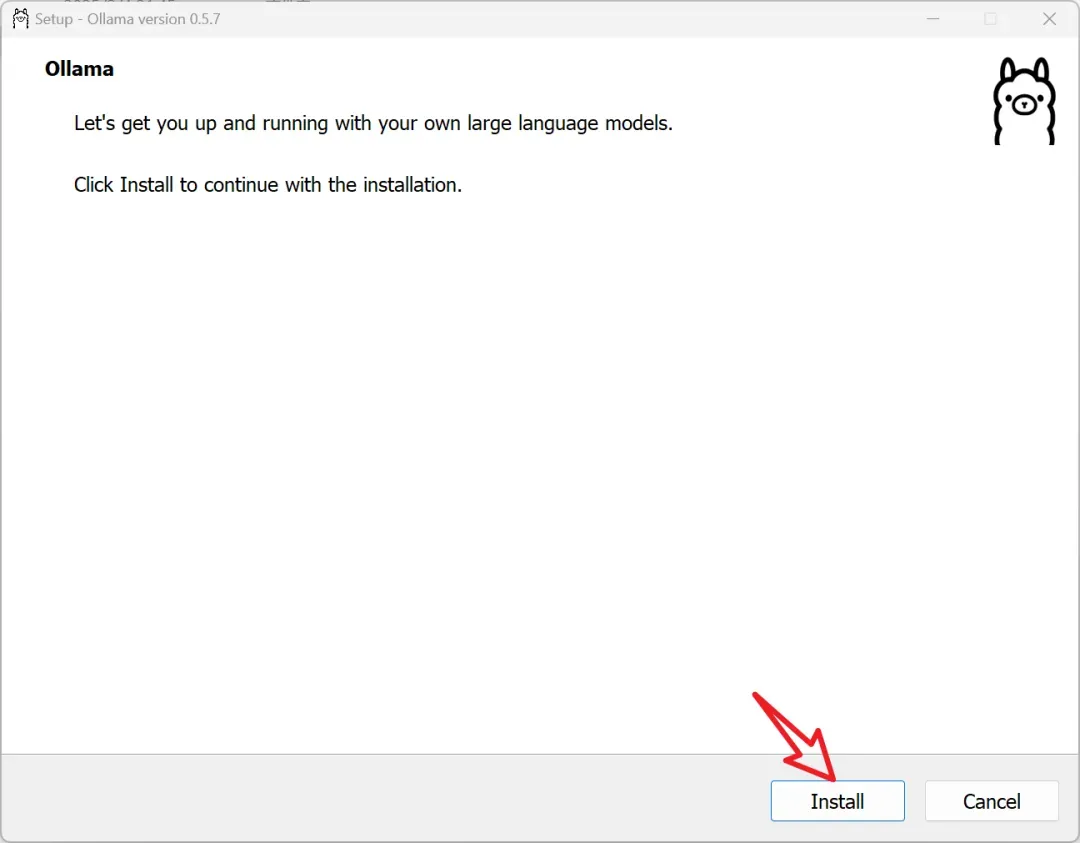
Step 1: Install Ollama
Ollama is the foundation for running DeepSeek. In simple terms, it is a tool for managing and running AI models, similar to how you need to install Python to run a Python program, right? Installing it is essentially like installing an AI “container”.

Double-click the installer and just click “Next” all the way through. Don’t be afraid of the English; just keep clicking “Next”. Don’t worry, this isn’t a math problem; just follow the steps.
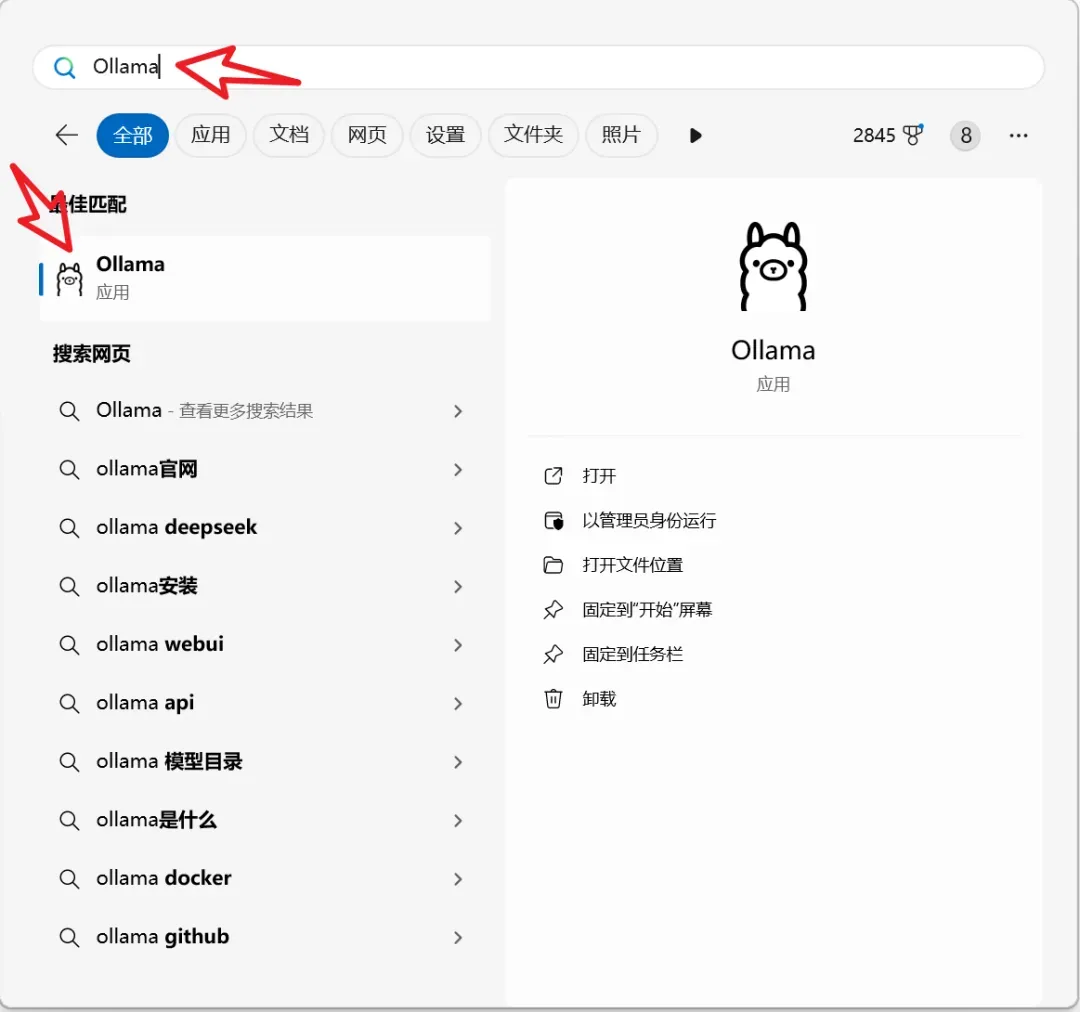
After installation, open the “Start Menu”, search for and click on Ollama.
Once the installation is complete, we need to confirm whether it was successful. Open the Command Prompt (shortcut: Win + R, type cmd)
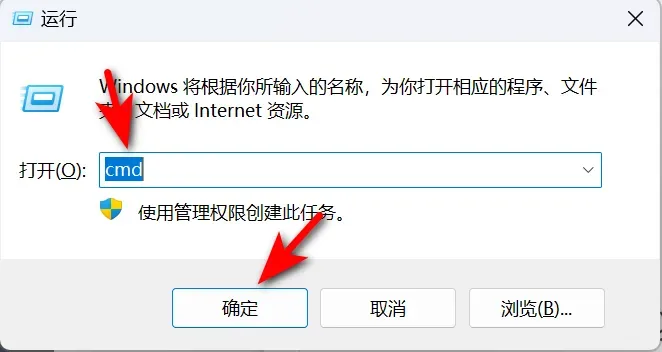
Then type:
ollama --version
If you see the version number, it means the installation was successful! Celebrate, 🎉 you have taken the first step toward success.
Step 2: Install the DeepSeek Model
With Ollama installed, the next step is to install the DeepSeek model. This step is very simple and won’t leave you feeling hopeless.
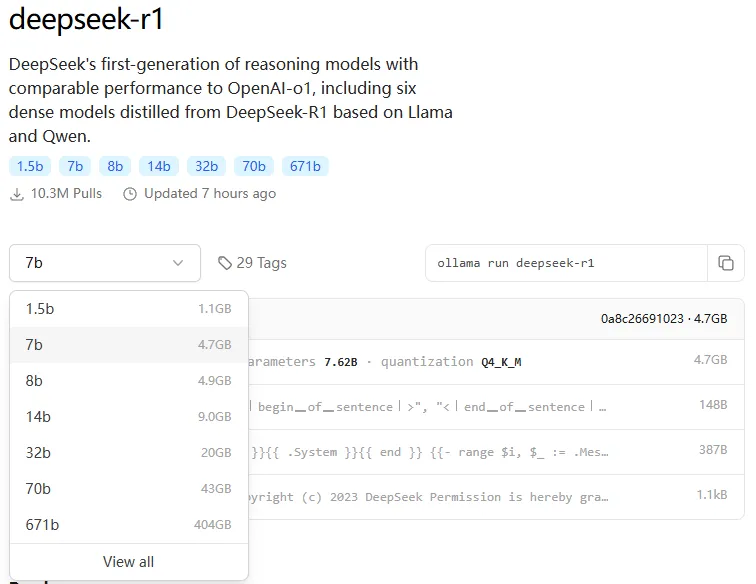
Open the DeepSeek model page 👉 https://ollama.com/library/deepseek-r1, and choose the version you need; there are basically three options:
-
1.5B: Suitable for lightweight tasks, requires at least 4GB of RAM. -
7B (recommended): Can run on most mainstream computers, requires 8GB of RAM + 4GB of VRAM. -
32B: Exclusive for high-end users, requires 32GB of RAM + 12GB of VRAM.
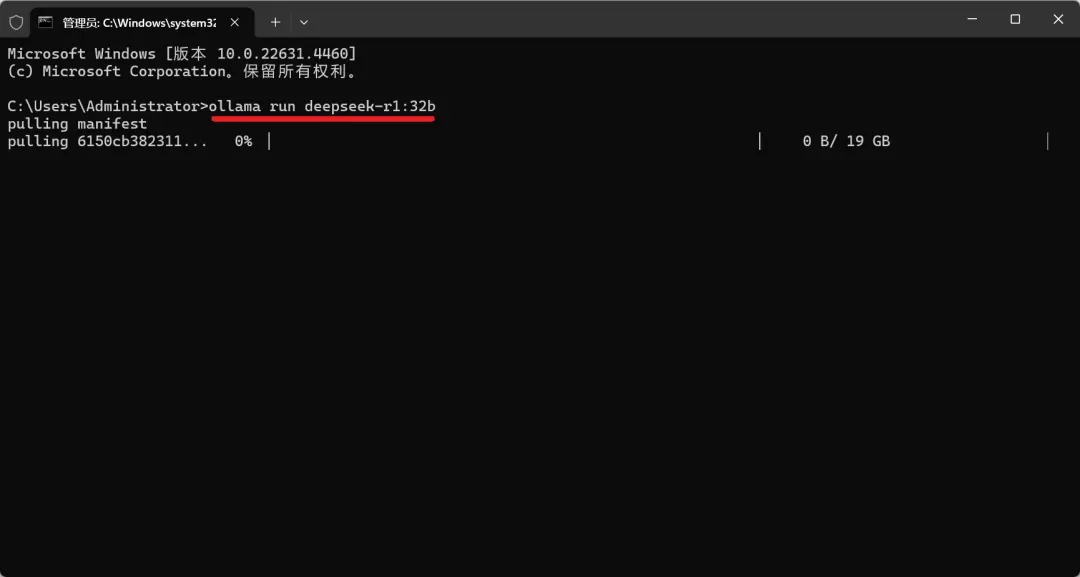
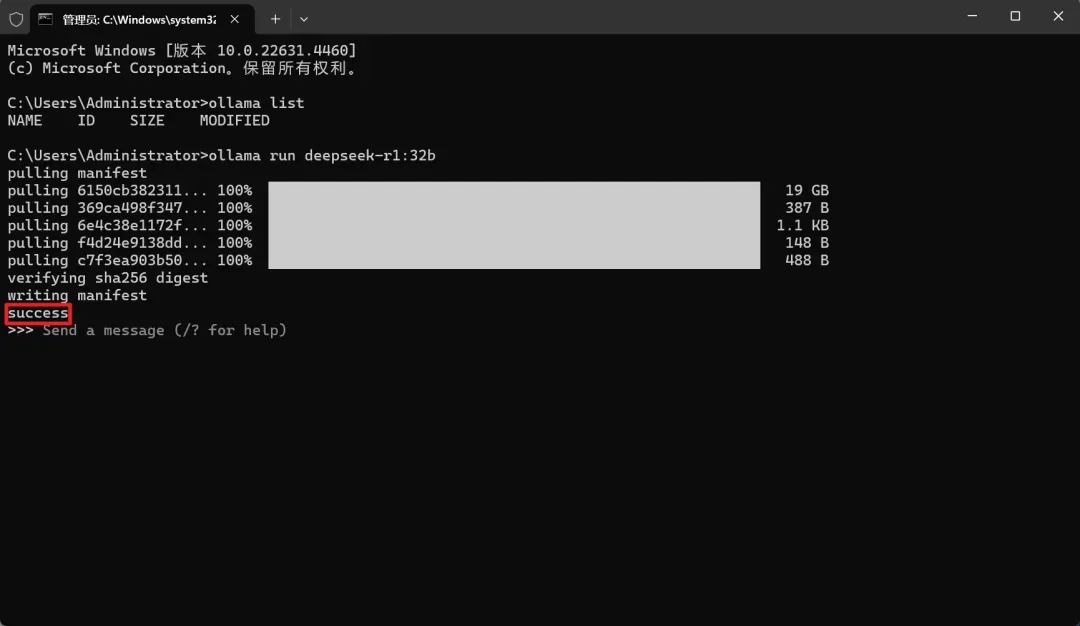
After selecting your desired version, run it with Ollama:
ollama run deepseek-r1:7b
If you are worried about network issues, you can download the model first and then run it:
ollama pull deepseek-r1:7b
Once the download is complete, the command line will display the word “success”. DeepSeek has been successfully installed, and you can now call the AI model locally anytime, which is absolutely fantastic!
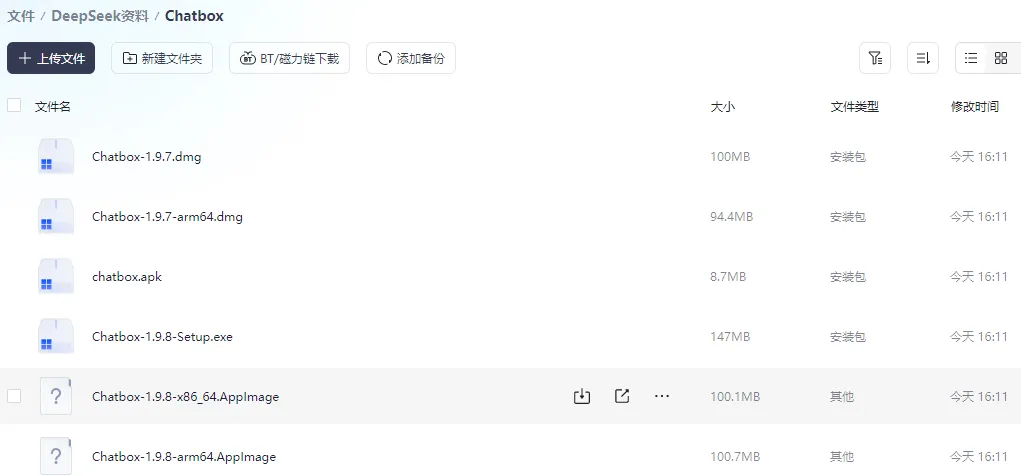
Step 3: Install ChatBox (Optional)
If you are a bit afraid of command line operations, consider installing ChatBox. It will give you a ChatGPT-like chat interface that is more intuitive and easier to use.
Download the ChatBox installation package (available in the cloud drive).
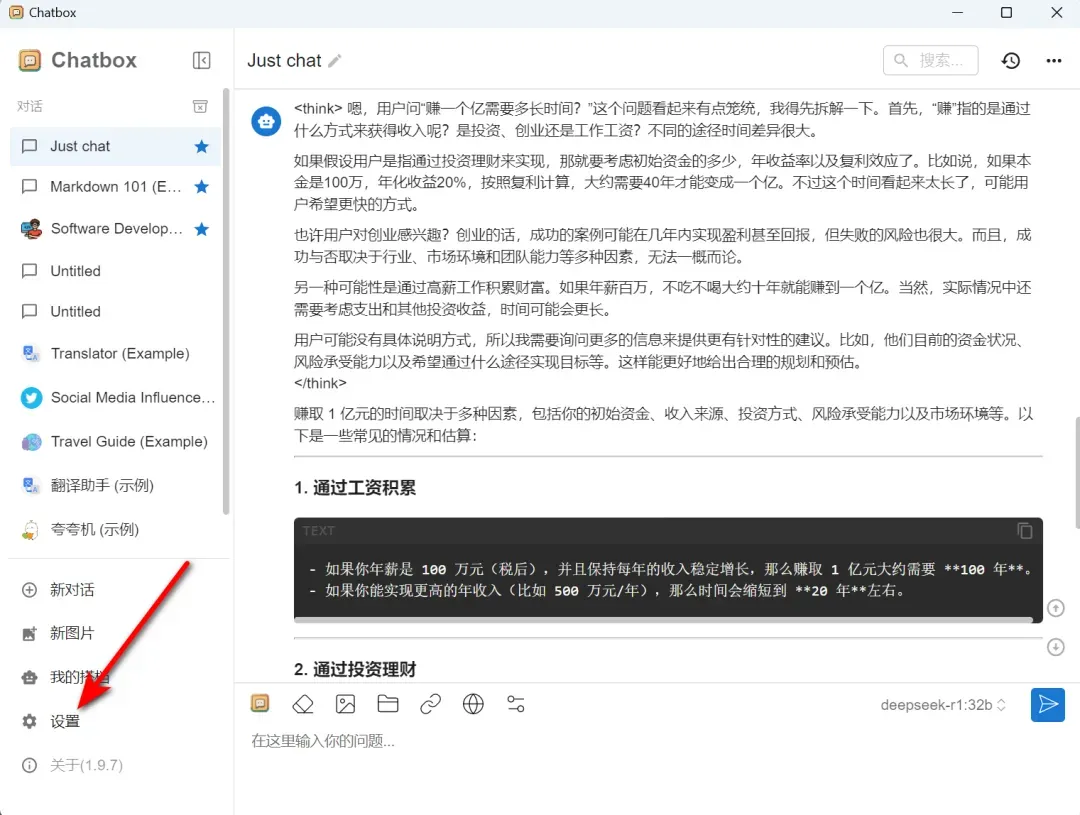
Once installed, open ChatBox, go to the settings page, and find the OPENAI API option.
In the API Key field, enter:
ollama run deepseek-r1:7b
7B or another version you have chosen.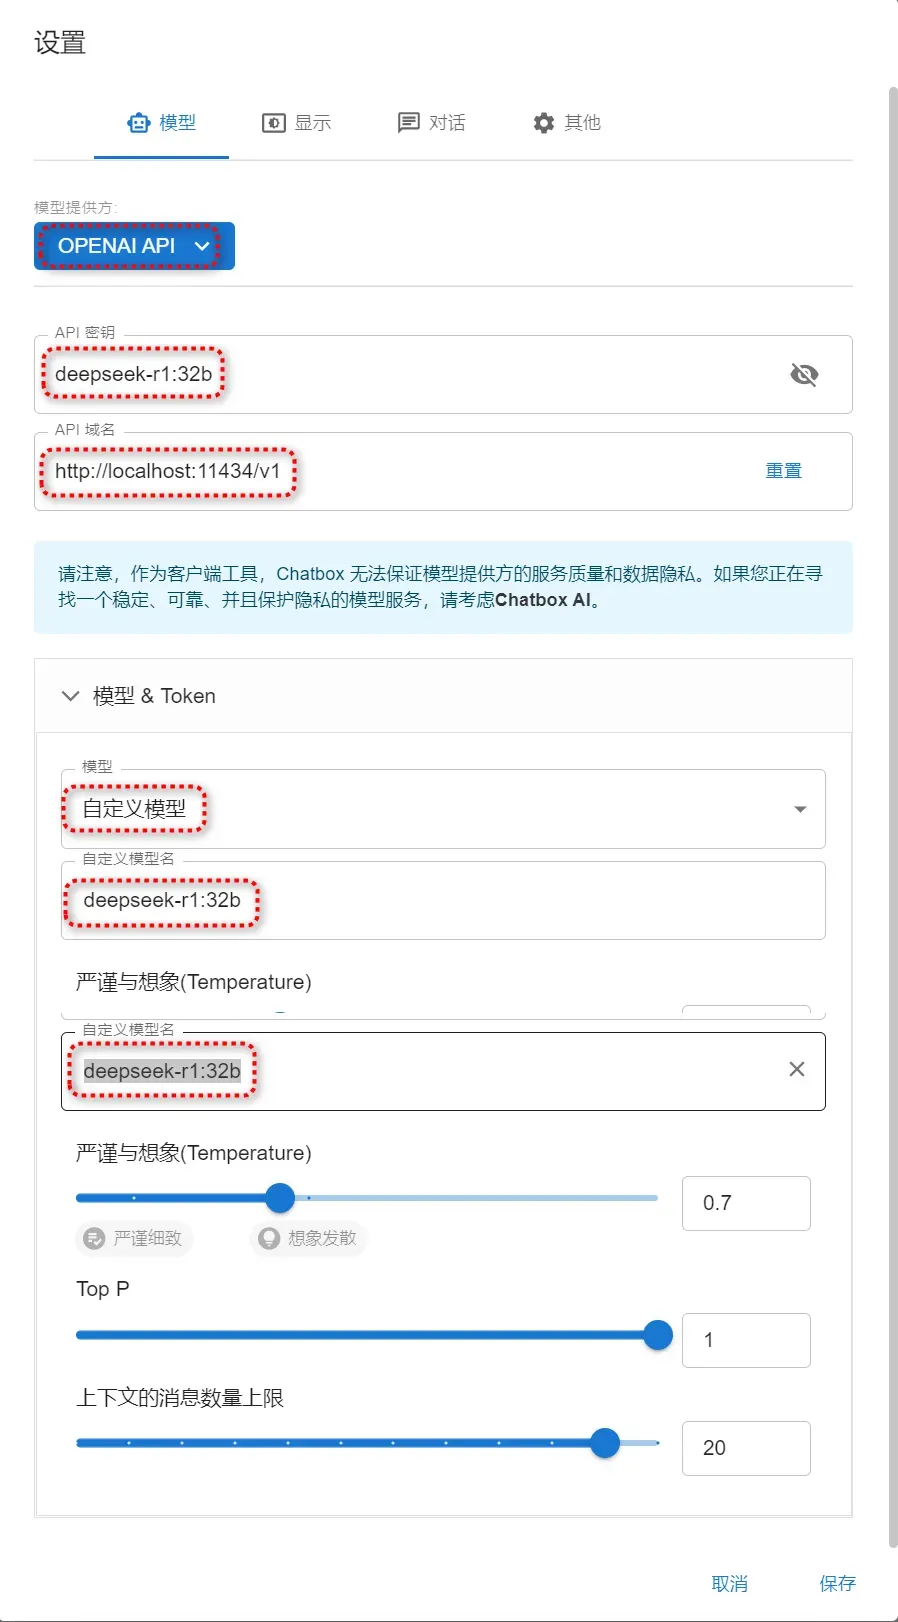
After that, the experience will be just like using ChatGPT; you can input questions and get answers, without worrying about “server busy” anymore.
A Brief Summary
After deployment, you can easily experience the DeepSeek model locally, and you no longer need to worry about network fluctuations when tuning and using the model. You can do whatever you want, call it anytime and anywhere, without any restrictions. More importantly, you can freely tune the model to optimize it according to your needs—it’s truly a paradise for programmers.
How about that? Isn’t it simple? In fact, local deployment of these AI tools is not complicated. Once you learn this, you will find that many AIs can run, and the efficiency is extremely high. Next step, hurry up and give it a try!
Finally, I have created a comprehensive tutorial from beginner to advanced for deepseek, completely free: https://www.songshuhezi.com/deepseek/advanced_ollama_chatbox.html
At the same time, feel free to join the group below to explore the latest uses of deepseek together.