Hi, students! This is the 59th issue of our AI project tutorial – an introduction to Runway’s video subtitle processing and AI drawing features.
It feels like it’s all set up just for making movies, with a complete set of features now online! A must-save for those who want to learn systematically!
After in-depth research on various features of Runway, whether it’s the AI video generation and post-processing technology or the AI image generation technology, Runway is quite powerful, and there’s great potential in the AI video field!
Next, I will explain each feature in the Runway navigation bar in order;
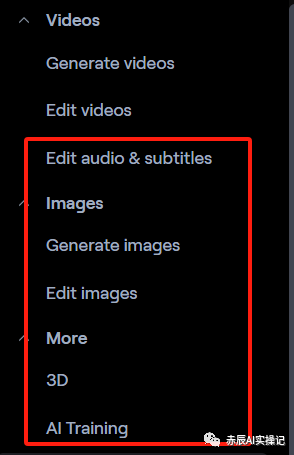
1. Edit Audio & Subtitles
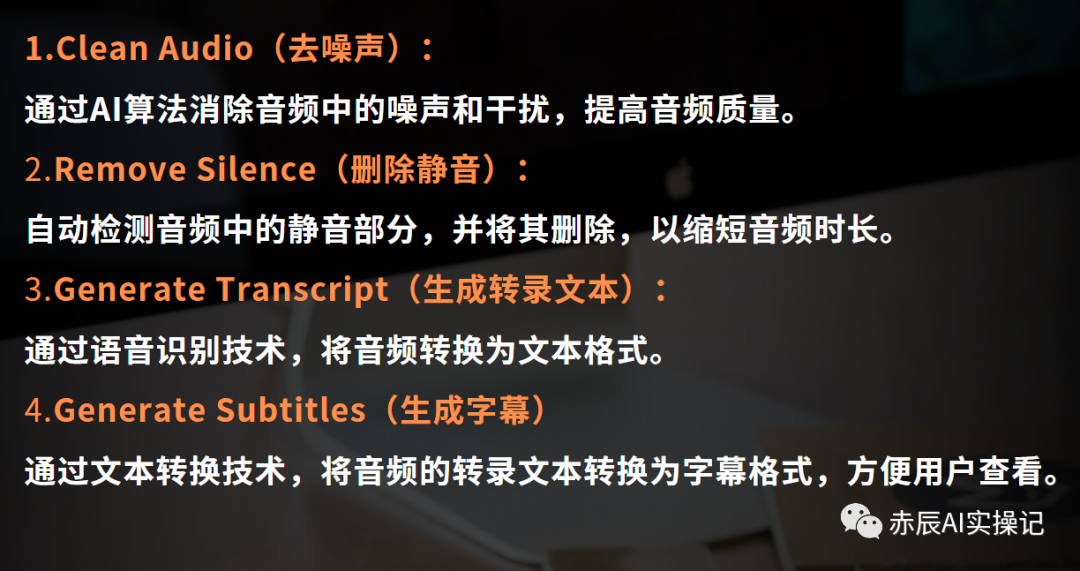
Runway offers four features for audio and subtitle processing:
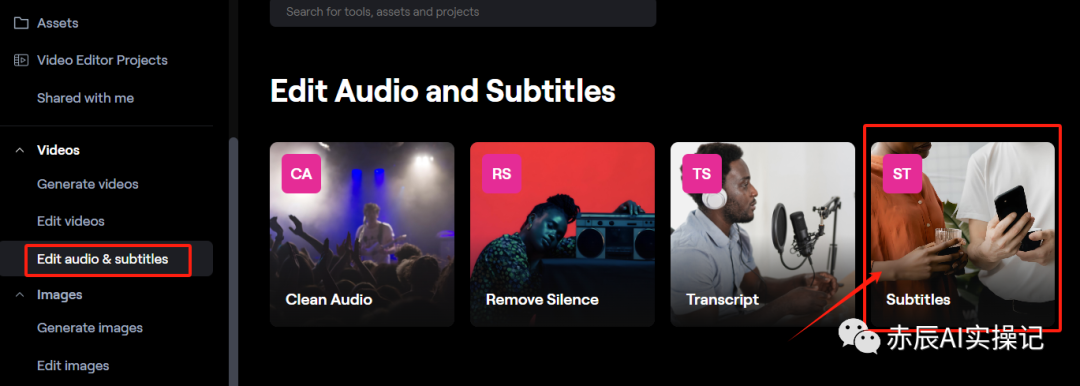
First, click on the left navigation bar and select “Edit Audio & Subtitles.” A page will pop up with four tool options.
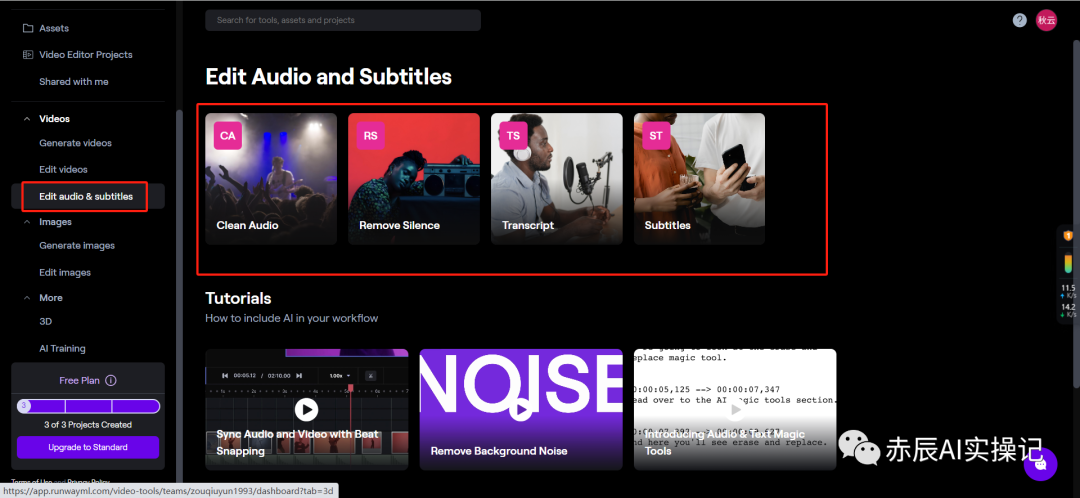
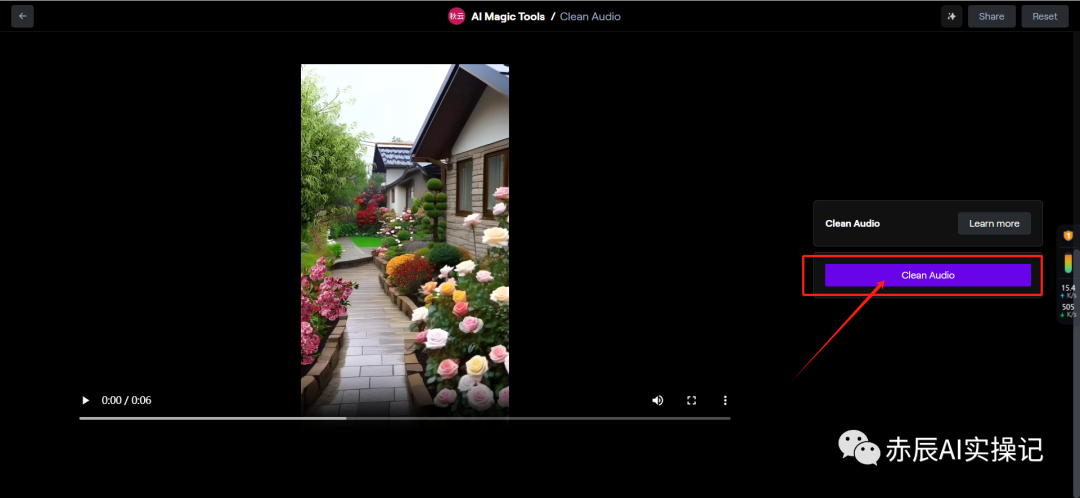
Clean Audio
Click on Clean Audio to jump to the audio processing interface.

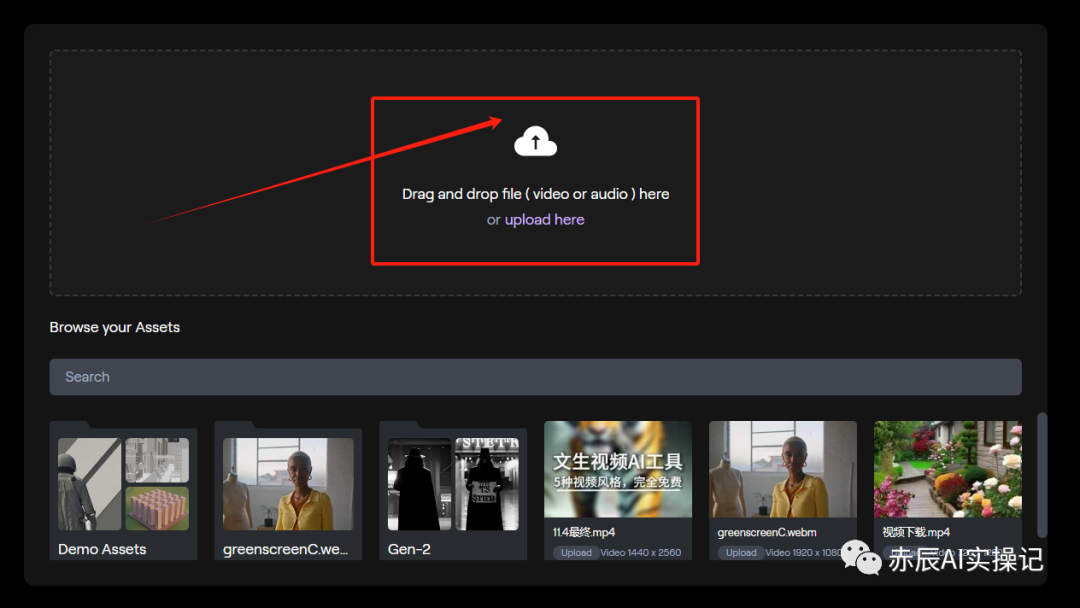
Next, upload the video.

Then click the Clean Audio button. After a few seconds, you will get the audio after noise reduction.
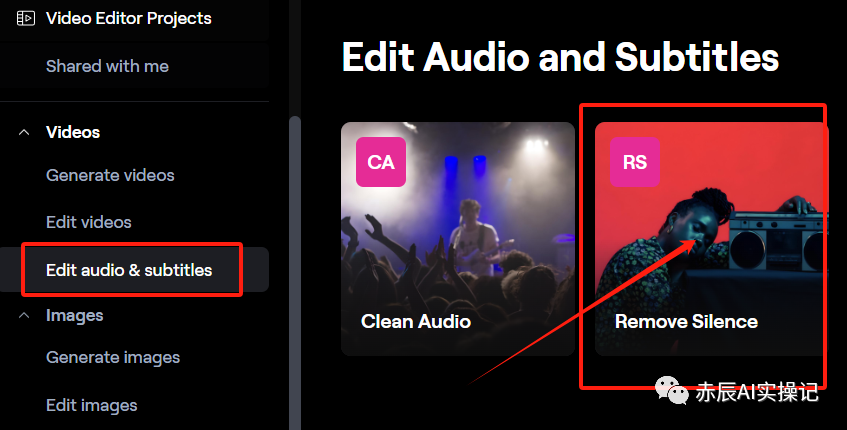
Remove Silence
Click on Clean Audio to jump to the audio processing interface.
Similarly, upload the video file that needs processing.
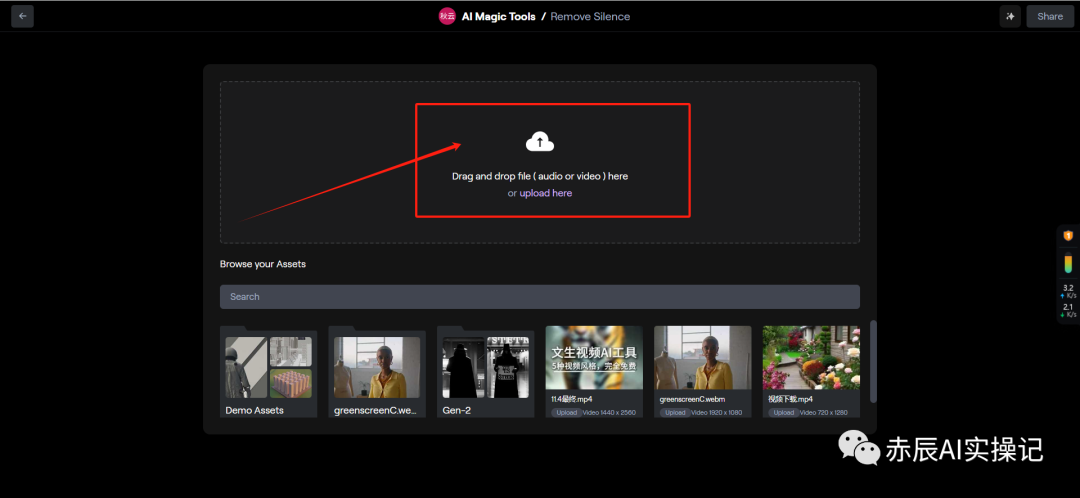
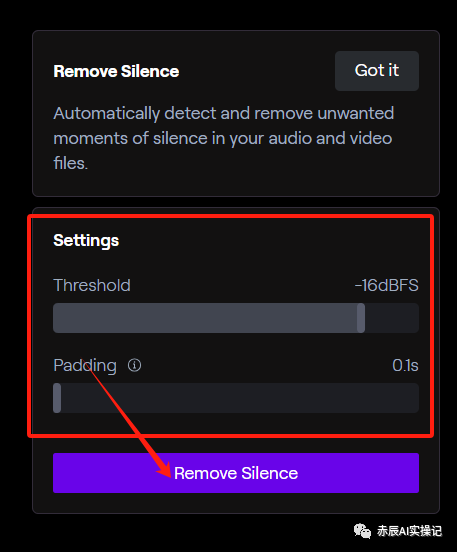
After the video is uploaded, the system will automatically detect the silent parts and mark them in red.
On the right side, the parameters Threshold and Padding are usually set to default values. Finally, click “Remove Silence” to remove the silent parts and save the downloaded video.
Transcript
Click on Transcript to jump to the audio processing interface.

Similarly, upload the video file that needs processing.
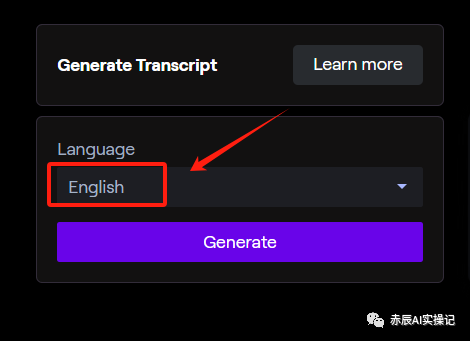
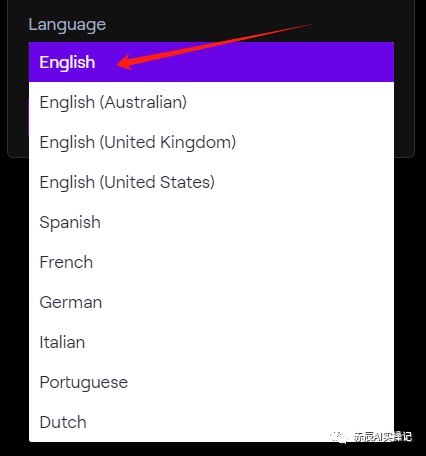
After the video is uploaded, check the language of the converted text in the right box. Currently, the system only supports generating ten languages, unfortunately, Chinese is not included, then click “Generate.”
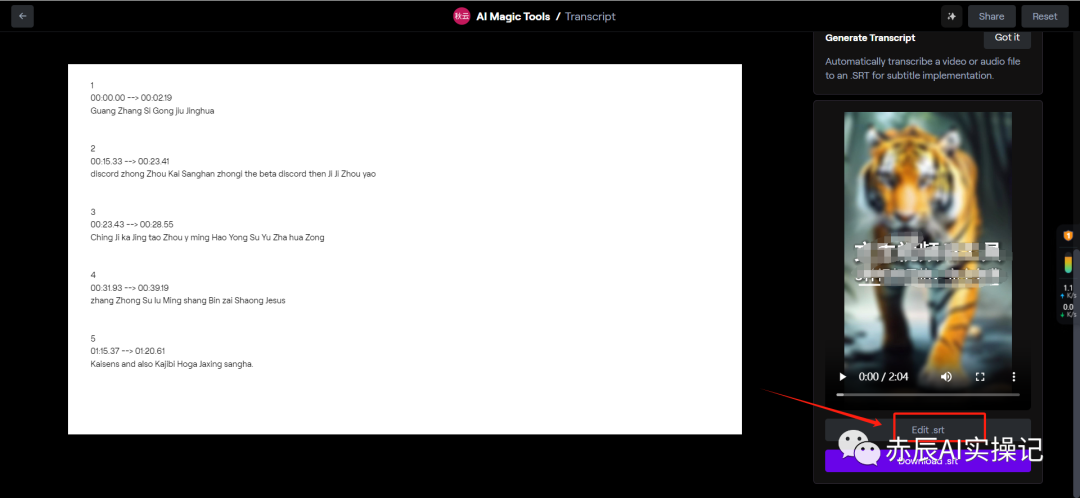
After a few seconds, the page will pop up with the extracted text content. If you want to modify it, you can click “Edit .srt.”
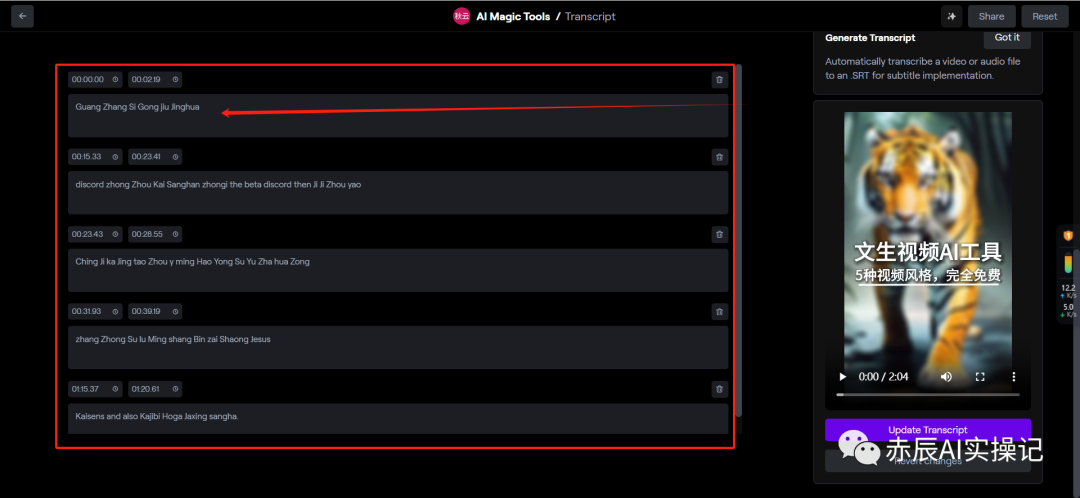
Edit the content in the text box. If there are no issues, you can click Download .srt to download the document.
Subtitles
Click on Subtitles to jump to the video processing interface. Similarly, upload the video and provide settings that allow the transcription text to be converted into subtitle format for easy viewing by users. Similar to the intelligent subtitles in Jianying, this function is a paid feature, so I won’t demonstrate it here.
That concludes the introduction to the four features of Edit Audio & Subtitles.
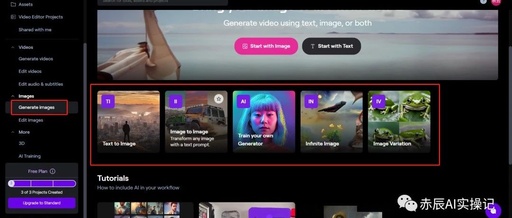
Next, I will explain the image feature module.
Images have two major functions for generation and processing.
-
Generate Images -
Edit Images
This includes 12 image generation and processing features such as text-to-image, image-to-image, image expansion, image cropping, and intelligent restoration.
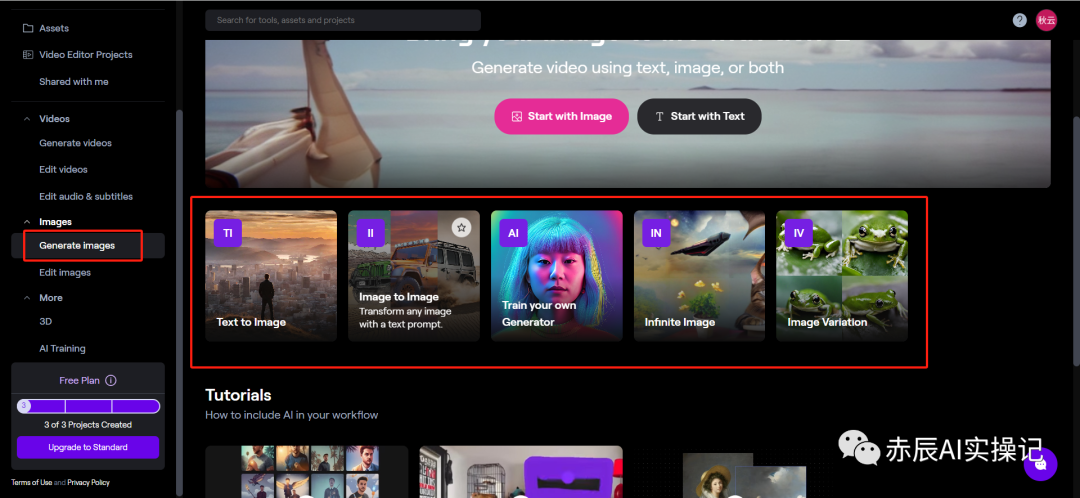
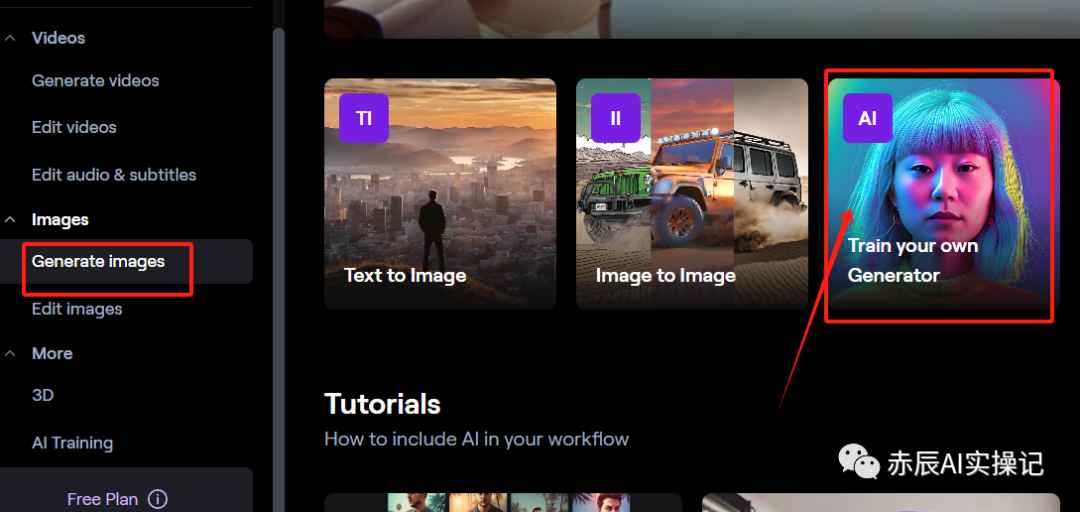
(1) Generate Images
Runway’s image generation technology module has five tools.

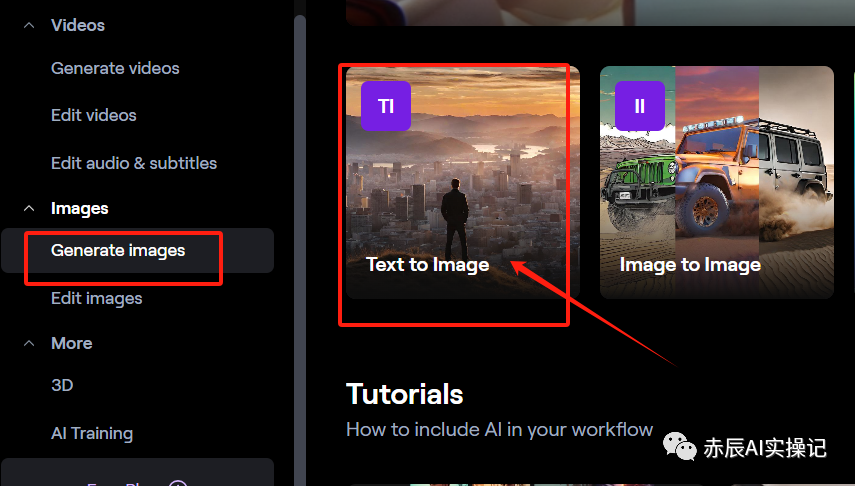
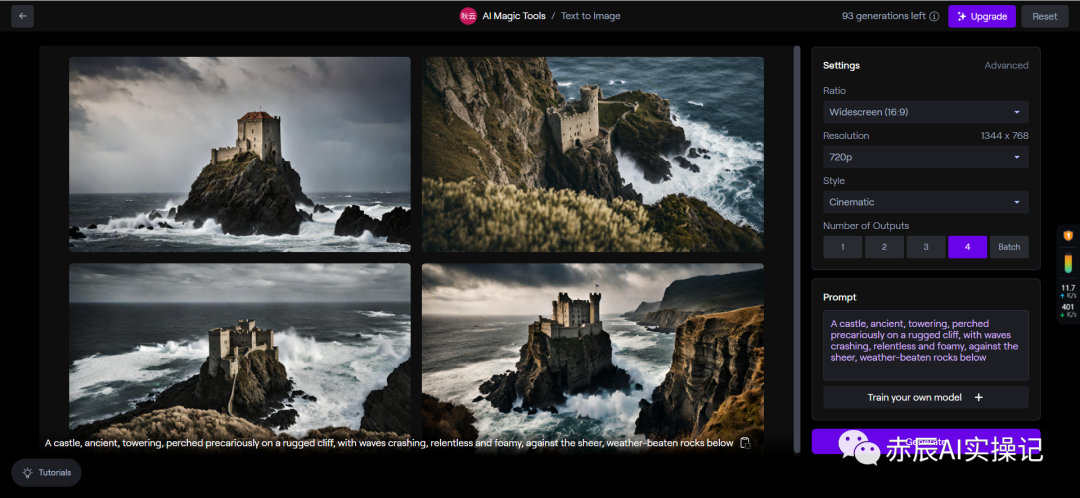
①Text to Image
This function only requires entering a prompt to generate an image. First, click on the “Text to Image” option.
Enter the prompt in the right basic options and then click Generate to produce the image.
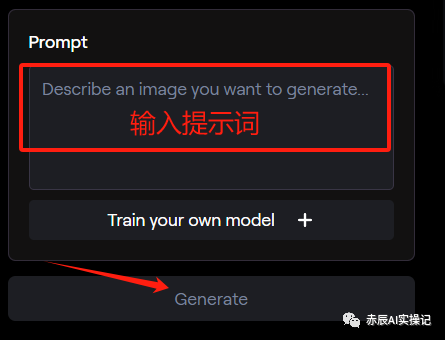
The generated image looks very good.
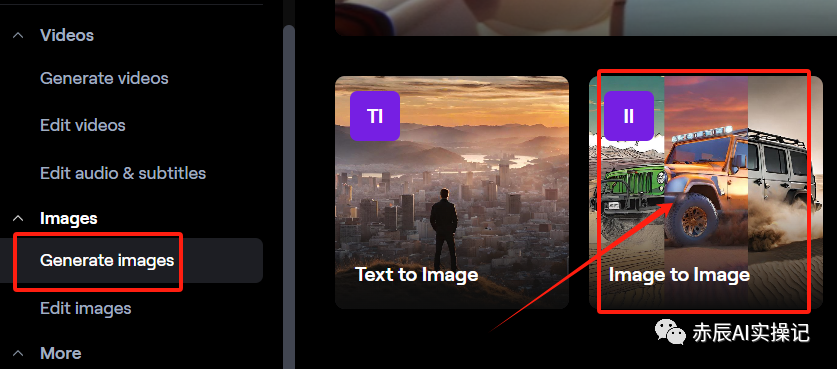
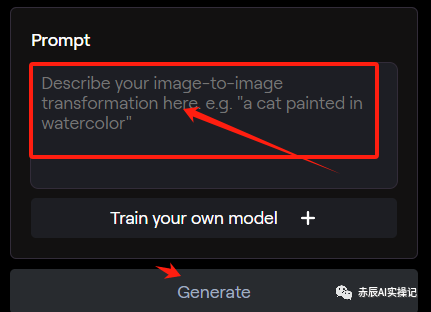
②Image to Image
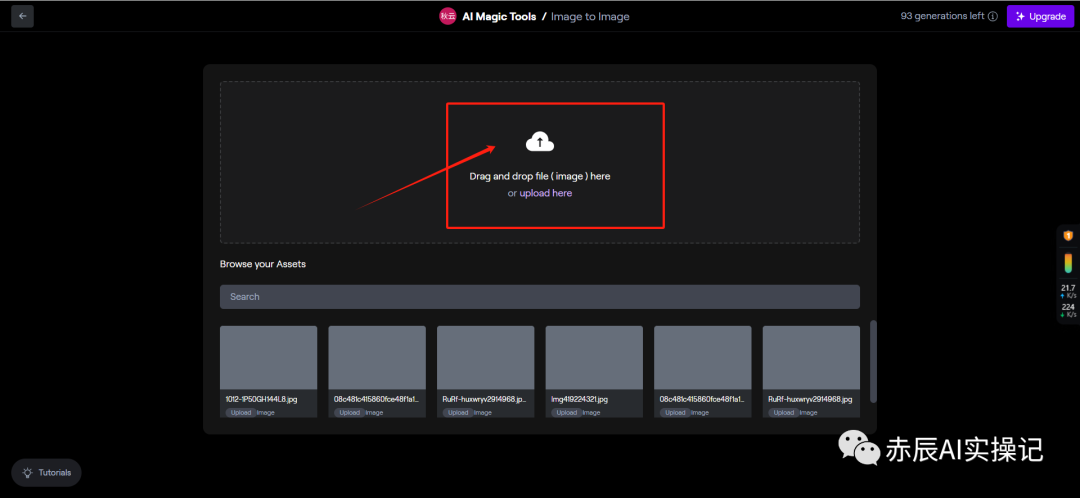
This function only requires uploading an image, and the system can generate similar images. First, click on the “Image to Image” option.
Next, upload the prepared image.
Enter the editing interface, first check the basic options on the right.
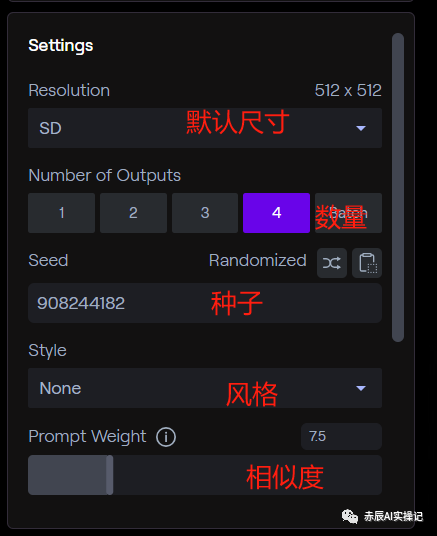
You can also enter prompts to make the generated images more perfect. Finally, click Generate to create the image.
③Train Your Own
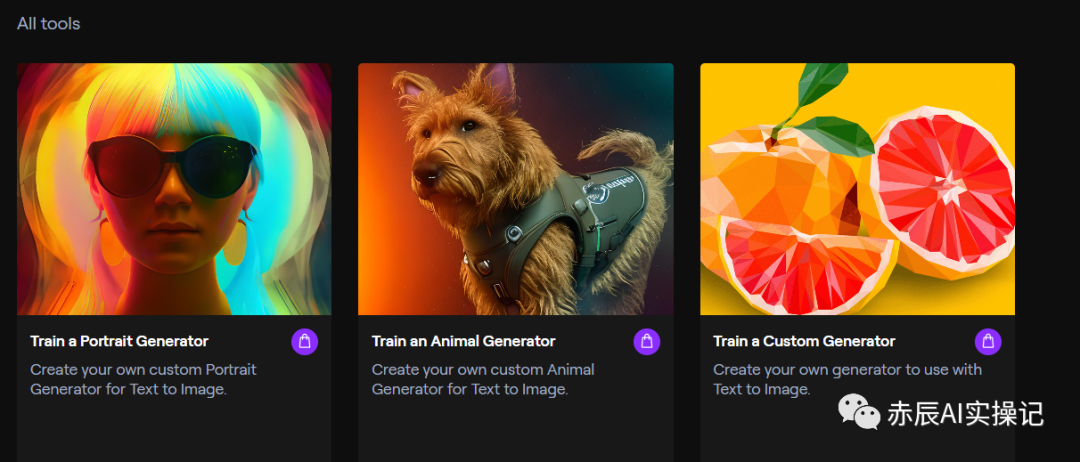
This function is a newly launched custom AI model by Runway. Just upload multi-angle images of people or animals, and the system can generate a series of images. First, click on the “Train Your Own” option.
The page will show three model options. Since this feature is a paid section, interested students can test it themselves.

④Infinite Image
This function can infinitely extend the image through simple text prompts to generate more extended content. First, click on the “Infinite Image” option.
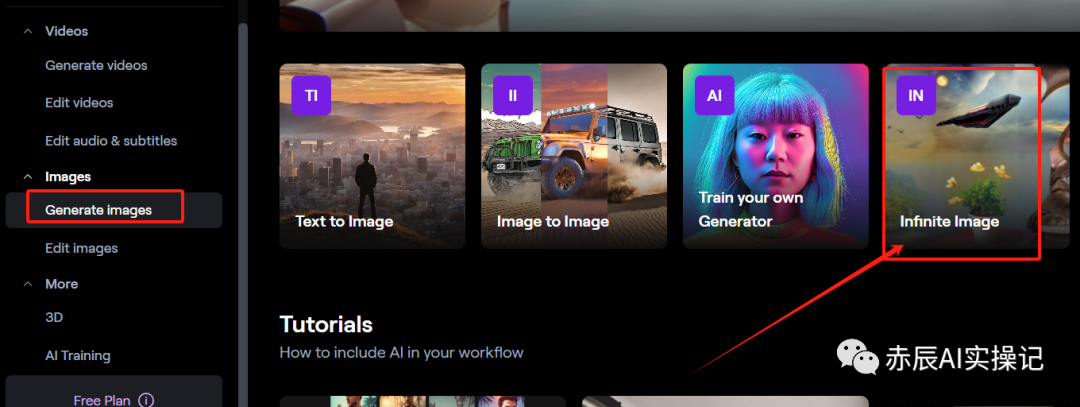
Jump to the editing interface.

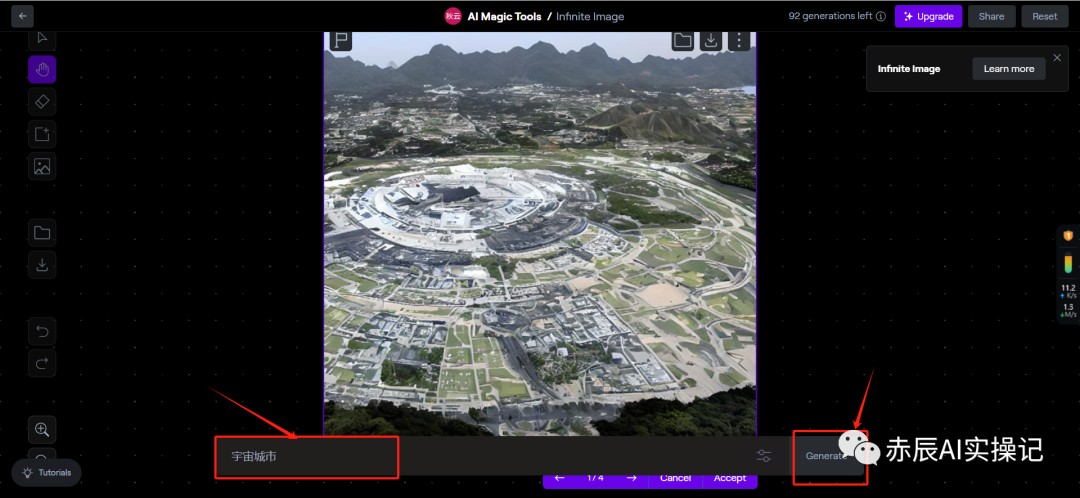
You can make local modifications online and extend the image.
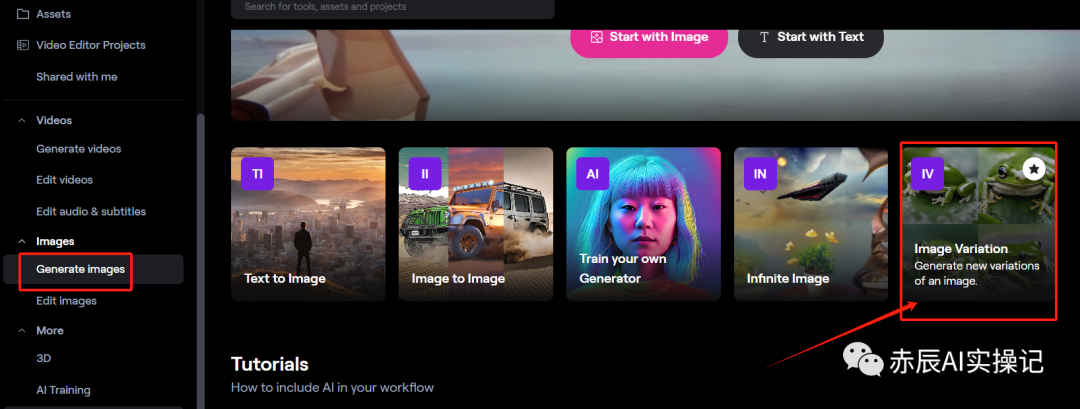
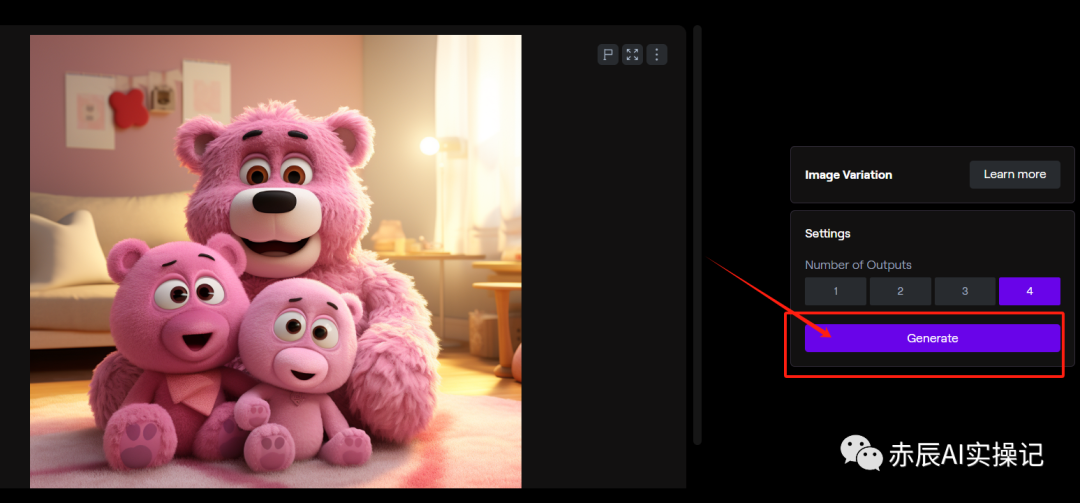
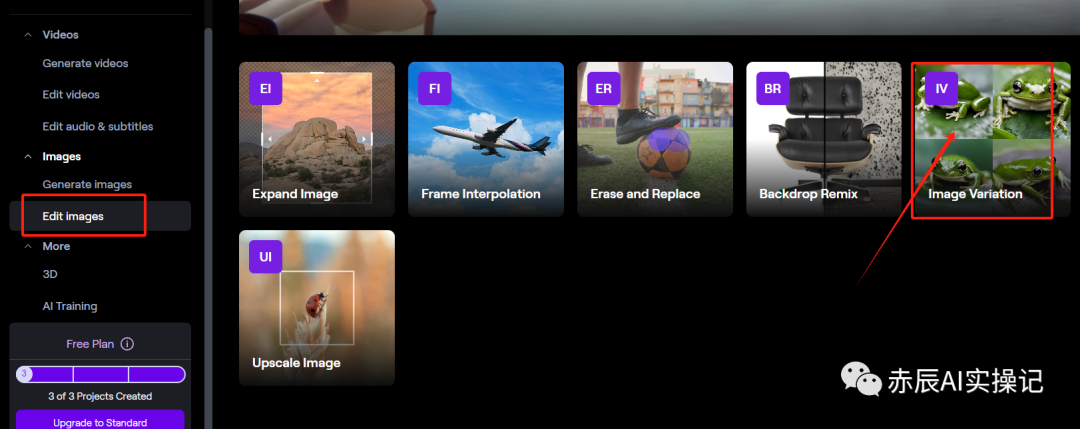
⑤Image Variation
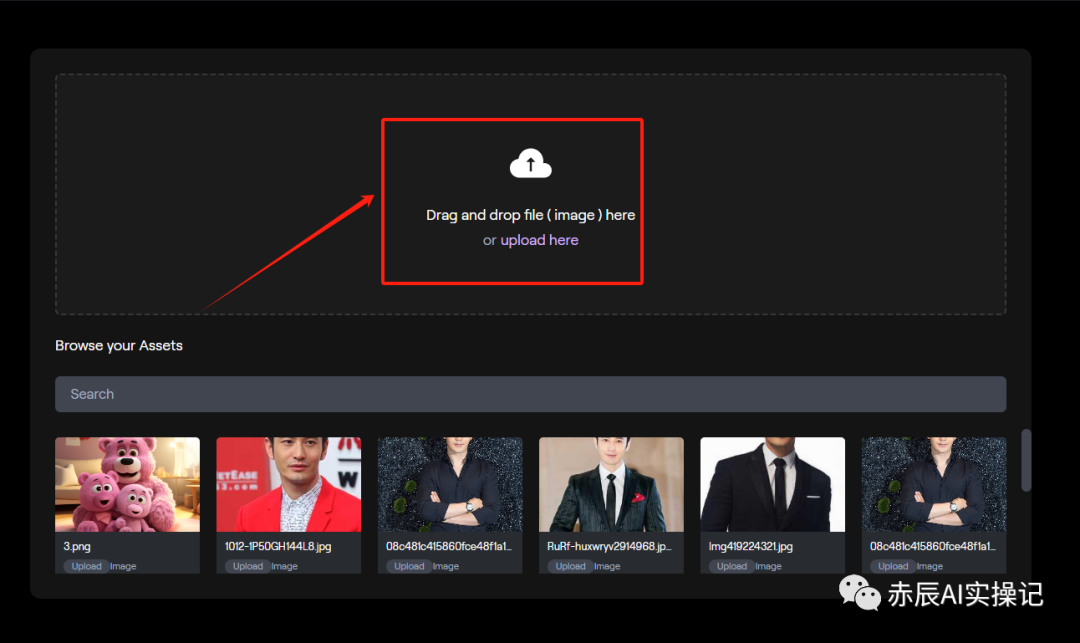
This function can automatically generate up to four image variations based on a single original image. First, click on the “Image Variation” option.
Then upload the image.
On the right, click Generate to create the image.
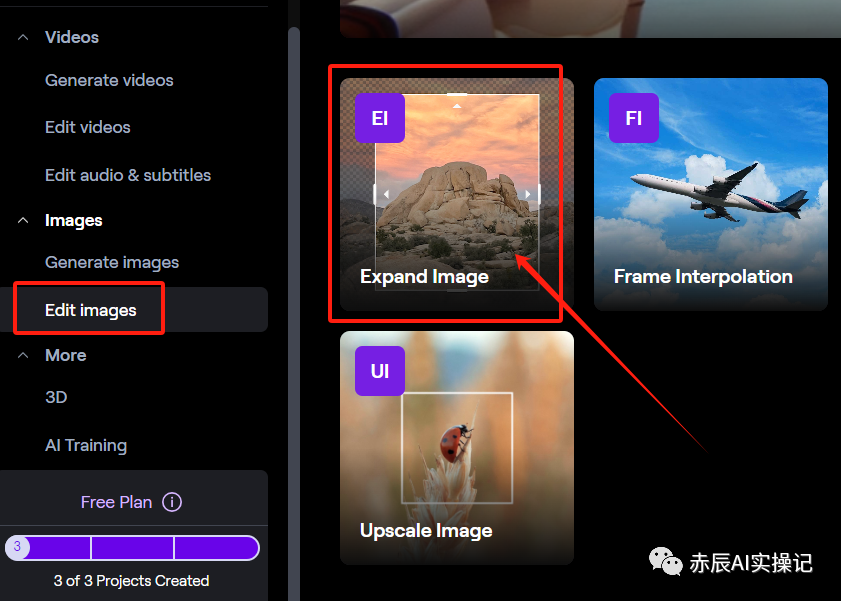
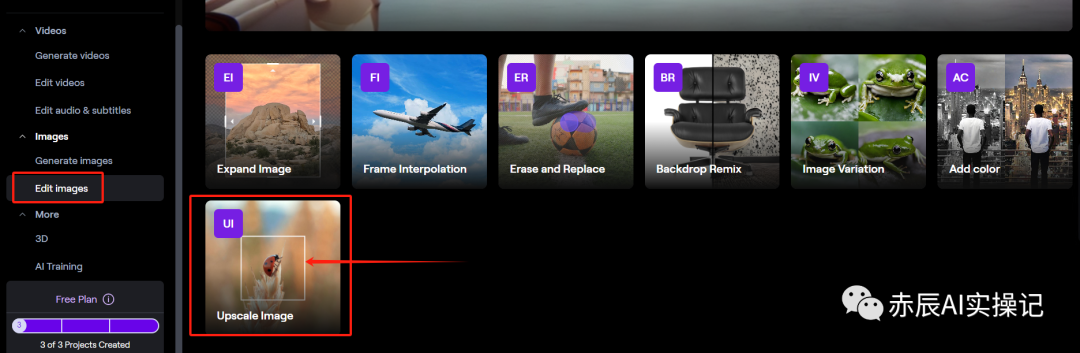
(2) Edit Images
In addition to image generation technology, the Runway image post-processing module has seven functions.

① Expand Image
This function intelligently senses the generated fill to extend the uploaded image to a new aspect ratio. First, click on the “Expand Image” option.
Next, upload the video.
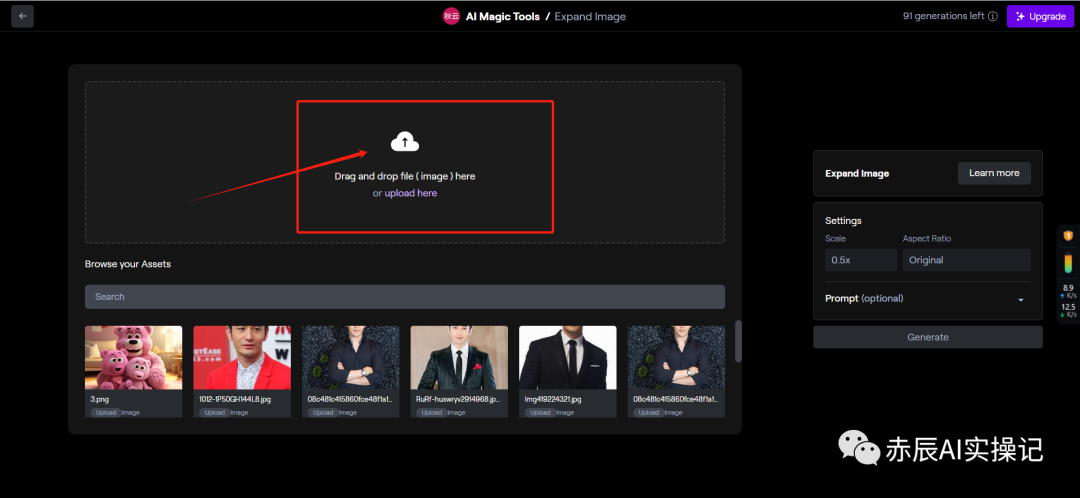
Then you can fill in the content of the image expansion and set the expansion size in the right input box. Finally, click Generate to create it.

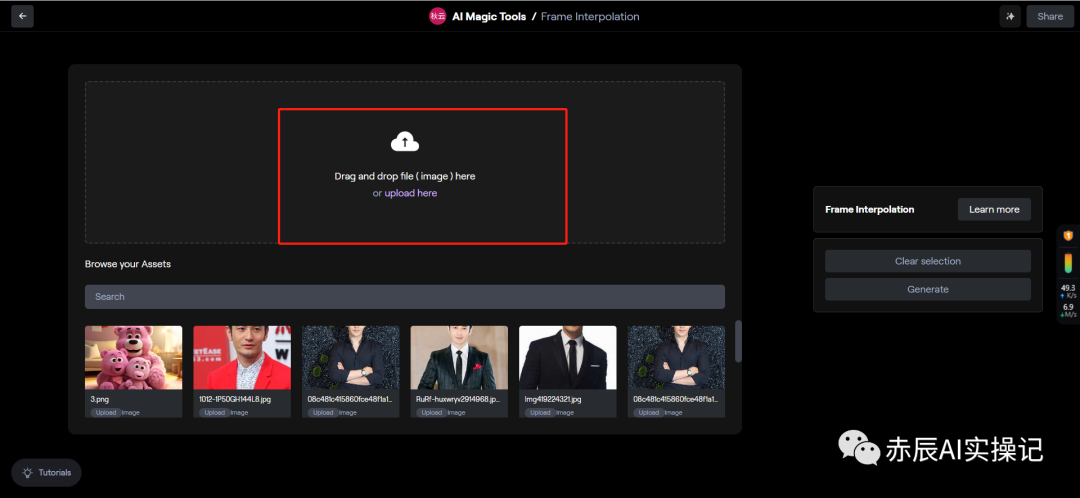
② Frame Interpolation
This function can string a series of images together to form an animated video. First, click on the “Frame Interpolation” option.
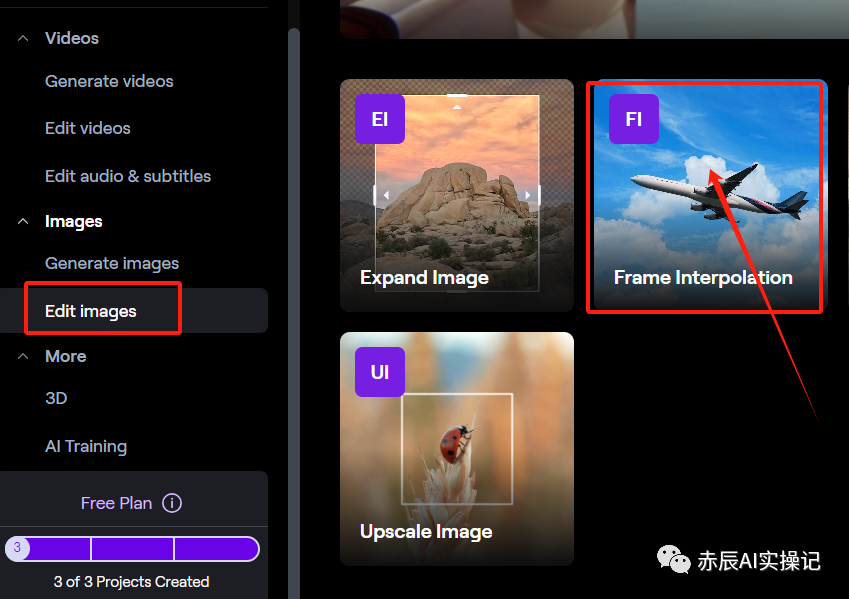
Next, upload multiple images, and the system will automatically generate smooth transitions between the uploaded images to create a smooth video result. Finally, click Generate to create the animated video.
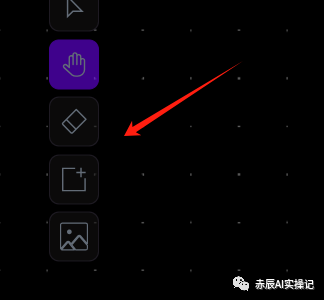
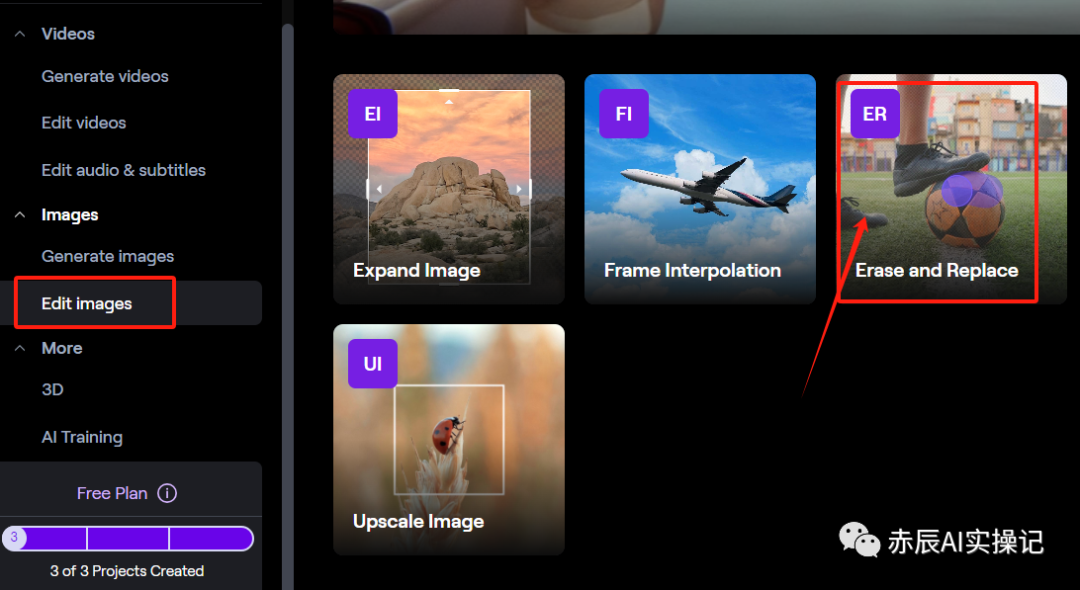
③ Erase and Replace
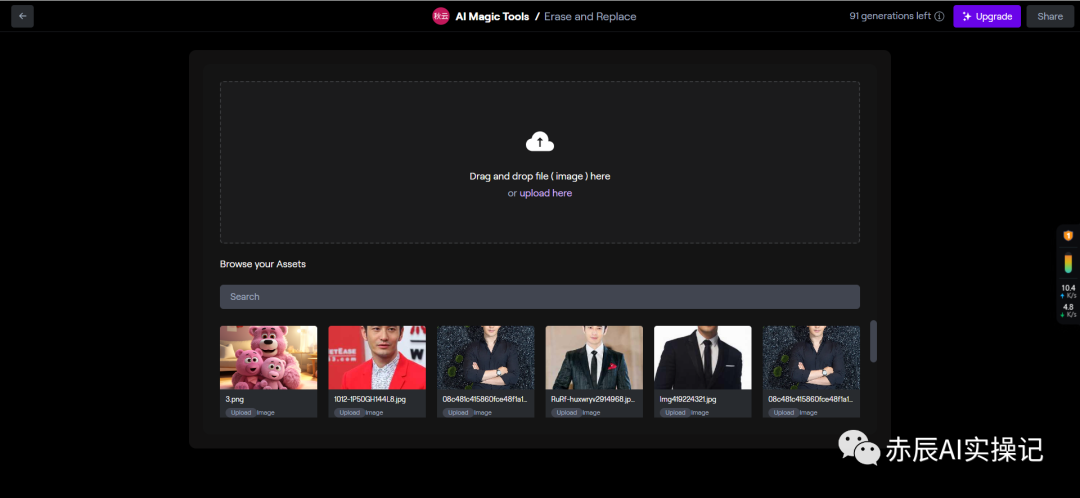
This function can erase unwanted local content and can also generate modifications through text. First, click on the “Erase and Replace” option.
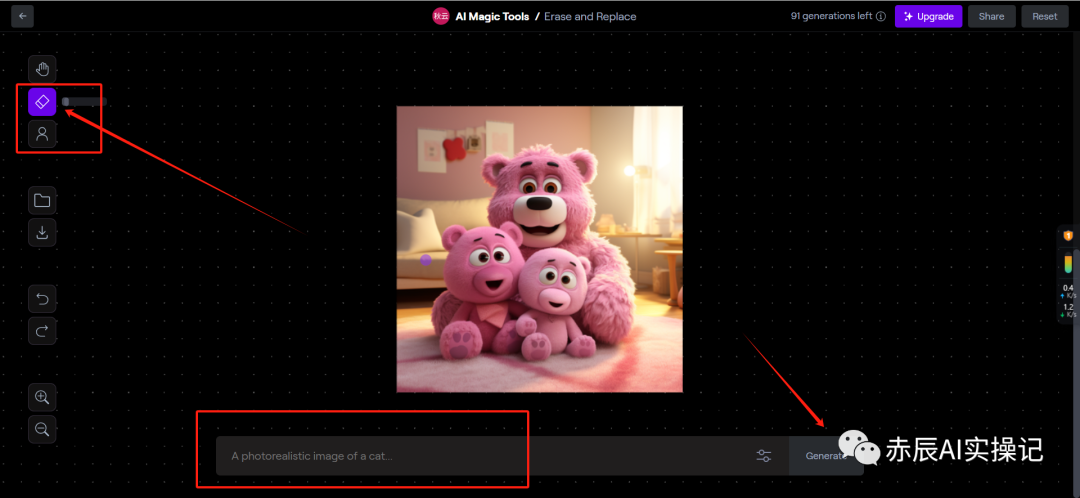
Upload the image.
Then in the editing interface, use the eraser to wipe out the unsatisfactory parts of the image. Then enter the prompt in the dialog box, and the system will replace the content according to the prompt.
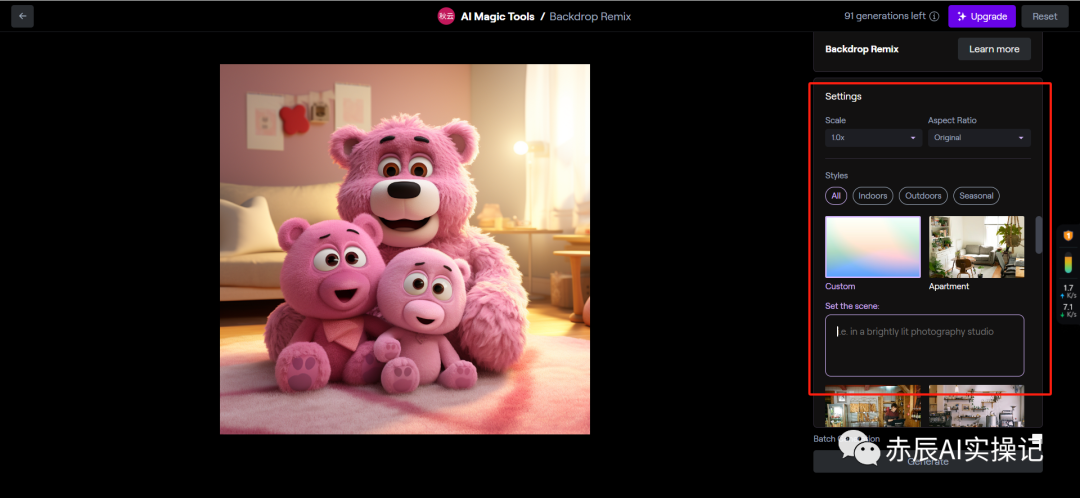
④ Backdrop Remix
This function can remix and generate any AI image’s style and composition by changing the prompt keywords. First, click on the “Backdrop Remix” option.

After uploading the image, you can enter prompt words in the right editing interface or apply the system’s template styles to generate new images.
⑤ Image Variation
This function is consistent with the Image Variation in Generate Images, so I won’t repeat it here.
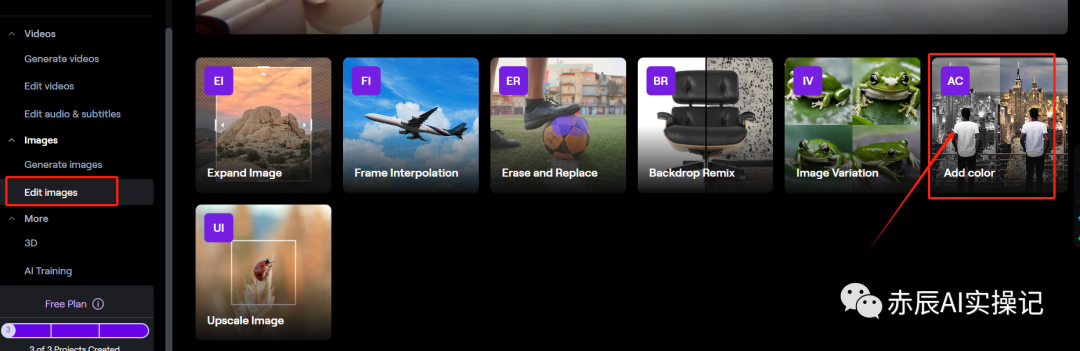
⑥ Add Color
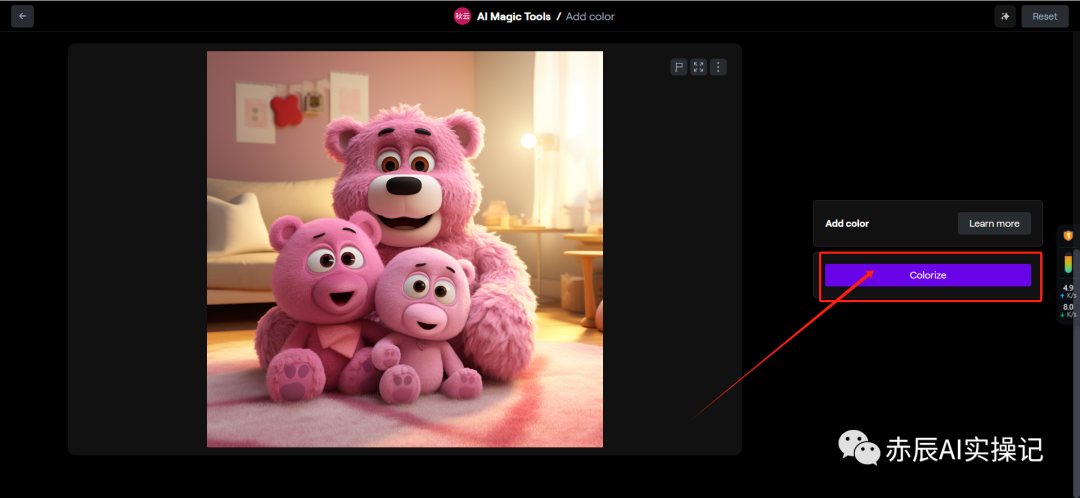
This function can achieve one-click coloring, instantly restoring black-and-white images. First, click on the “Add Color” option.
After uploading the image, you can click Colorize to color it.
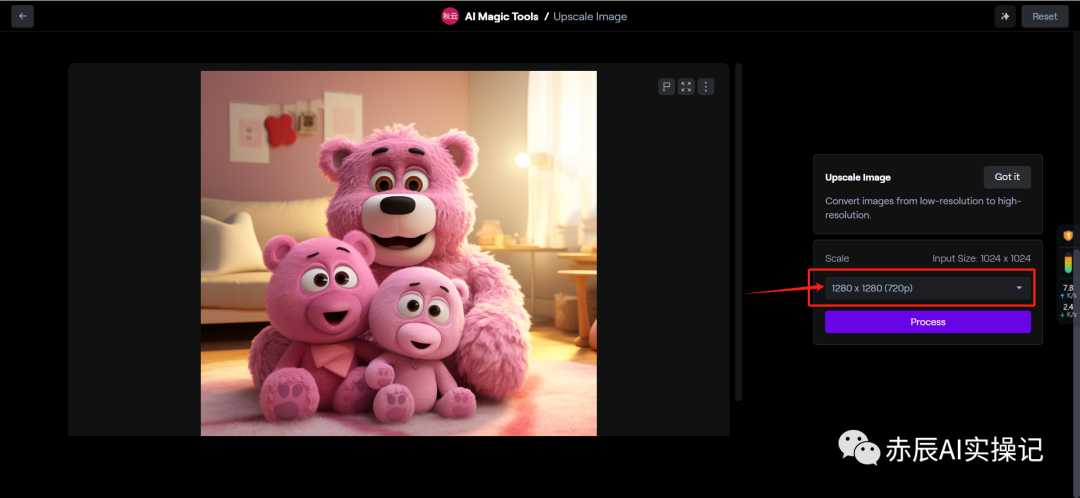
⑦ Upscale Image
This function can be understood as converting an image from low resolution to high resolution, instantly making blurry pictures become high definition. First, click on the “Upscale Image” option.
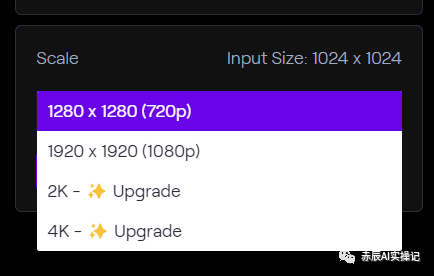
After uploading the image, check the appropriate resolution on the right options, supporting 720P/1080P/2K/4K.
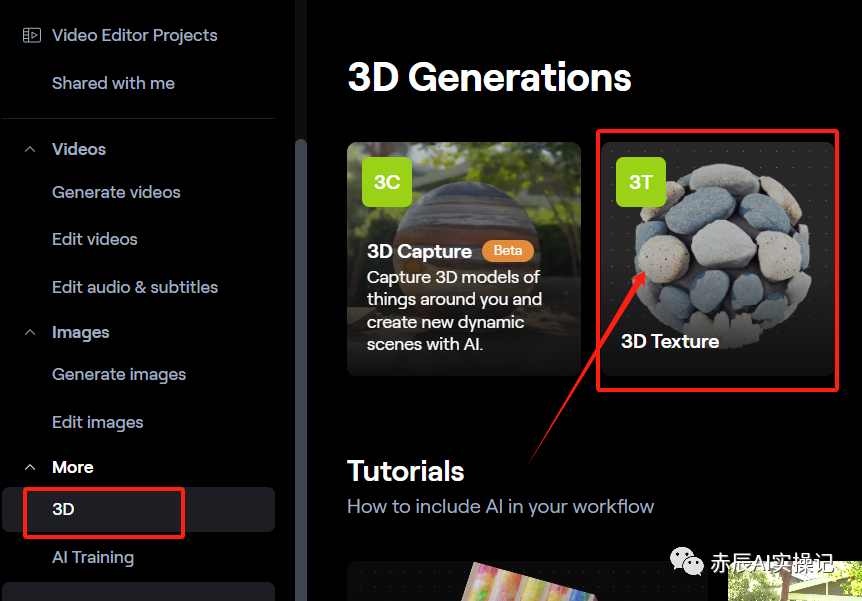
3. 3D
In addition to video and image generation technology, Runway also has 3D generation functions, including:
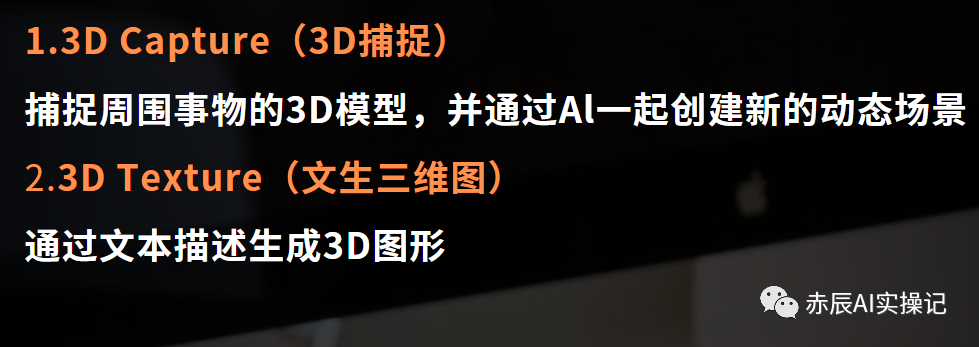
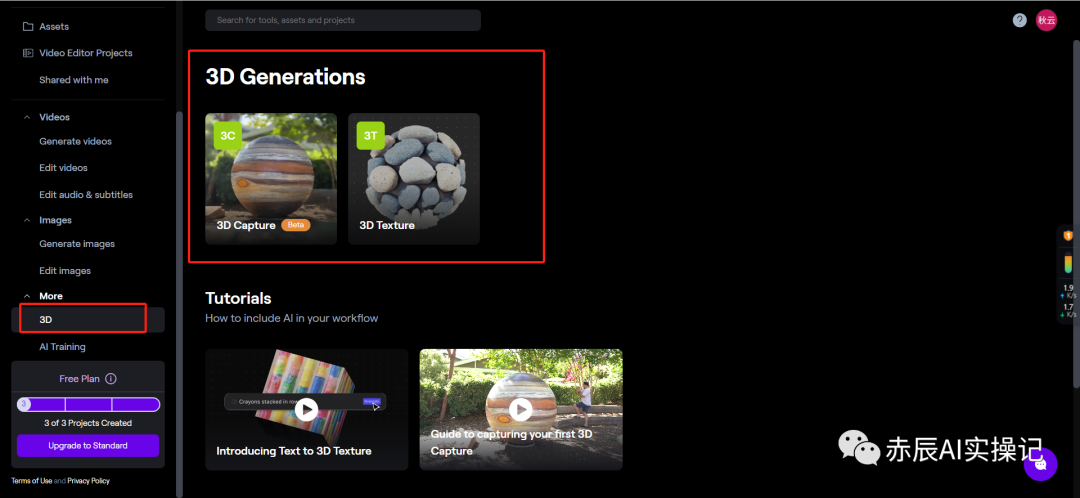
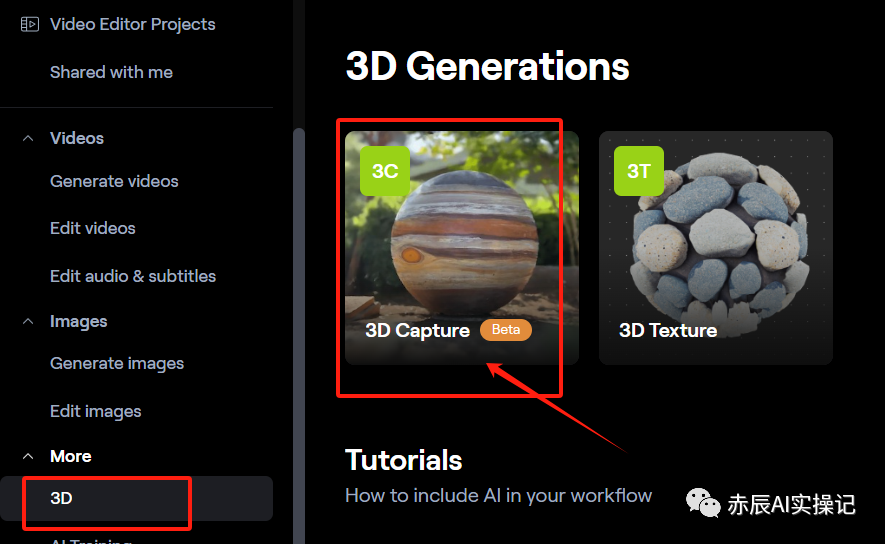
(1) 3D Capture
This function can merge objects into a 3D scene through shooting AI.
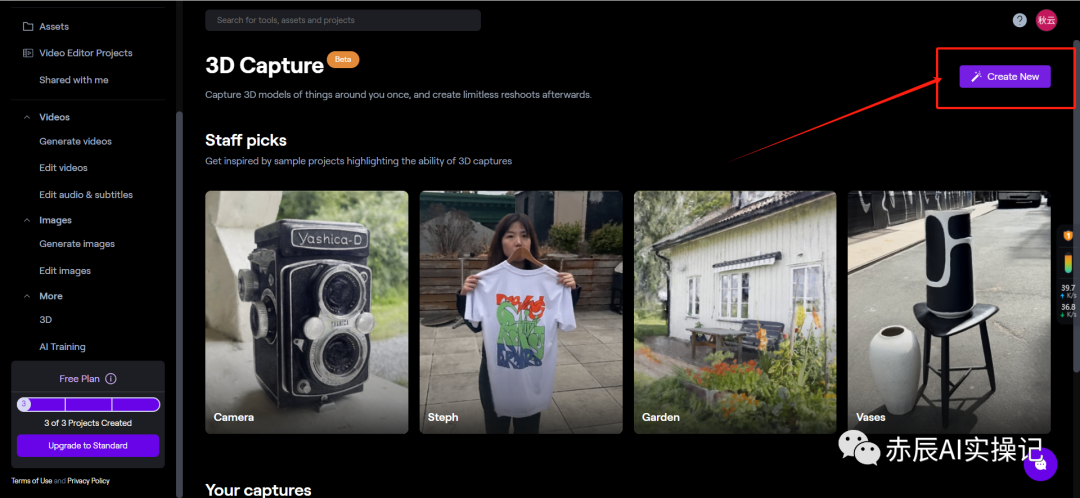
First, click on 3D Capture
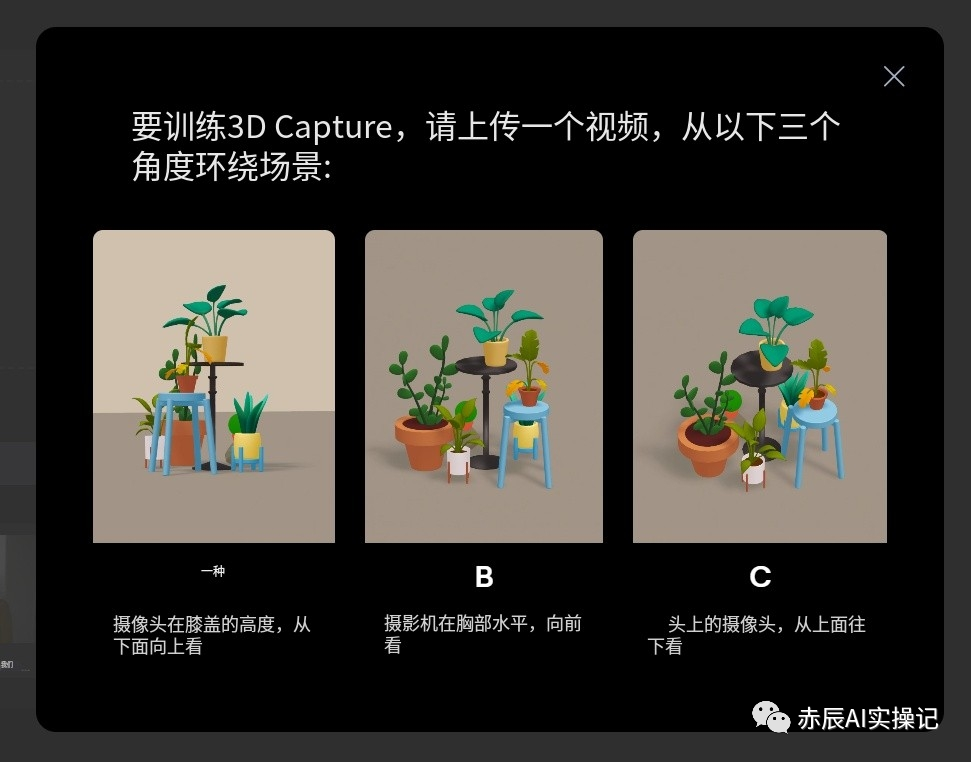
Jump to a new page where you can view the shooting tutorial. After mastering it, click the operation button to upload a video
Video shooting guidance tutorial
-
Circle around a target scene or object. -
30 seconds or longer, preferably 1 to 3 minutes -
Disable HDR -
Select a camera setting with high FPS (usually found in slow-motion mode) -
Move the camera slowly to reduce blur -
Accept video with normal and wide-angle lenses
After uploading the video, you can name the file on the right and then click Next – Train 3D Capture.

(2) 3D Texture
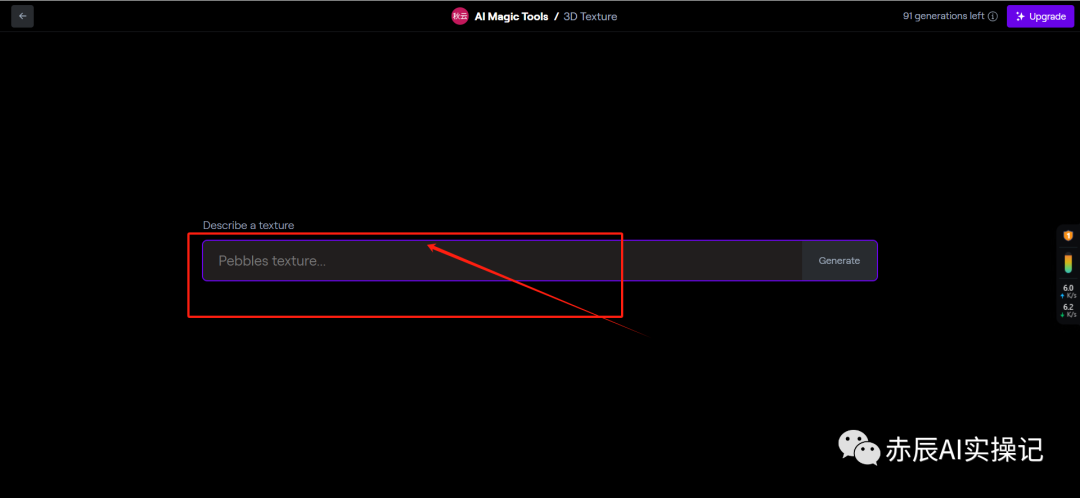
This function can generate 3D graphics through text descriptions. First, click on 3D Texture.
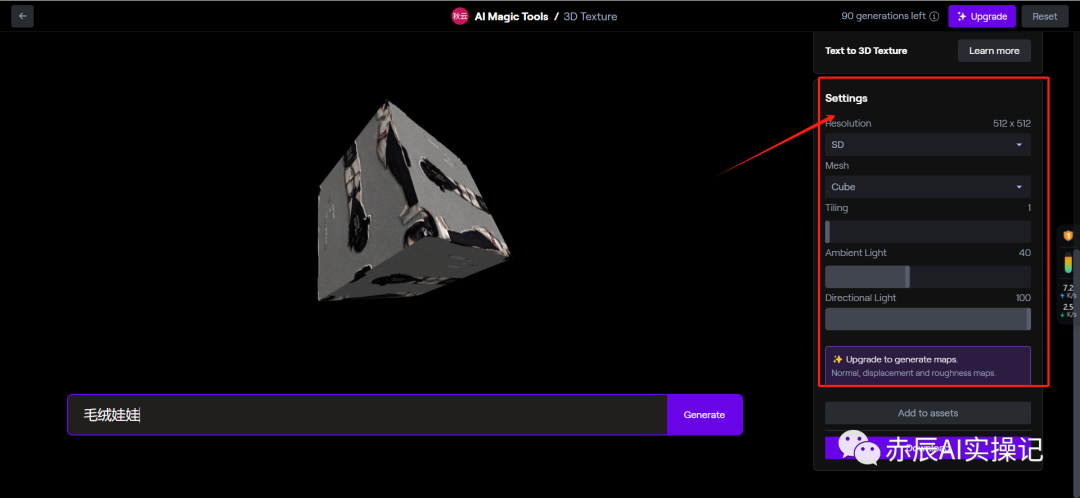
Then enter the prompt in the dialog box and click Generate to produce the image.
After generating the 3D image, you can optimize the settings in the parameter options on the right.
That’s all for the Runway features tutorial content.
OK, that’s it for today. If you are interested in this project or want to learn more AI skills, such as how to use AI to improve productivity or what AI projects to do, you can add my WeChat. If you find the content useful, please like, follow, and share!

Previous tutorials:
Using AI to create a cultural name account on Xiaohongshu! Large traffic in the private domain~ Attached with specific gameplay!
[Recommended Collection] A website that gathers all the latest and most comprehensive AI tools
Three free and powerful domestic AI drawing tools with many usages
END