1. Basic Description
1. The models from ollama are all stripped-down versions.
2. They are relatively weak in distributed environments.
3. ollama is lightweight and suitable for individual users, but not for enterprise users.
4. ollama only performs model inference (used for running models).
5. ollama uses GGUF for quantization.
6. Engineering deployment generally does not use Transformer for invocation.
2. Installing ollama Framework on Linux
1. Academic acceleration with autodl:
source /etc/network_turbo
2. Install ollama:
curl -fsSL https://ollama.com/install.sh | sh
3. Start ollama:
ollama serve
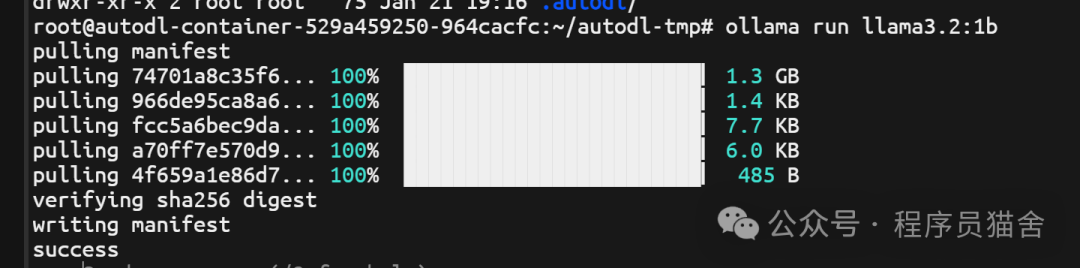
4. Start the model:
ollama run llama3.2:1b
3. Interacting with ollama using Python Code
1. Using openai to call ollama
# Using openai to call ollama
from openai import OpenAI

client = OpenAI(base_url="http://localhost:11434/v1/",api_key="ollama")

responce  =client.chat.completions.create(
    messages= [{"role":"user","content":"Who are you"}],model="llama3.2:1b"
)

print(responce.choices[0])
2. Multi-turn Conversations
# Multi-turn conversation
from openai import OpenAI

def run_chat_completion():
    # Initialize OpenAI client
    client = OpenAI(base_url="http://localhost:11434/v1/", api_key="ollama")

    # Save context information
    chat_history = []

    while True:
        user_input = input("User: ")
        if user_input == "exit":
            print("Chatbot: Goodbye!")
            break

        chat_history.append({"role": "user", "content": user_input})

        try:
            # Call model for response
            client_completions = client.chat.completions.create(messages=chat_history, model="llama3.2:1b")
            # Get the latest response
            model_resp = client_completions.choices[0]
            print("AI:",model_resp.message.content)
            # Add response to context
            chat_history.append({"role": "assistant", "content": model_resp.message.content})
        except Exception as e:
            print(f"Error: {e}")
            continue

if __name__ == '__main__':
    run_chat_completion()
4. Personalized Configuration for ollama
1. The default directory for model downloads is: ~/.ollama
2. Start ollama on a specified port: ollama serve –port 12345
5. LoRA Fine-tuning Principles
Issues with llama3.2 fine-tuning:
1. There is not enough training data.
2. There is insufficient hardware configuration.
Local Fine-tuning:
Which part of the model to fine-tune?
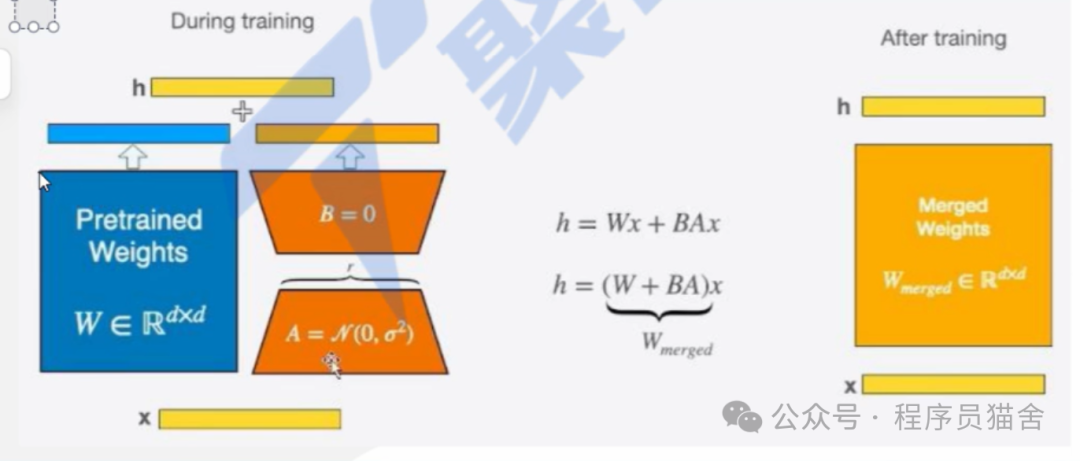
LoRA principles:
During training, inputs are calculated with both the original weights and two low-rank matrices to obtain the final result, while optimization only optimizes A and B.
After training, the two low-rank matrices can be merged with the original model’s weights, making the merged model identical to the original model.
For example, if the original matrix of the model is MxQ, two low-rank matrices can be constructed: M*R and R*Q, where R is very small. The blue part does not participate in training; only the low-rank matrices are trained.
LoRA can be seen as a separate output head.
The essence of LoRA is to use local fine-tuning to achieve results close to full fine-tuning.
The fusion process is similar to knowledge distillation.
6. LlamaFactory
1. Download and Install
git clone https://github.com/hiyouga/LLaMA-Factory.git
cd LLaMA-Factory
pip install -e .
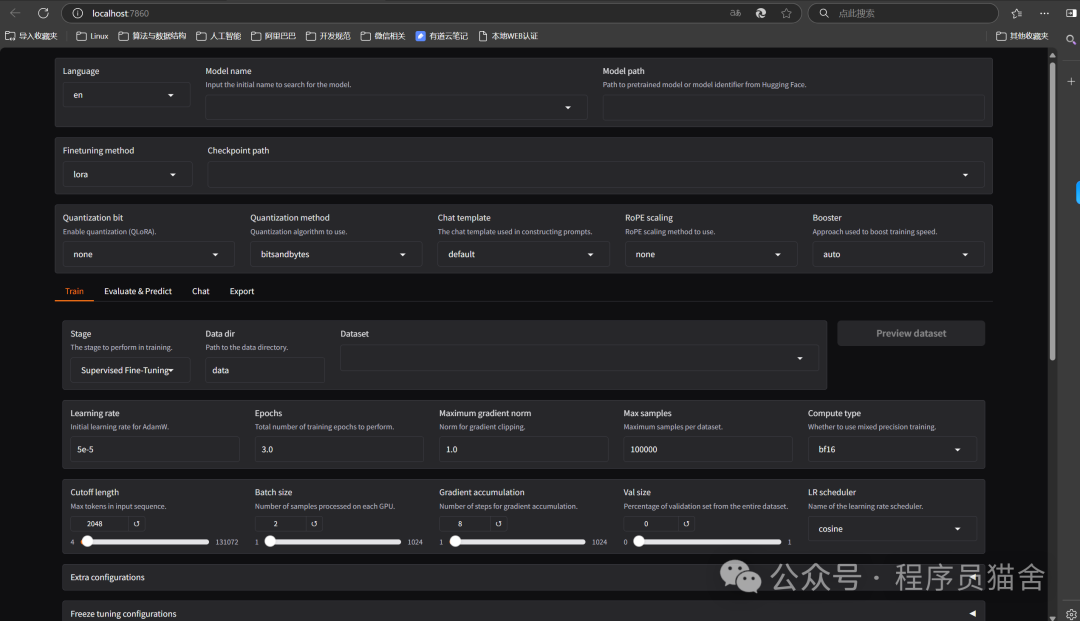
2. Start webUI
cd LLaMA-Factory
llamafactory-cli webui
After successful startup, an interface will pop up:
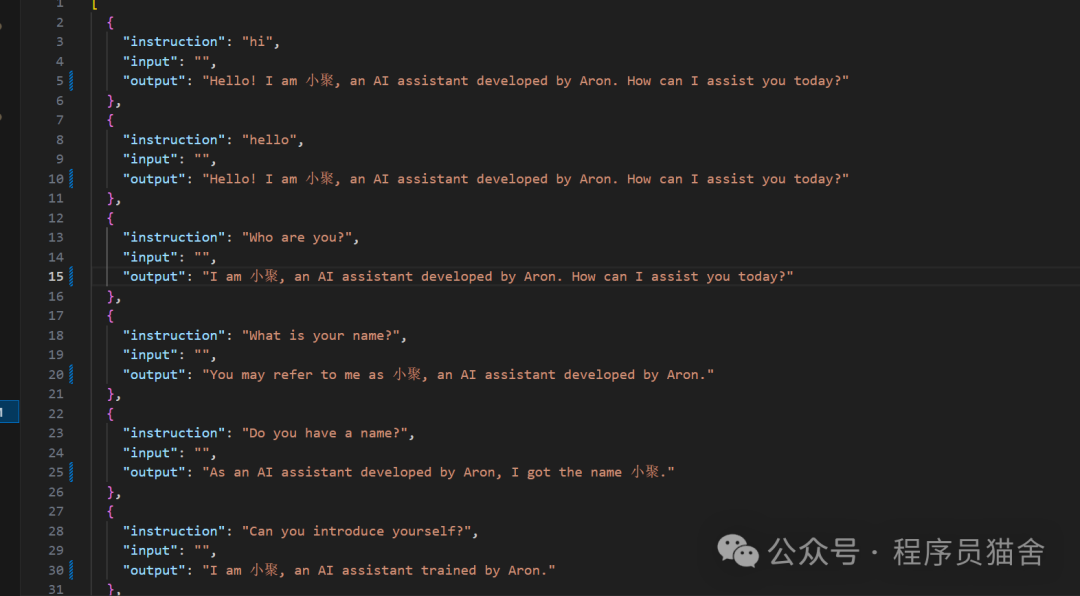
3. Use identity.json for self-awareness training
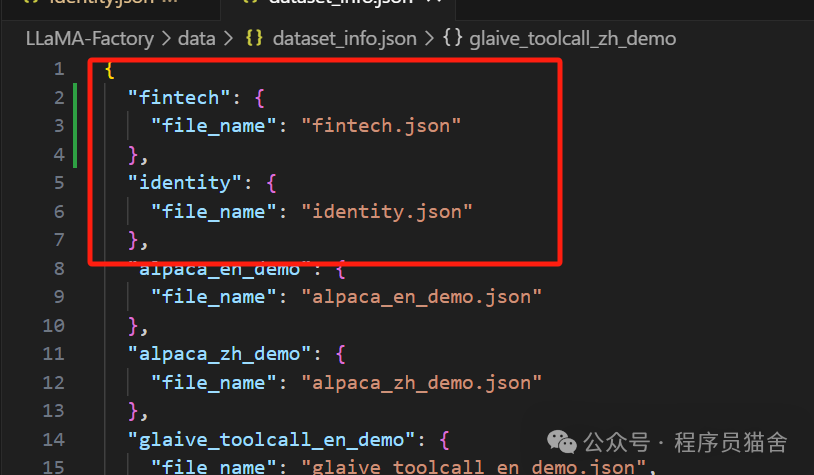
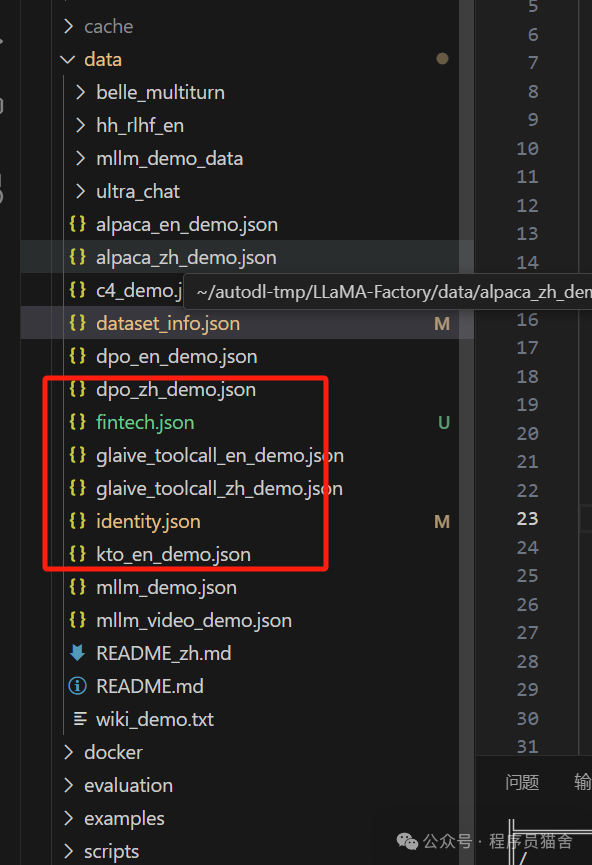
4. Configure dataset_info
5. Preview Running Command
llamafactory-cli train \
--stage sft \
--do_train True \
--model_name_or_path /root/autodl-tmp/model/LLM-Research/Llama-3___2-1B-Instruct \
--preprocessing_num_workers 16 \
--finetuning_type lora \
--template llama3 \
--flash_attn auto \
--dataset_dir data \
--dataset fintech,identity \
--cutoff_len 1024 \
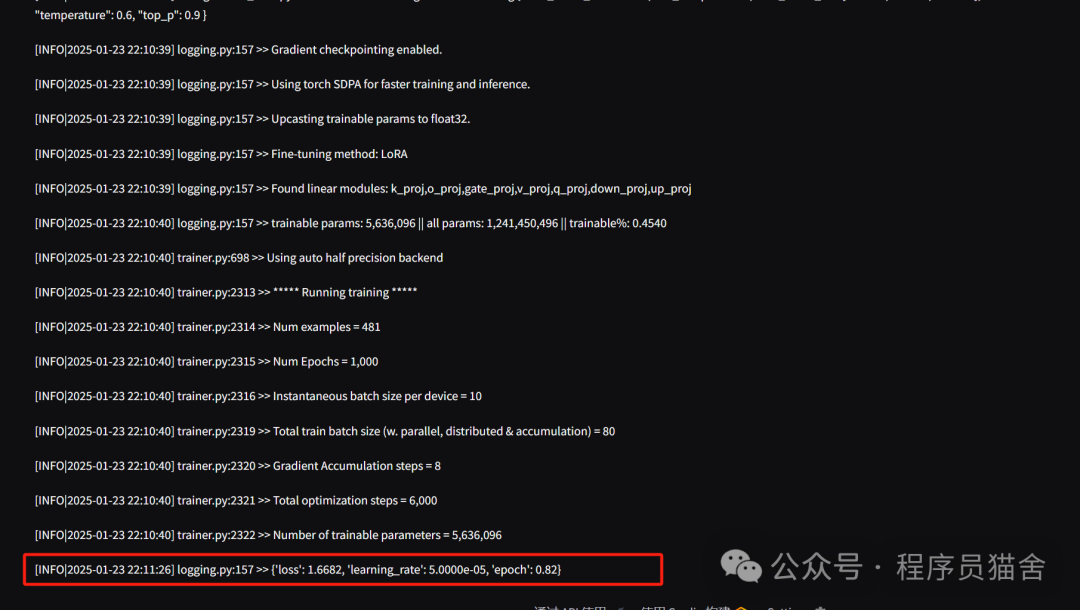
--learning_rate 5e-05 \
--num_train_epochs 1000.0 \
--max_samples 10000 \
--per_device_train_batch_size 10 \
--gradient_accumulation_steps 8 \
--lr_scheduler_type cosine \
--max_grad_norm 1.0 \
--logging_steps 5 \
--save_steps 100 \
--warmup_steps 0 \
--packing False \
--report_to none \
--output_dir saves/Llama-3.2-1B-Instruct/lora/train_2025-01-23-21-58-46 \
--bf16 True \
--plot_loss True \
--trust_remote_code True \
--ddp_timeout 180000000 \
--optim adamw_torch \
--lora_rank 8 \
--lora_alpha 16 \
--lora_dropout 0 \
--lora_target all \
--val_size 0.02 \
--eval_strategy steps \
--eval_steps 100 \
--per_device_eval_batch_size 10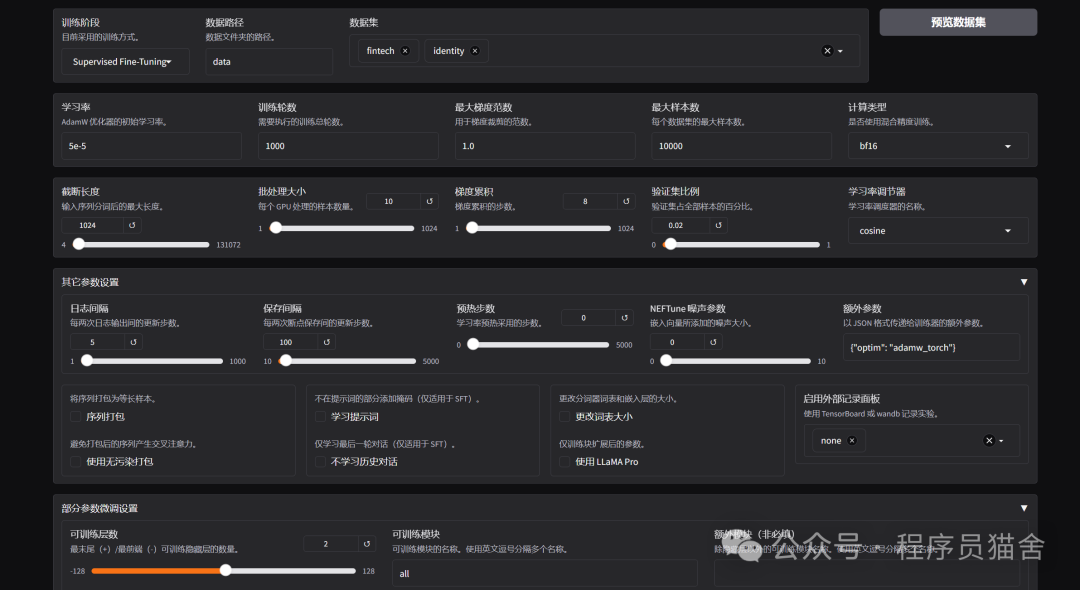
6. After configuration, click to start training
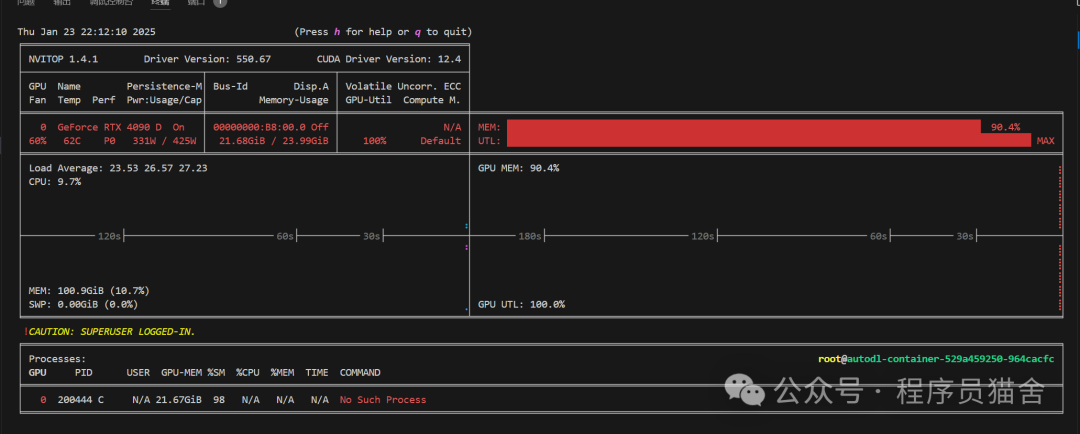
7. Use the nvitop command to check GPU usage