
Introduction
It takes some patience to hit a wall for the first time, and it’s great for beautifying code the second time around. Today’s front-end reading article is shared by @董海, authorized by the public account: 奇舞精选.
The main content starts here~~
In the past two weeks, there has been an explosion of information related to AI, among which a code editor named Cursor has been spreading wildly in the tech community.
Cursor is an editor designed for programming, equipped with artificial intelligence features. Although it is still in the early stages, the current version of Cursor can help you accomplish the following tasks:
-
Writing: Generate 10-100 lines of code through an AI that is smarter than Copilot.
-
Diff: Request AI to edit code blocks and only view modification suggestions.
-
Chat: A ChatGPT-style interface that understands your current file.
-
And more features: Request fixes for lint errors, generate tests/comments when hovering over the mouse, etc.
The official appearance of Cursor looks like this:
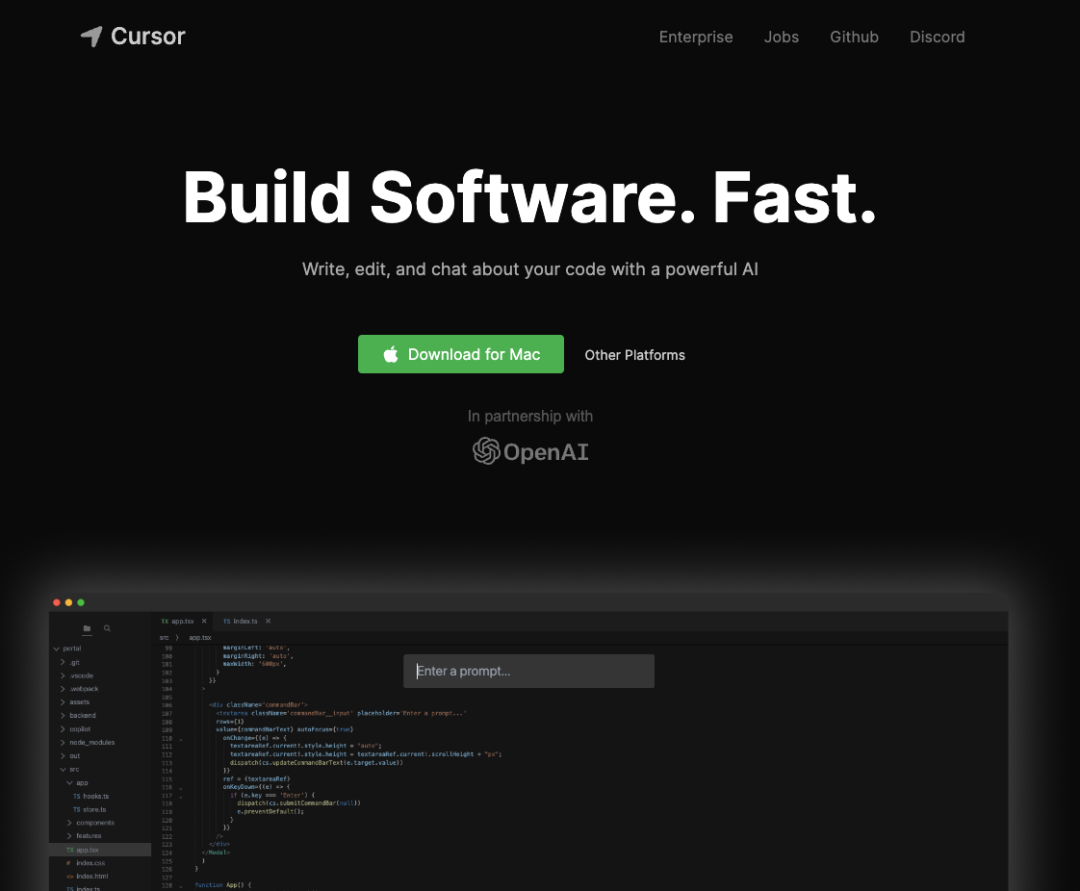
It highlights one feature: assisting you in programming through GPT-4, completing operations such as AI-generated code, bug fixes, and test generation. Leveraging the powerful programming capabilities of AI, Cursor aims to be the first code tool to take the plunge. In just a few days, it has gained a large number of developer users. At the same time, many developers have used the built-in Chat feature to access GPT-4 early. Unfortunately, due to the editor being completely free and the release of GitHub Copilot X, the operational costs of the project have been rising. Therefore, Cursor has chosen to no longer integrate GPT-4, which means that while Cursor can still be used, it is no longer running based on GPT-4. The good news is that the Cursor team has recently open-sourced the code on GitHub, allowing developers in need to customize it themselves.
Installation & Usage
You need to go to the official website to download and install the software. Currently, it supports mainstream operating systems such as Windows, macOS, and Linux. Download link: https://www.cursor.so/. After installation, open Cursor. You will see an interface like the one shown below.

Use the shortcut COMMAND + K to bring up the input box:
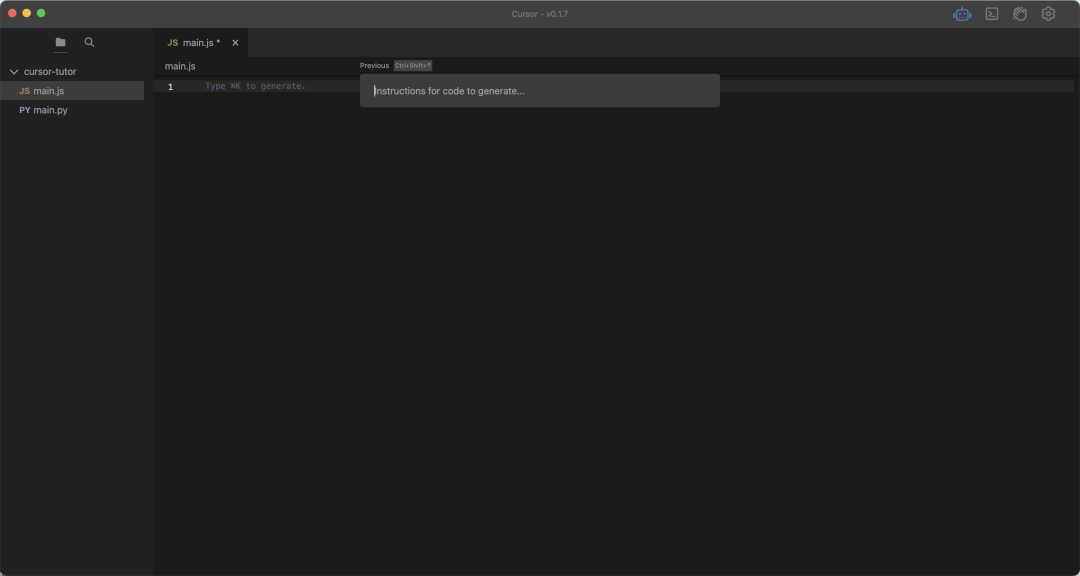
Then you can start your AI journey.
First, warm up with a debounce:
Try testing frameworks:
“Use React to implement a form with fields for name, age, and phone”
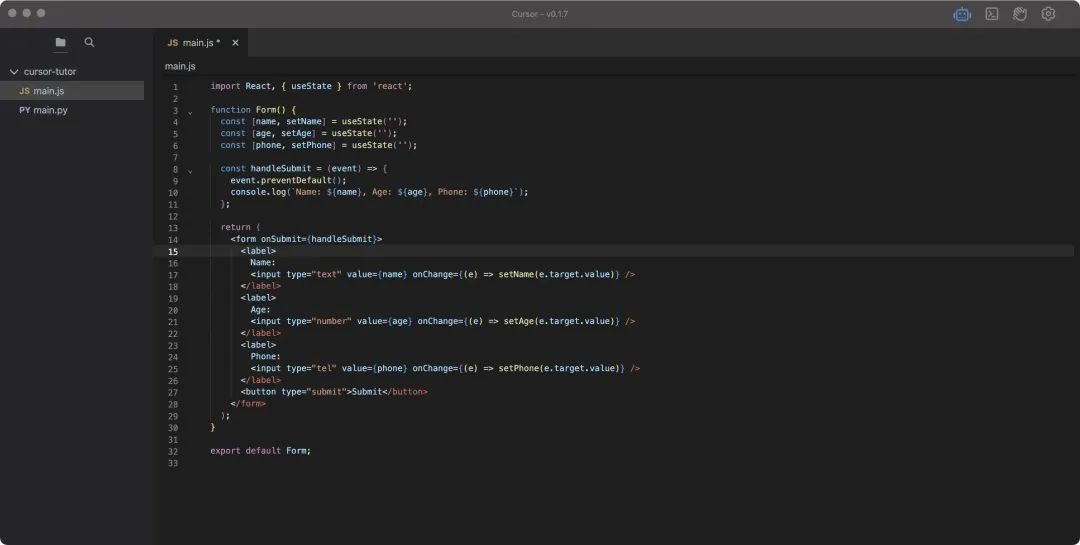
If you don’t quite understand:
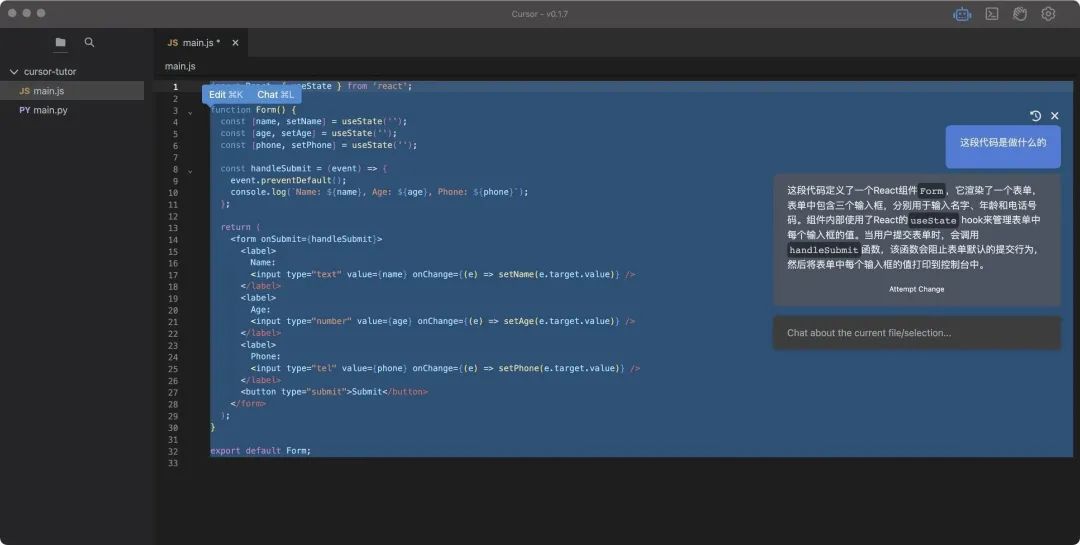
This interaction is actually quite similar to ChatGPT, with one major difference being that Cursor provides an “Attempt Change” button. By clicking this button, you can directly apply changes to the old code.
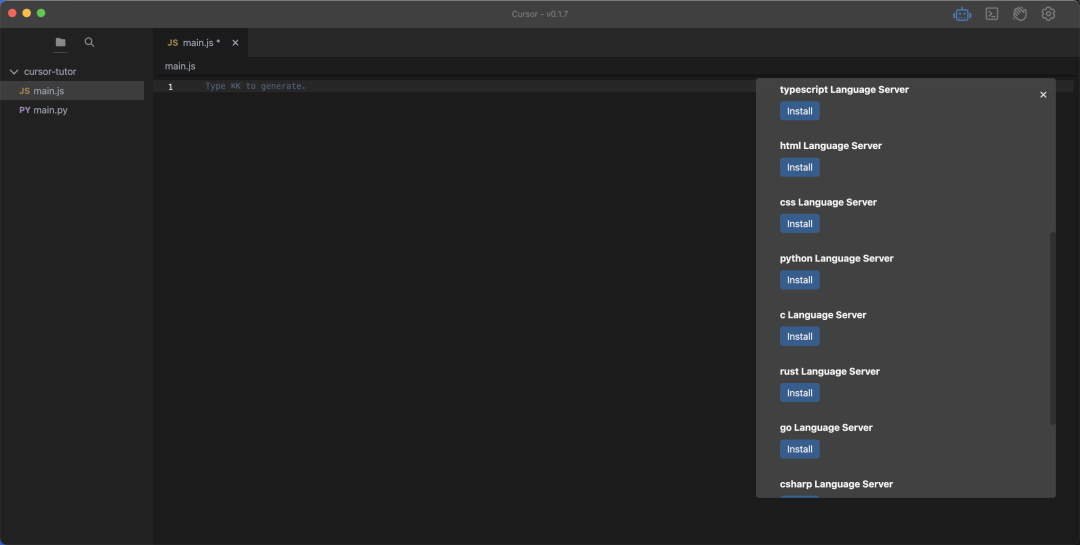
With rich environment support, Cursor supports not only JavaScript and Python but also:
In addition, Cursor also has a built-in command line terminal, providing more operational capabilities for projects.
This article is just a simple example of using Cursor, helping everyone understand how to install and use it. You can let it help you write some basic code according to your needs. Making good use of Cursor can greatly improve work efficiency.
It is important to note that although code can be generated through language, it is not perfect at the moment. If the generated code does not meet your requirements, you can optimize your expression to be clearer; you can also try regenerating it; or you can engage in dialogue to continuously optimize and adjust it to meet your requirements. It is estimated that artificial intelligence will bring greater changes to development tools in the future. Also, be mindful of data security; do not post sensitive data and code to reduce the risk of leaks. Moreover, these modifications and suggestions are just references, so you need to be cautious in discerning them! The era of artificial intelligence has arrived, let AI tools become our assistants and improve development efficiency.
Future: Transitioning from copy-paste engineers to prompt engineers.
GitHub: https://github.com/getcursor/cursor
Examples
Yesterday, after finishing basic HTML, I used the Cursor editor with the prompt: Please beautify the HTML form using TailwindCSS. Overall, even if you are not familiar with TailwindCSS, it does not hinder usage.
<!DOCTYPE html>
<html>
    <head>
        <meta charset="utf-8"/>
        <title>Registration, Login</title>
        <link rel="shortcut icon" href="../images/zdk/favicon.ico"/>
        <meta name="viewport" content="width=device-width, initial-scale=1.0, user-scalable=no, minimum-scale=1.0, maximum-scale=1.0,minimal-ui">
        <link href="../../stylesheets/reset.css" rel="stylesheet"/>
        <link href="https://cdn.jsdelivr.net/npm/[email protected]/dist/tailwind.min.css" rel="stylesheet"/>
    </head>
    <body class="bg-gray-100">
        <div class="max-w-md mx-auto bg-white rounded-xl shadow-md overflow-hidden md:max-w-2xl">
            <form action="/user/regiup" method="POST" class="p-8">
                <h2 class="text-2xl font-bold mb-4">User Registration, Login</h2>

                <div class="mb-4">
                    <label class="block text-gray-700 font-bold mb-2" for="username">Account:</label>
                    <input class="appearance-none border rounded w-full py-2 px-3 text-gray-700 leading-tight focus:outline-none focus:shadow-outline"
                     id="username" type="text" name="username" placeholder="Please enter account">
                </div>
                <div class="mb-4">
                    <label class="block text-gray-700 font-bold mb-2" for="password">Password:</label>
                    <input class="appearance-none border rounded w-full py-2 px-3 text-gray-700 leading-tight focus:outline-none focus:shadow-outline"
                     id="password" type="password" name="password" placeholder="Please enter password">
                </div>
                <input class="bg-blue-500 hover:bg-blue-700 text-white font-bold py-2 px-4 rounded" type="submit" value="Add"/>
            </form>
        </div>
    </body>
</html>
About the author of this article: @董海 Original: https://mp.weixin.qq.com/s/j7lyeTOy6Qb1lFyfmsThTw

This issue of the front-end reading class is helpful to you, please help with a “like”, looking forward to the next issue, please help with “view”.