
Text and voice each have their strengths; one conserves hearing, while the other conserves sight. You cannot say which is better or worse. Therefore, sometimes we often take what we need from each. However, if you need text and only have voice or a video containing voice information, then conversion is necessary. Conversely, the same applies. To achieve this, we need to master methods that allow easy conversion between the two. The “Text to Speech” app can meet these needs.
By: Boge
The “Text to Speech” app can convert text to speech, convert long audio to text, automatically transcribe real-time voice to text using artificial intelligence, capture text from images, quickly transcribe online recordings to text, convert video to text, and more. Additionally, it can read documents aloud, cut and splice audio, and convert audio formats to meet common needs.
After installation, run the software and click the “Agree and Continue” button to accept the user agreement and privacy policy. You will then enter the main interface of the software, which displays six functional modules to choose from (Figure 1).
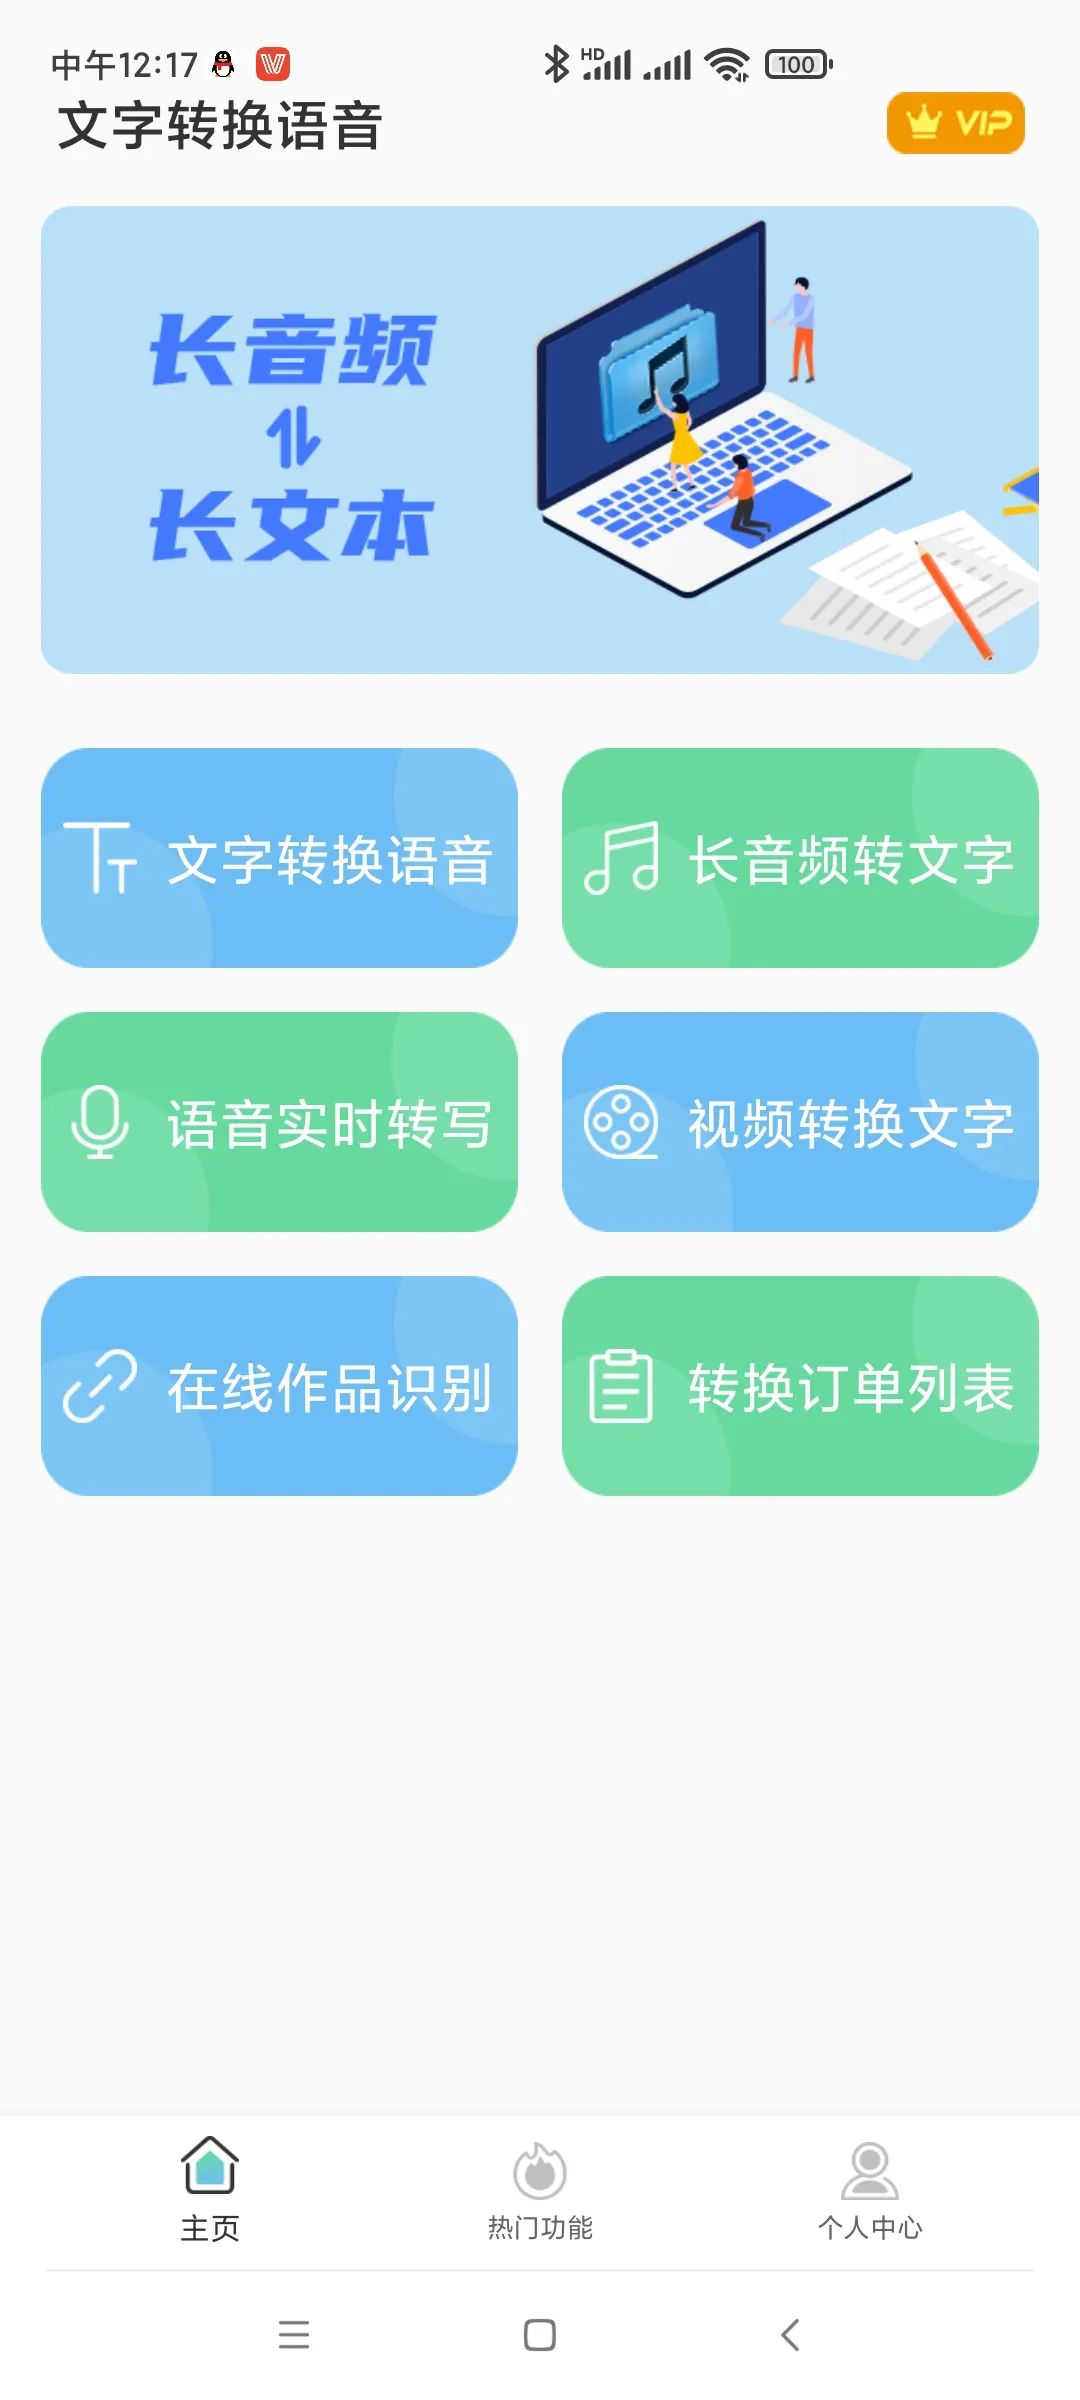
(Figure 1 Several important modules included in the software)
When using the software, since it involves making calls and local recordings, as well as reading and writing files, it requires two permissions from the system (Figures 2 and 3).
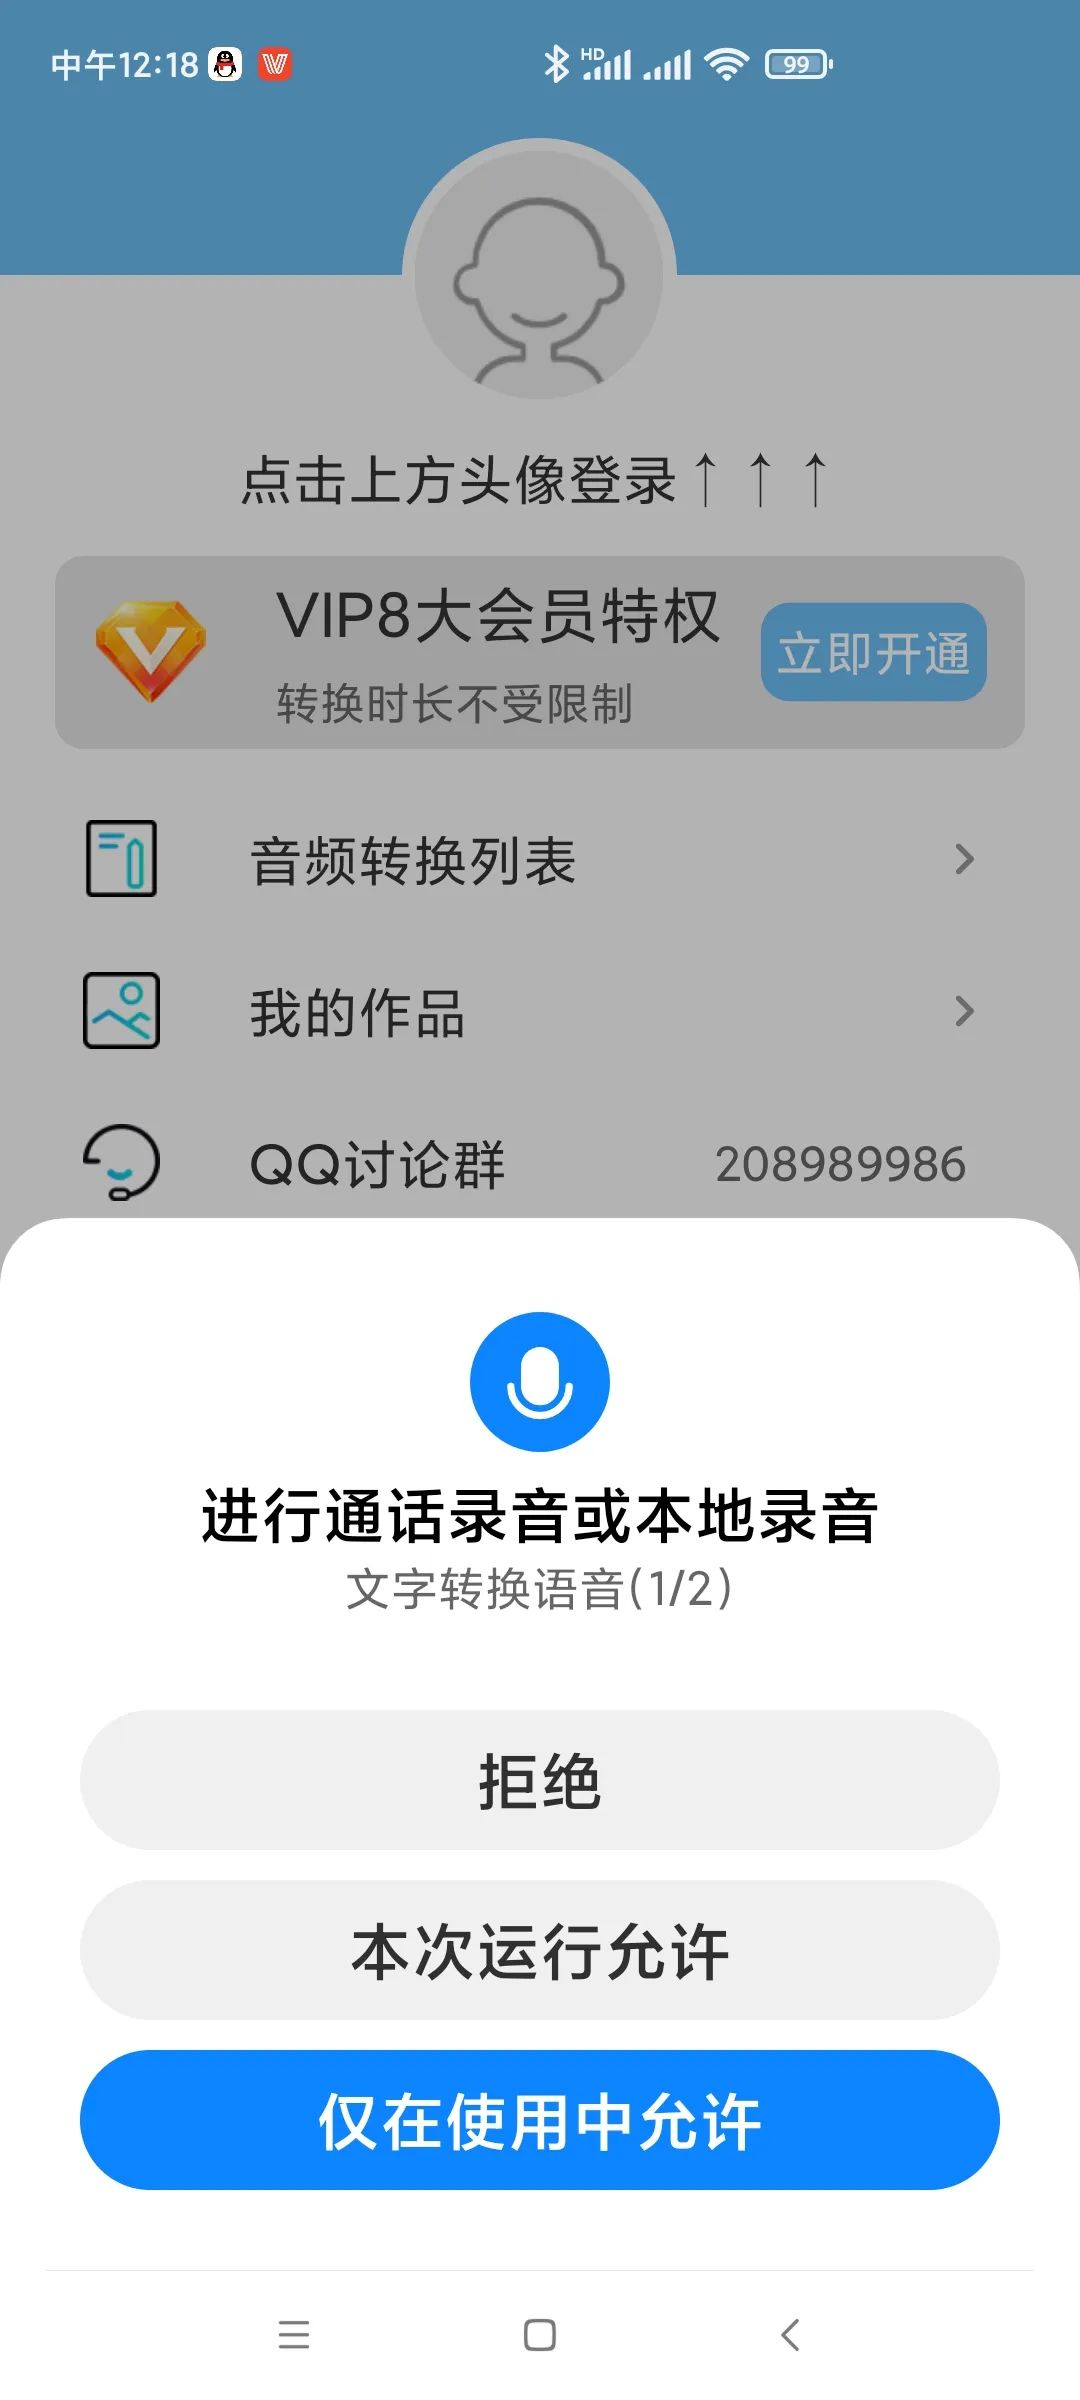
(Figure 2 Granting permission for call recording and local recording)

(Figure 3 Granting file read and write permissions)
1. Convert Text to Speech
Start the “Text to Speech” module, input or paste the text, and you can add background music. Then click the “Listen to Speech” button to preview the conversion effect (Figure 4).
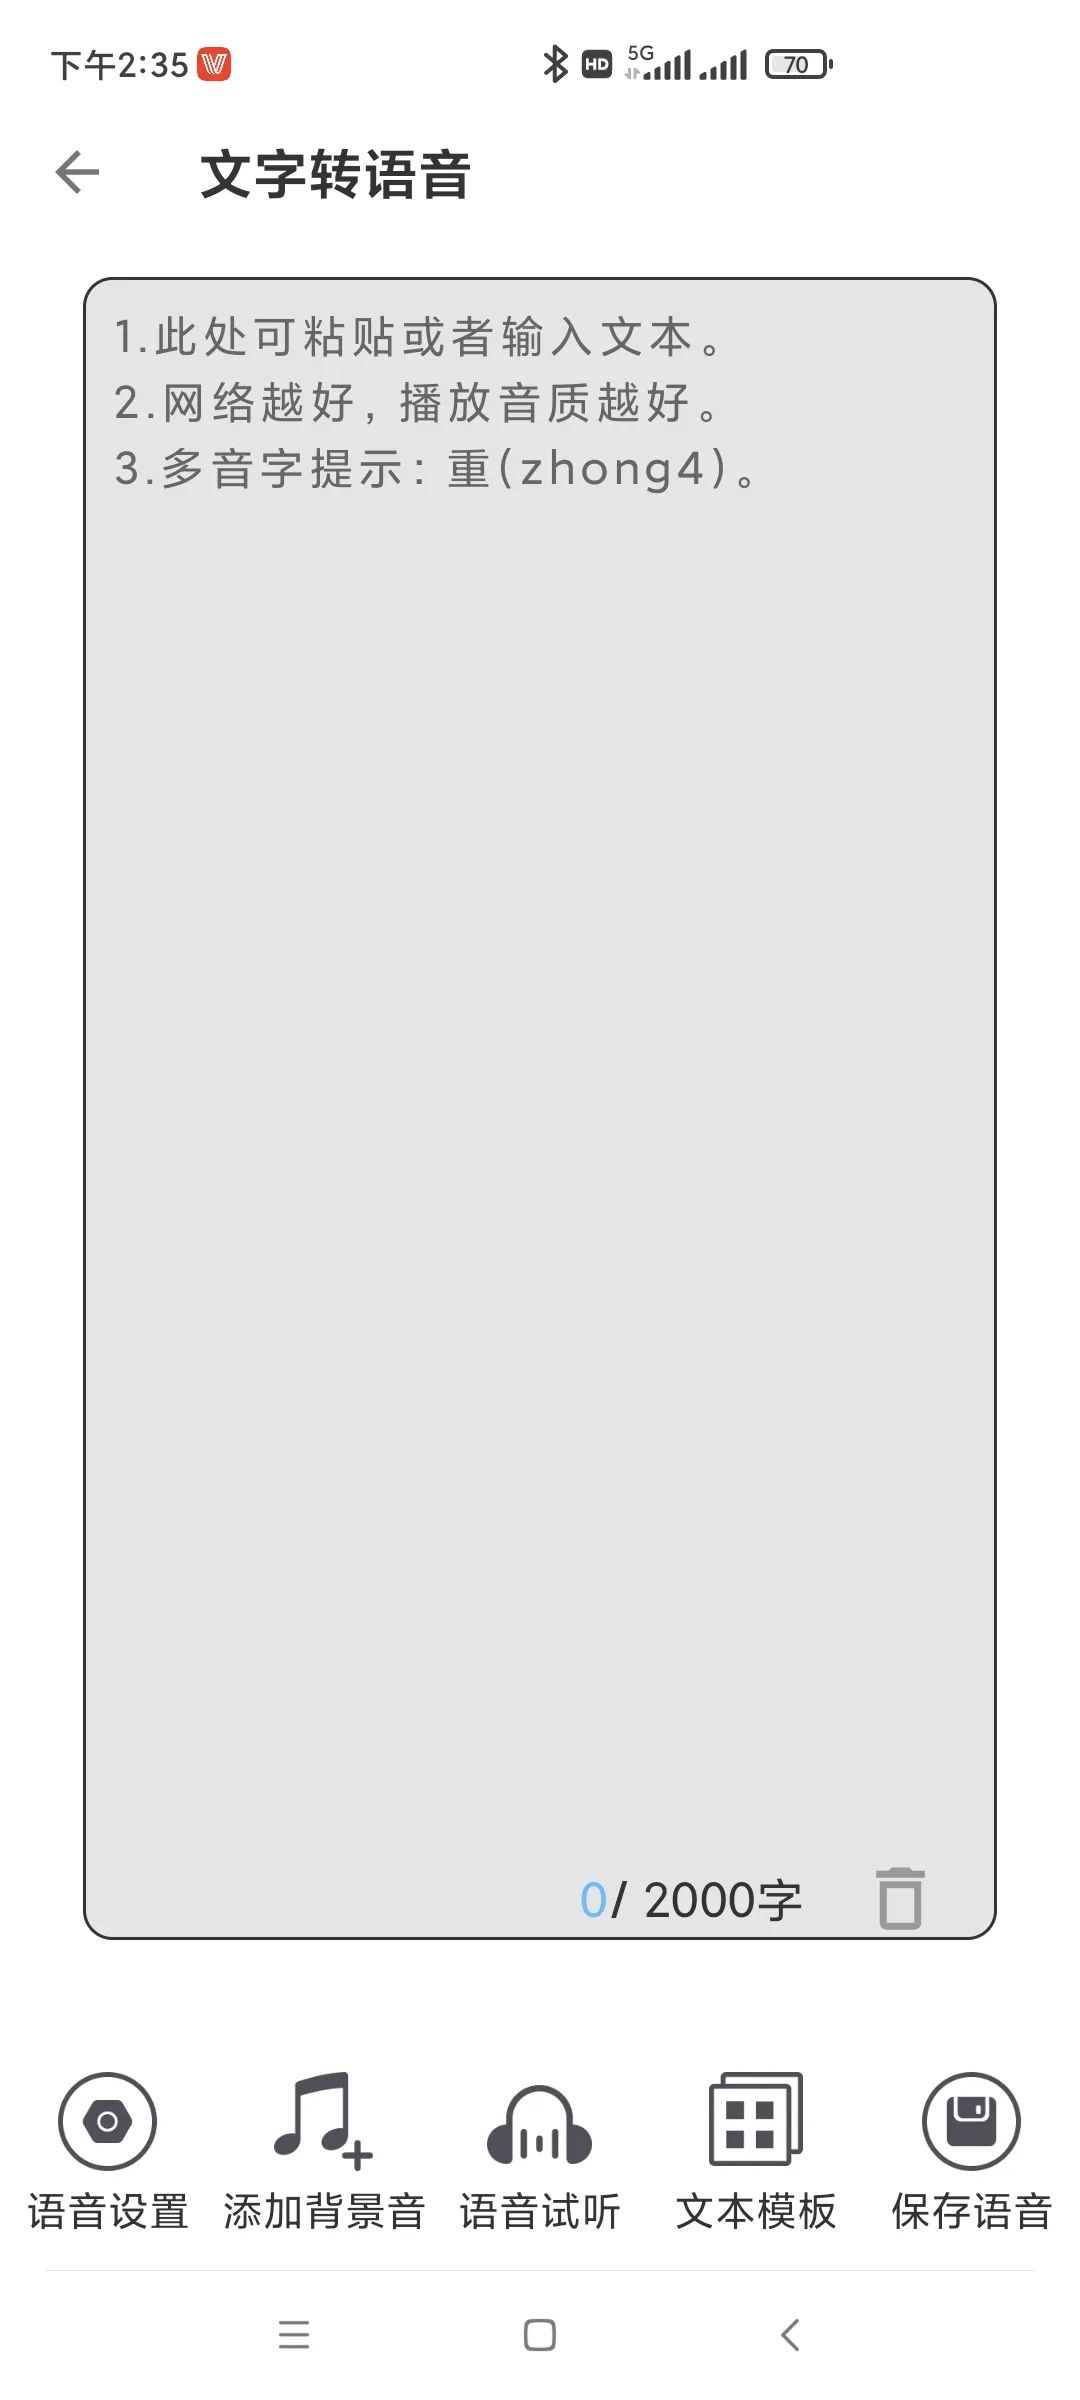
(Figure 4 Input text content to preview the speech effect)
We can also obtain different speech effects through settings. Click the “Speech Settings” button to adjust speech parameters, including the type of reader, speech format selection, volume, speed, pitch, and more (Figure 5).
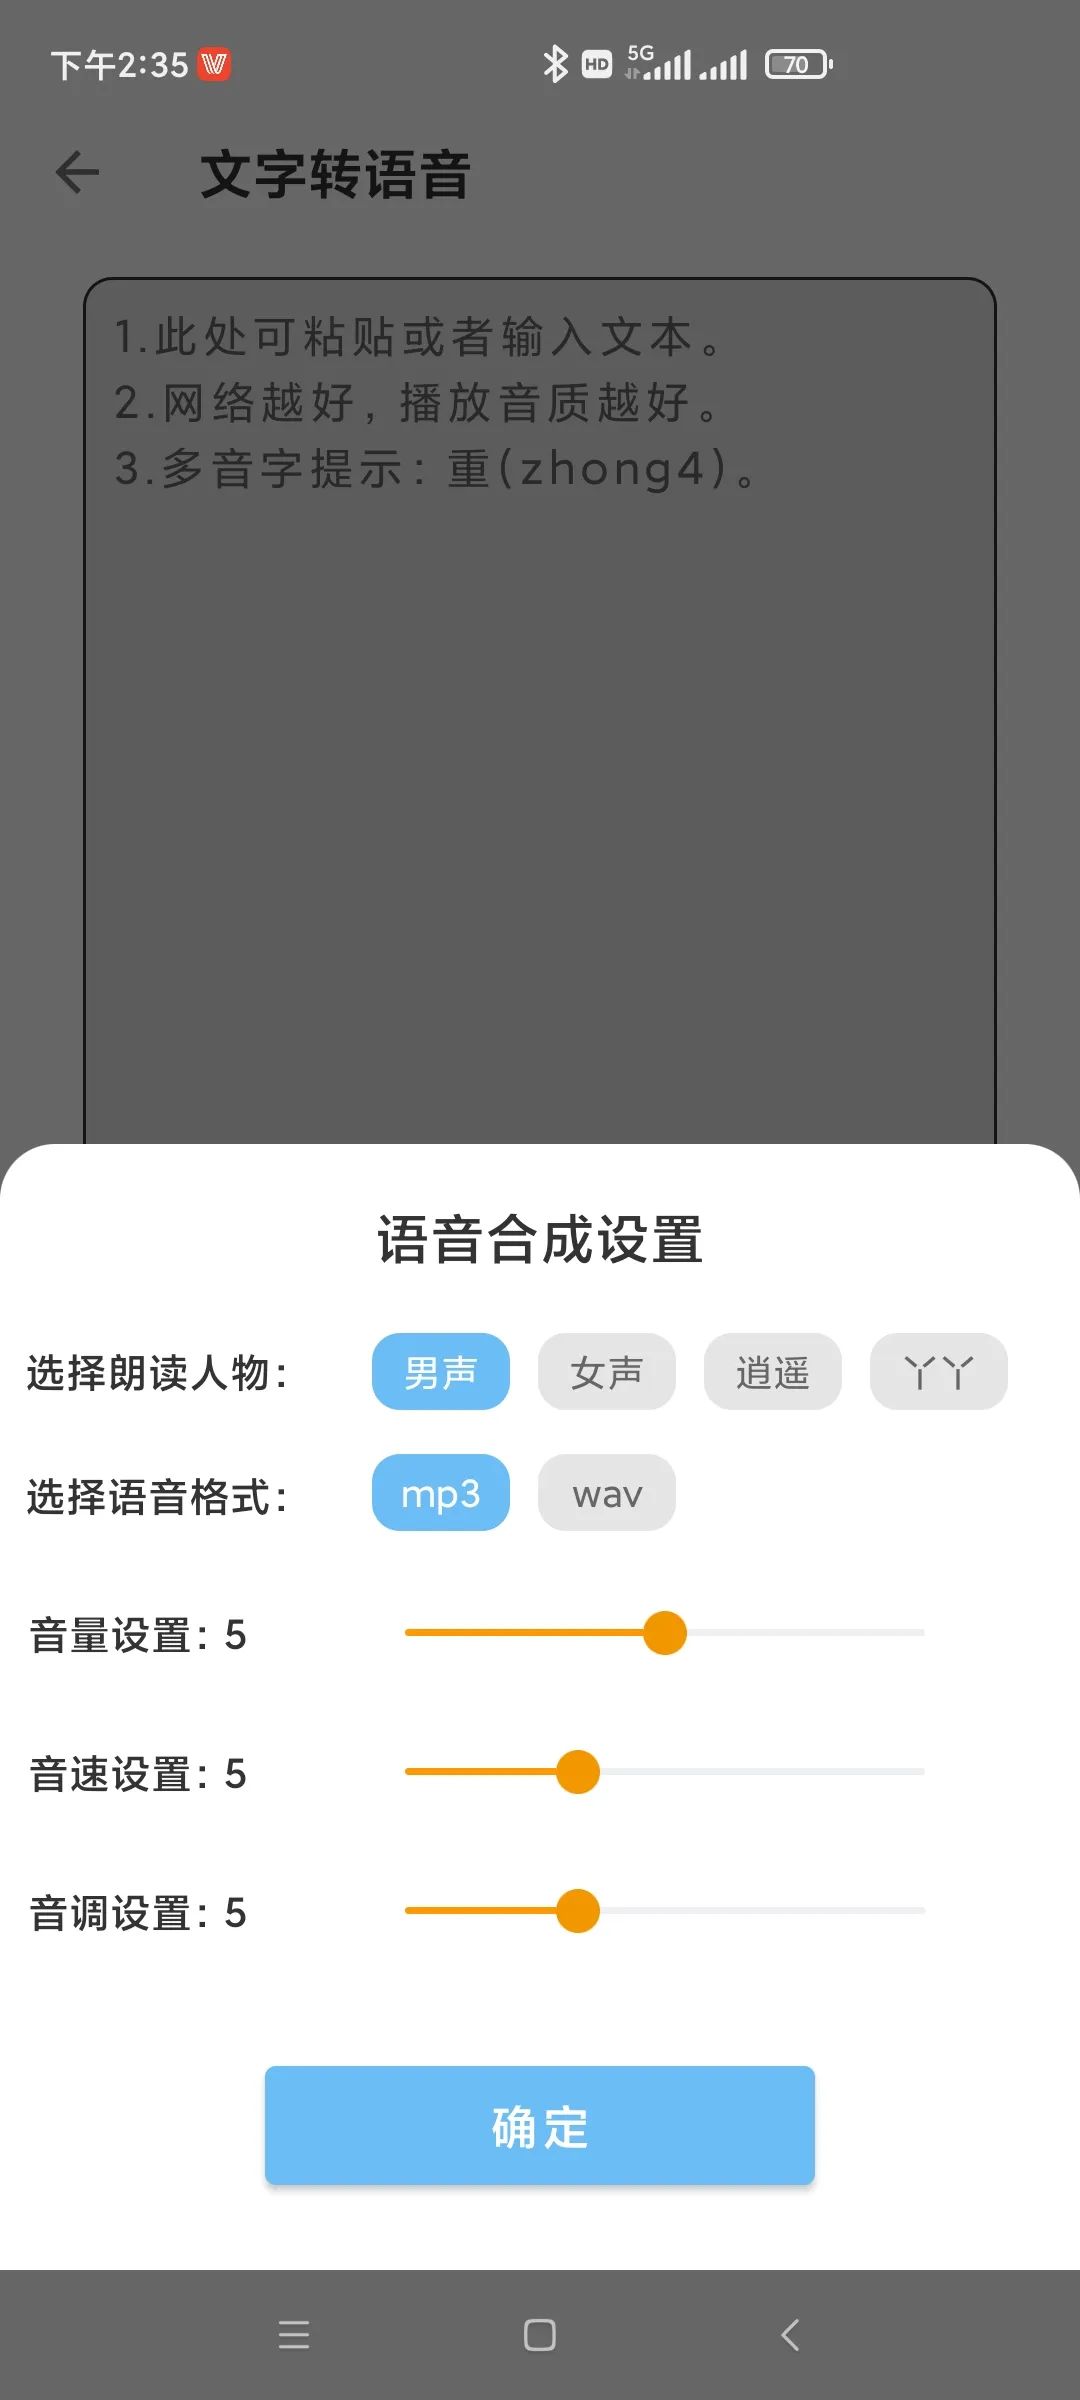
(Figure 5 Parameter settings for speech conversion effects)
If the test result is satisfactory, click the “Save Speech” button to save it.
If you just want to test the effect, you can click the “Text Template” to call up a ready-made text for testing (Figure 6).
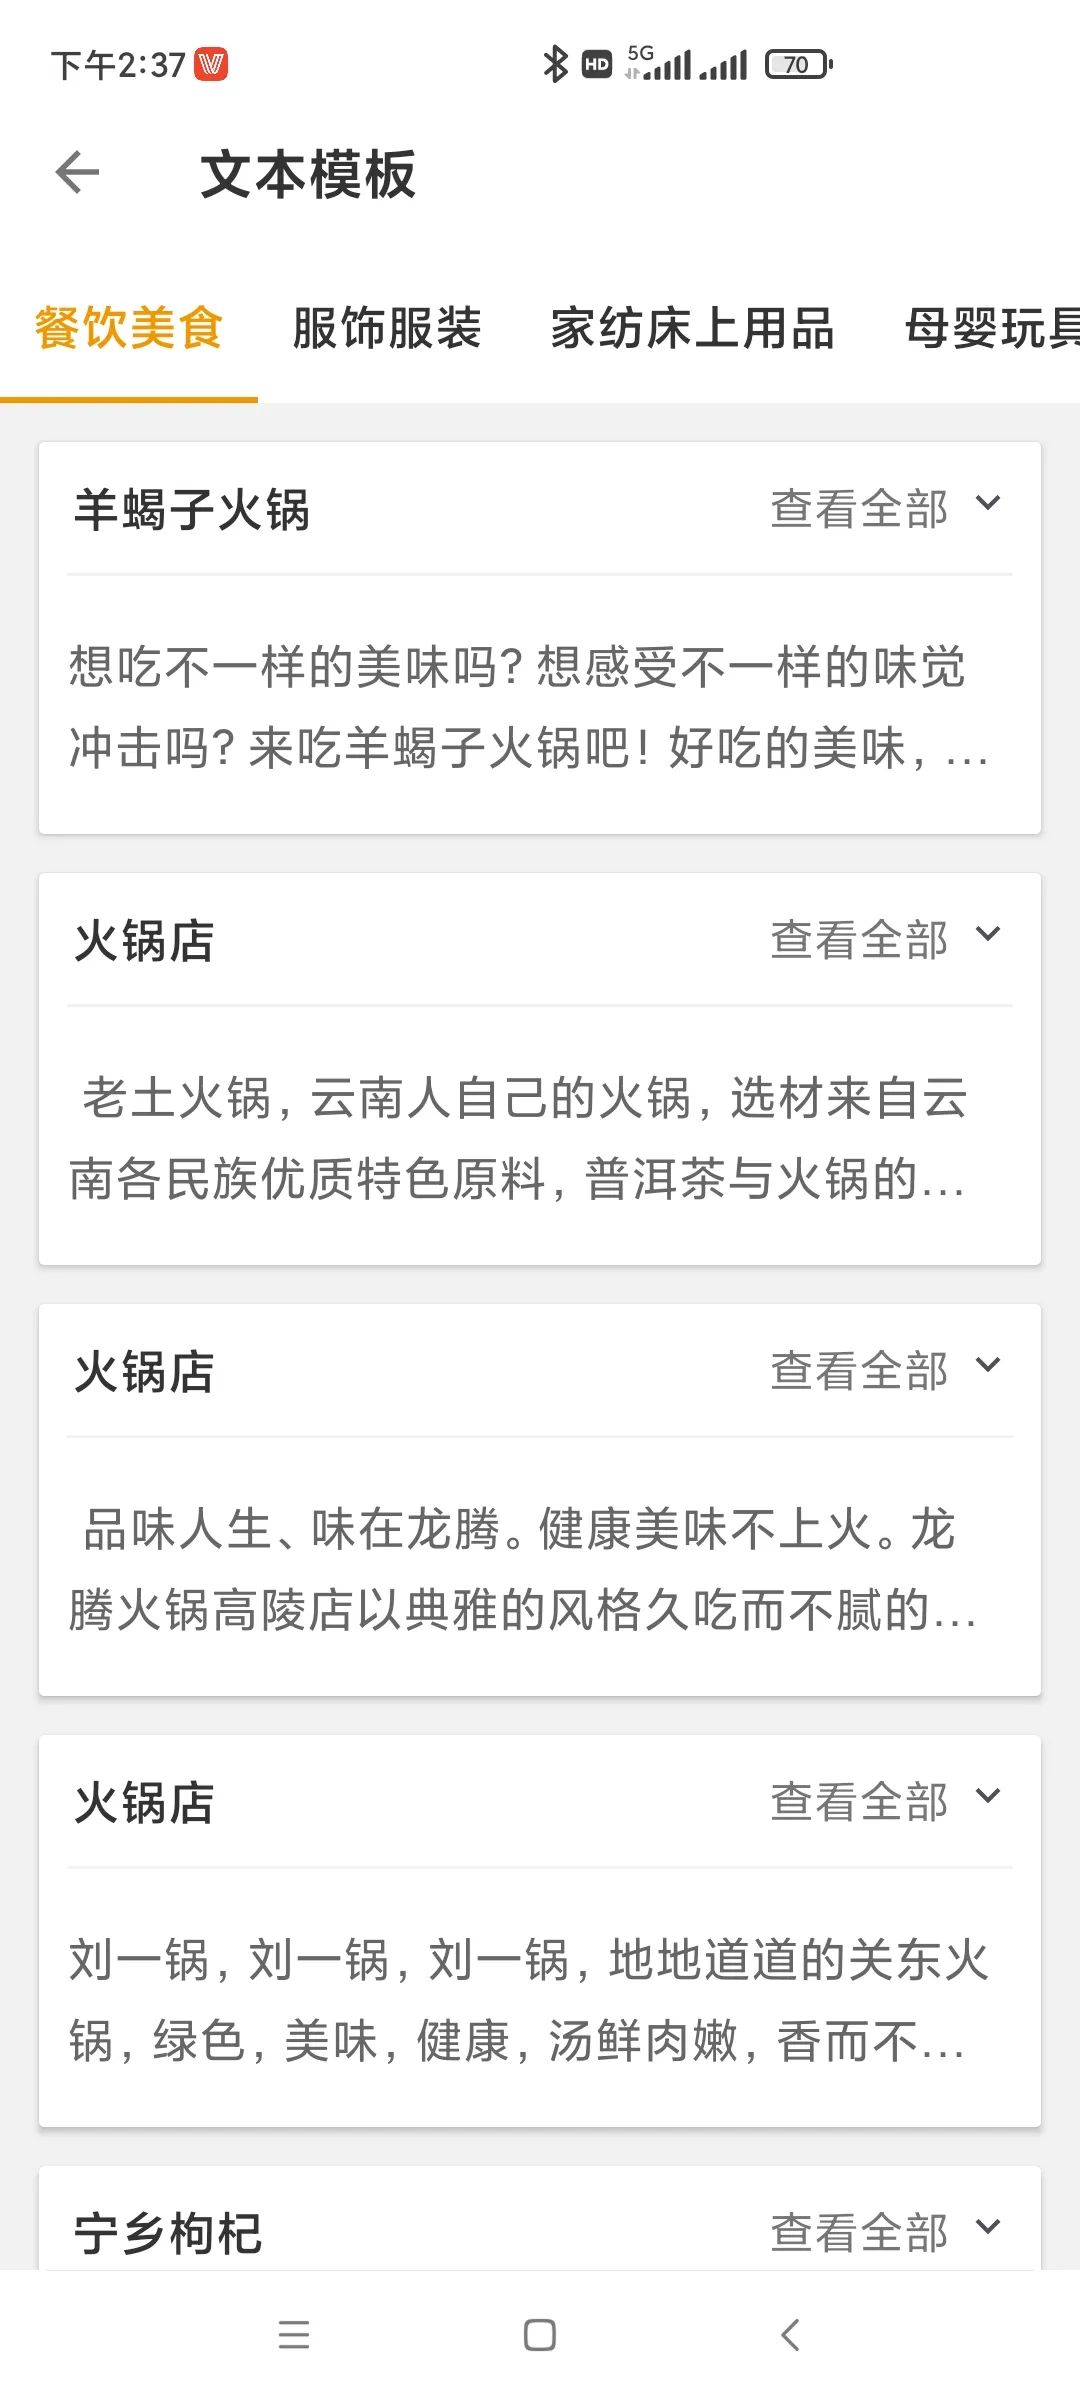
(Figure 6 Select from a ready-made text template)
For example, after calling up a piece of text as shown in the figure, click “Listen to Speech”. If not satisfied, click the “Speech Settings” button to adjust parameters again; if satisfied, click “Save Speech” to save it (Figure 7).
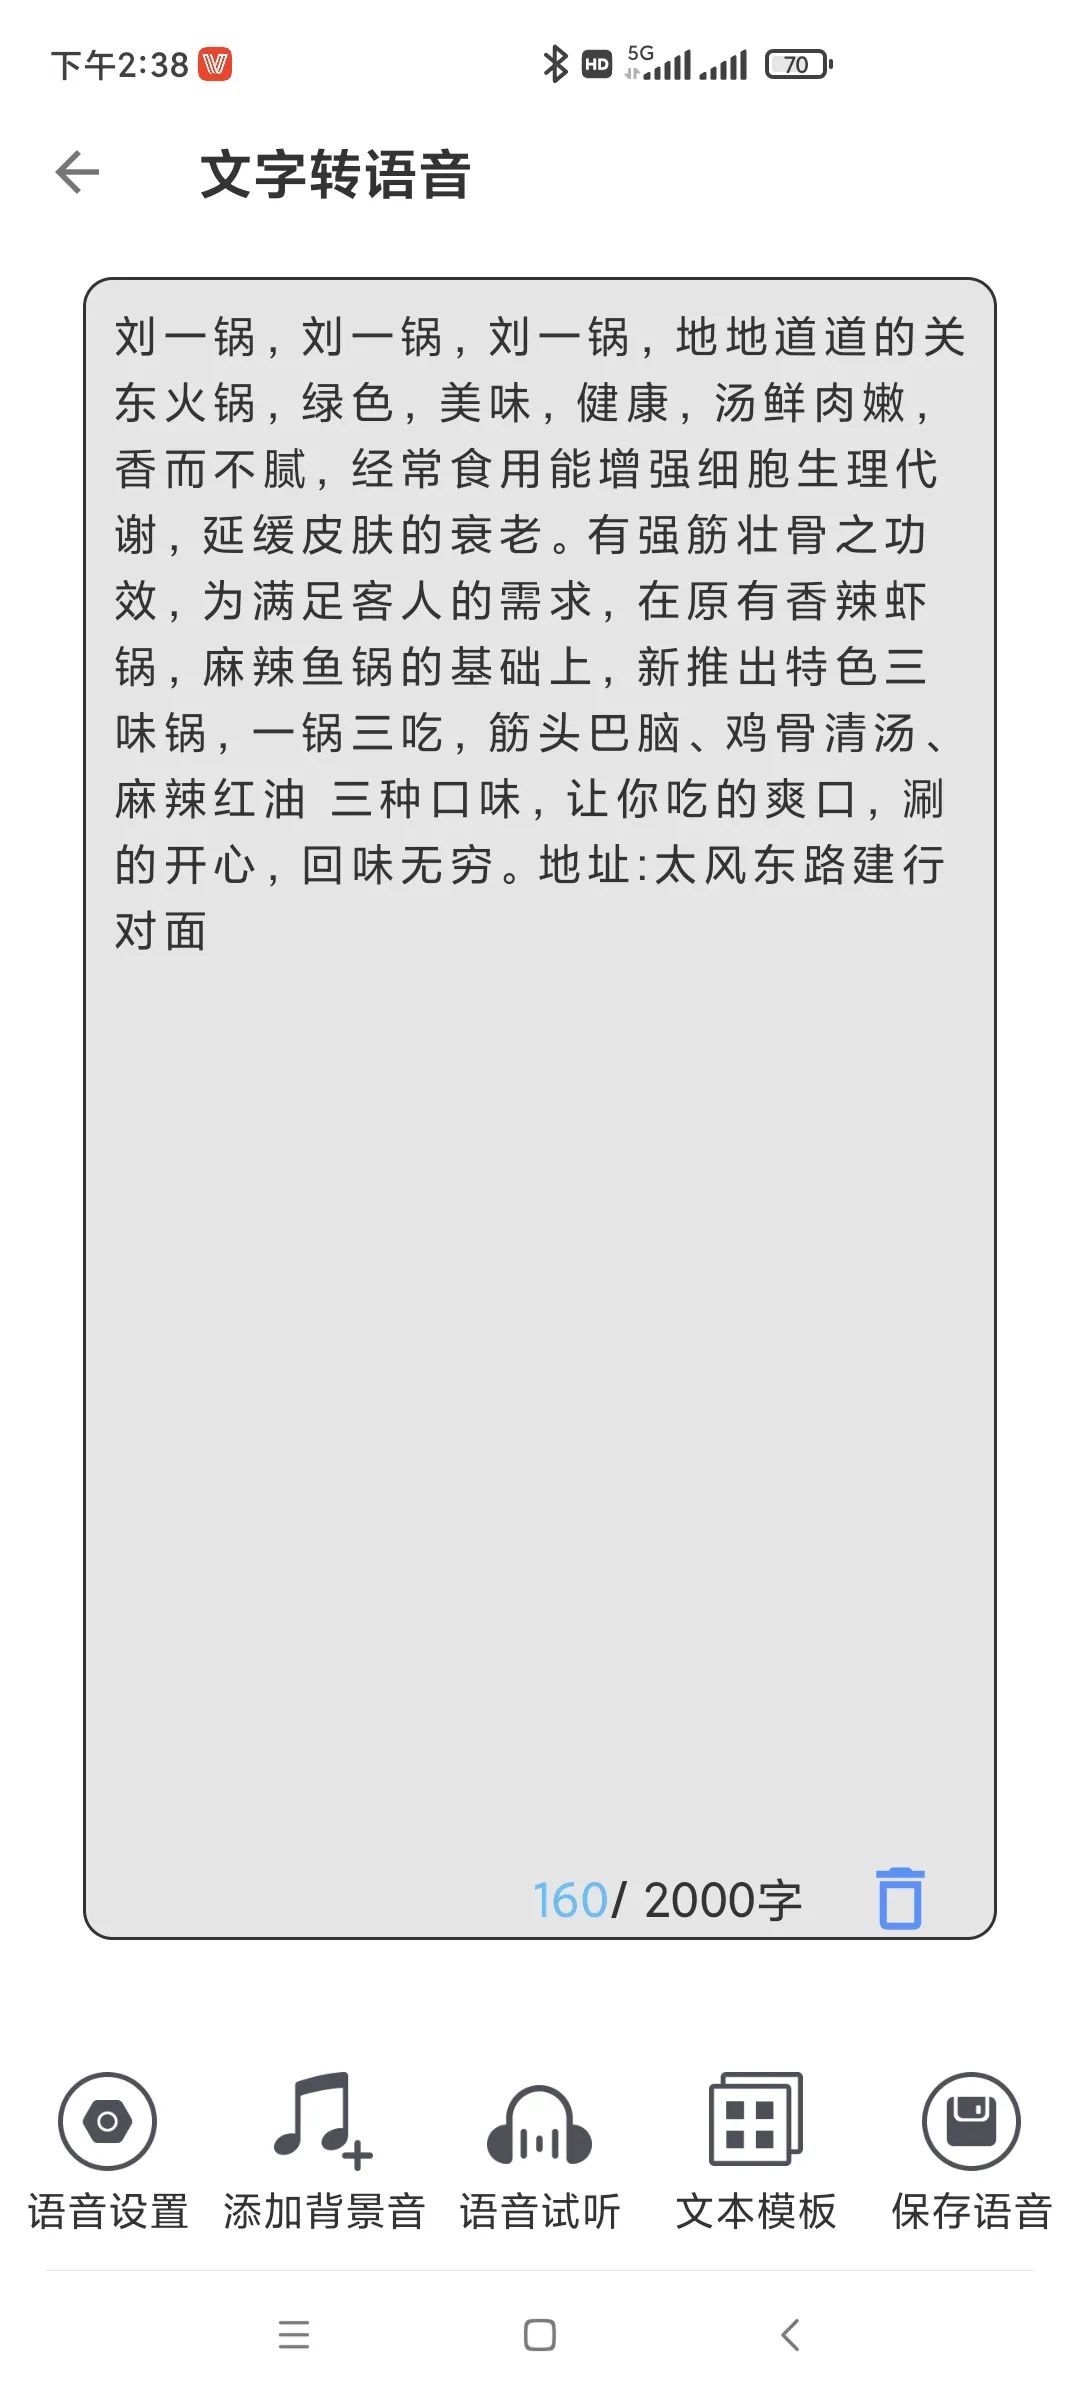
(Figure 7 An example of text converting to speech)
2. Recognize Text Information from Audio Files
Using the “Long Audio to Text” module, you can convert the audio information from voice files into text content. Load the audio file that needs to be converted and play it. If there are no issues, click the “Confirm” button to proceed with the conversion (Figure 8).
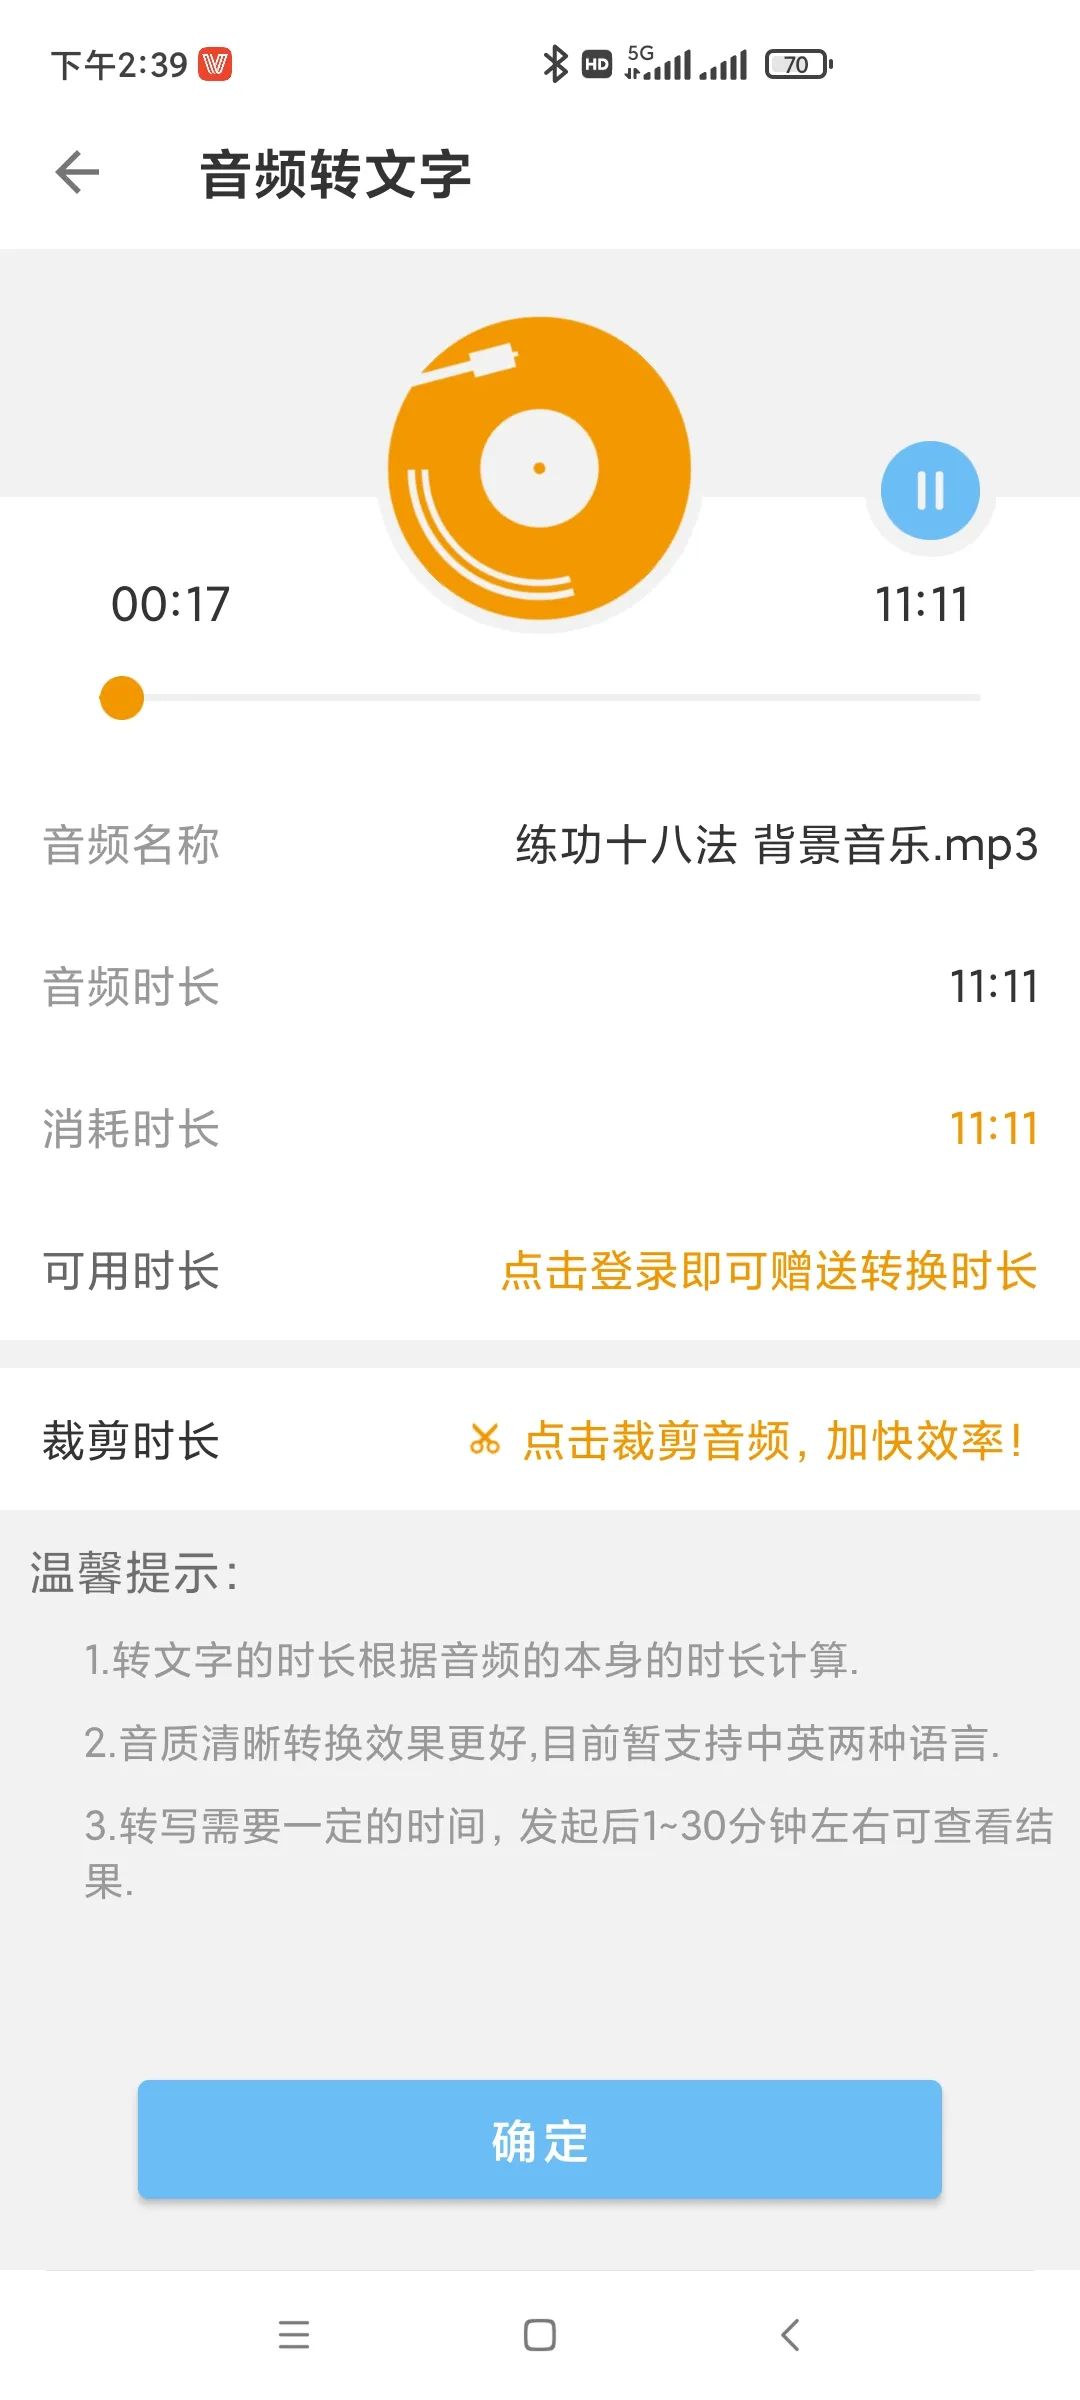
(Figure 8 Recognizing text information from audio)
Note that this process requires logging in via WeChat to execute (Figure 9).
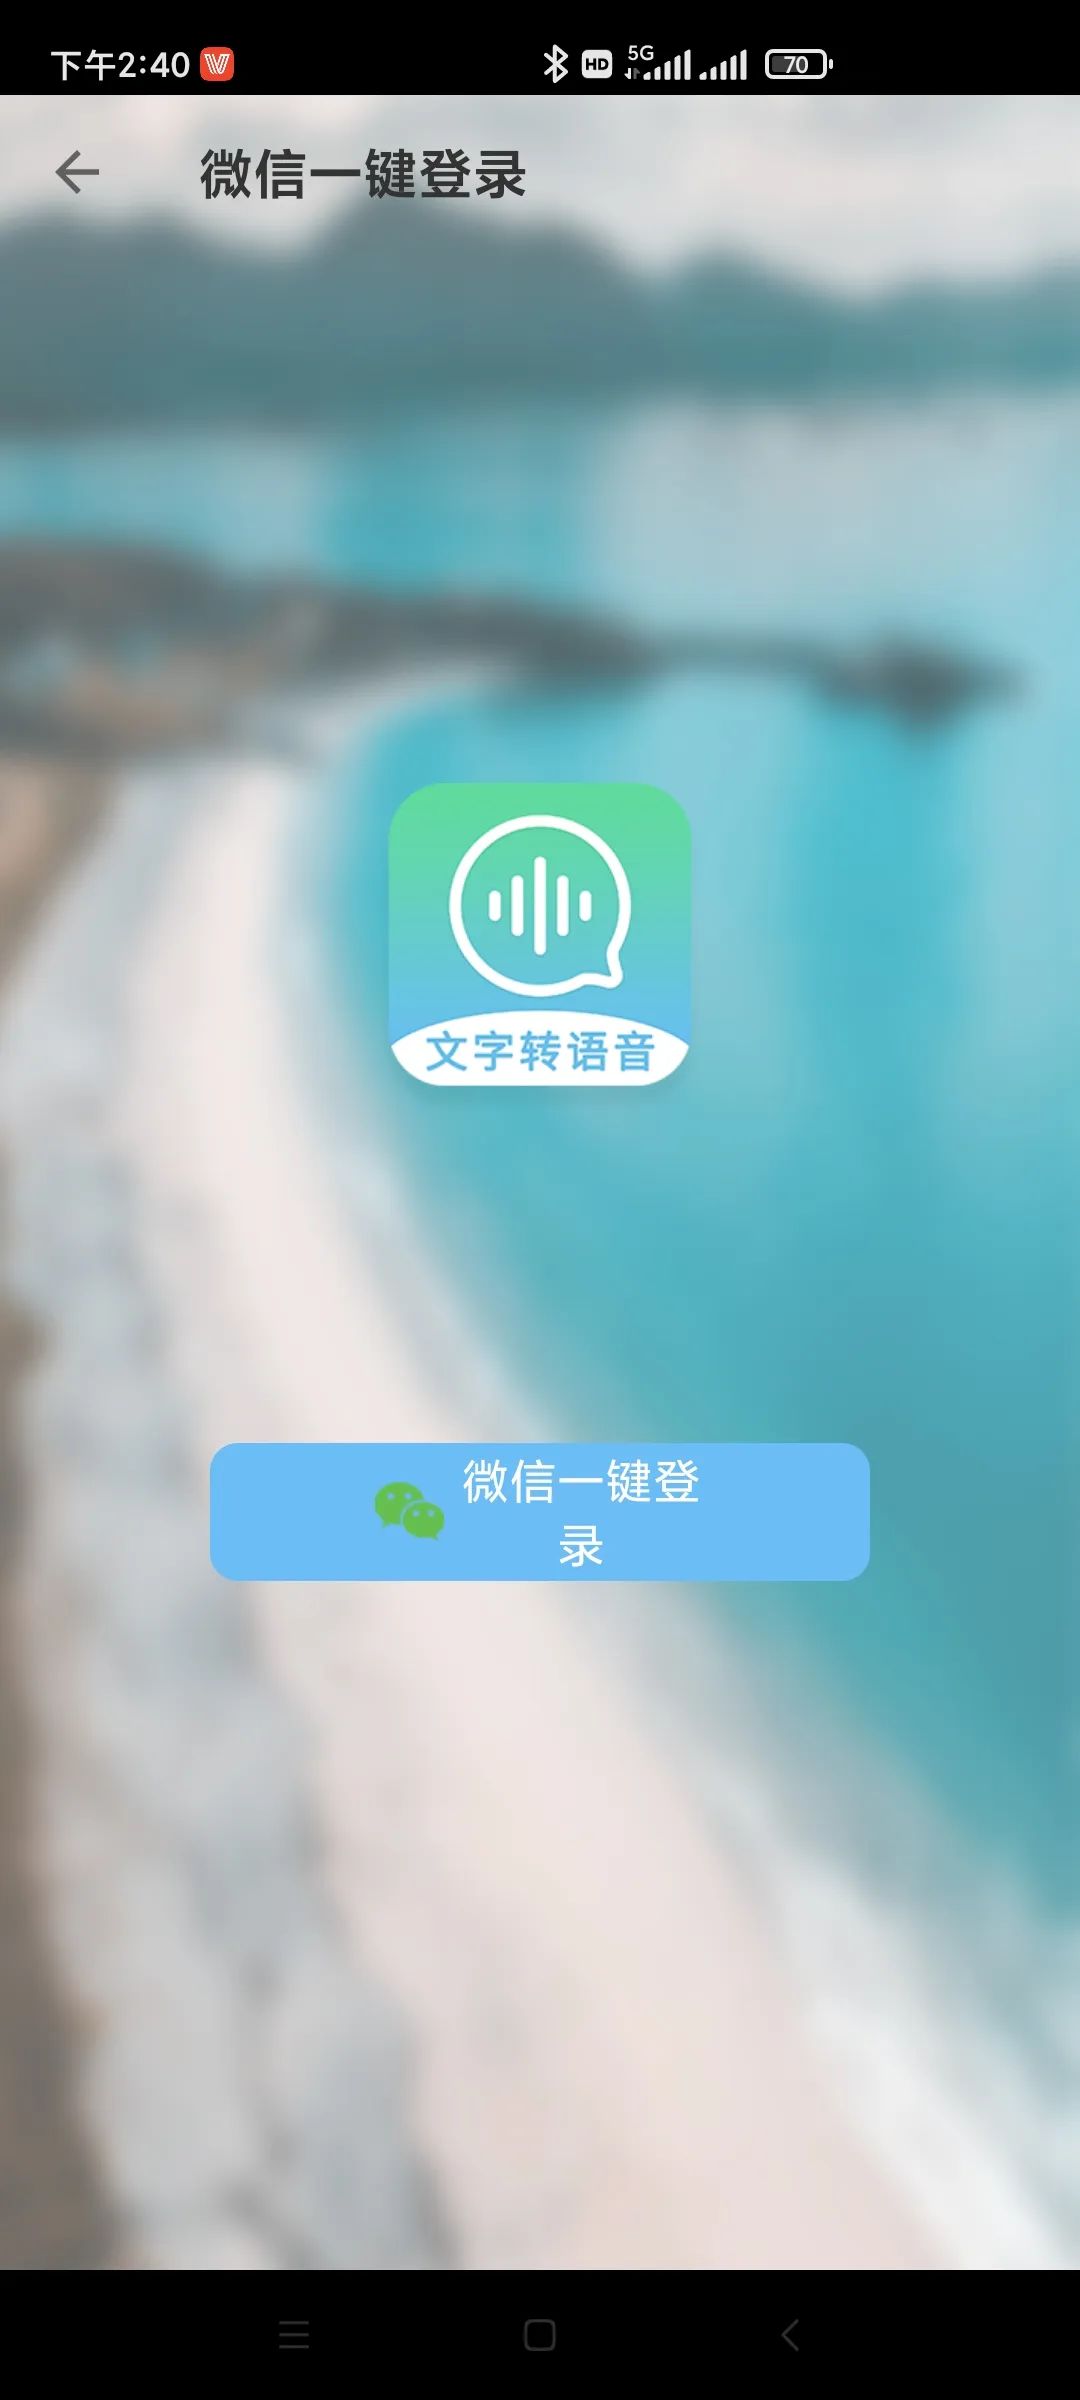
(Figure 9 Requires WeChat one-click login to the software)
3. Real-time Conversion of Live Voice to Text
If you want to convert live voice information into text in real-time, you can use the “Real-time Voice Transcription” module. First, activate this module, then click the “Start Recognition” button at the bottom of the “Voice Recognition” window to start speaking. The software will automatically recognize the voice content and convert it into text displayed in the window. After the content is displayed, click the “Copy Content” button to use these words (Figure 10).

(Figure 10 Click “Start Recognition” to recognize live voice)
Voice recognition currently supports Mandarin, English, Cantonese, and Sichuan dialects. You can select from the language dropdown list in the upper right corner of the window (Figure 11).
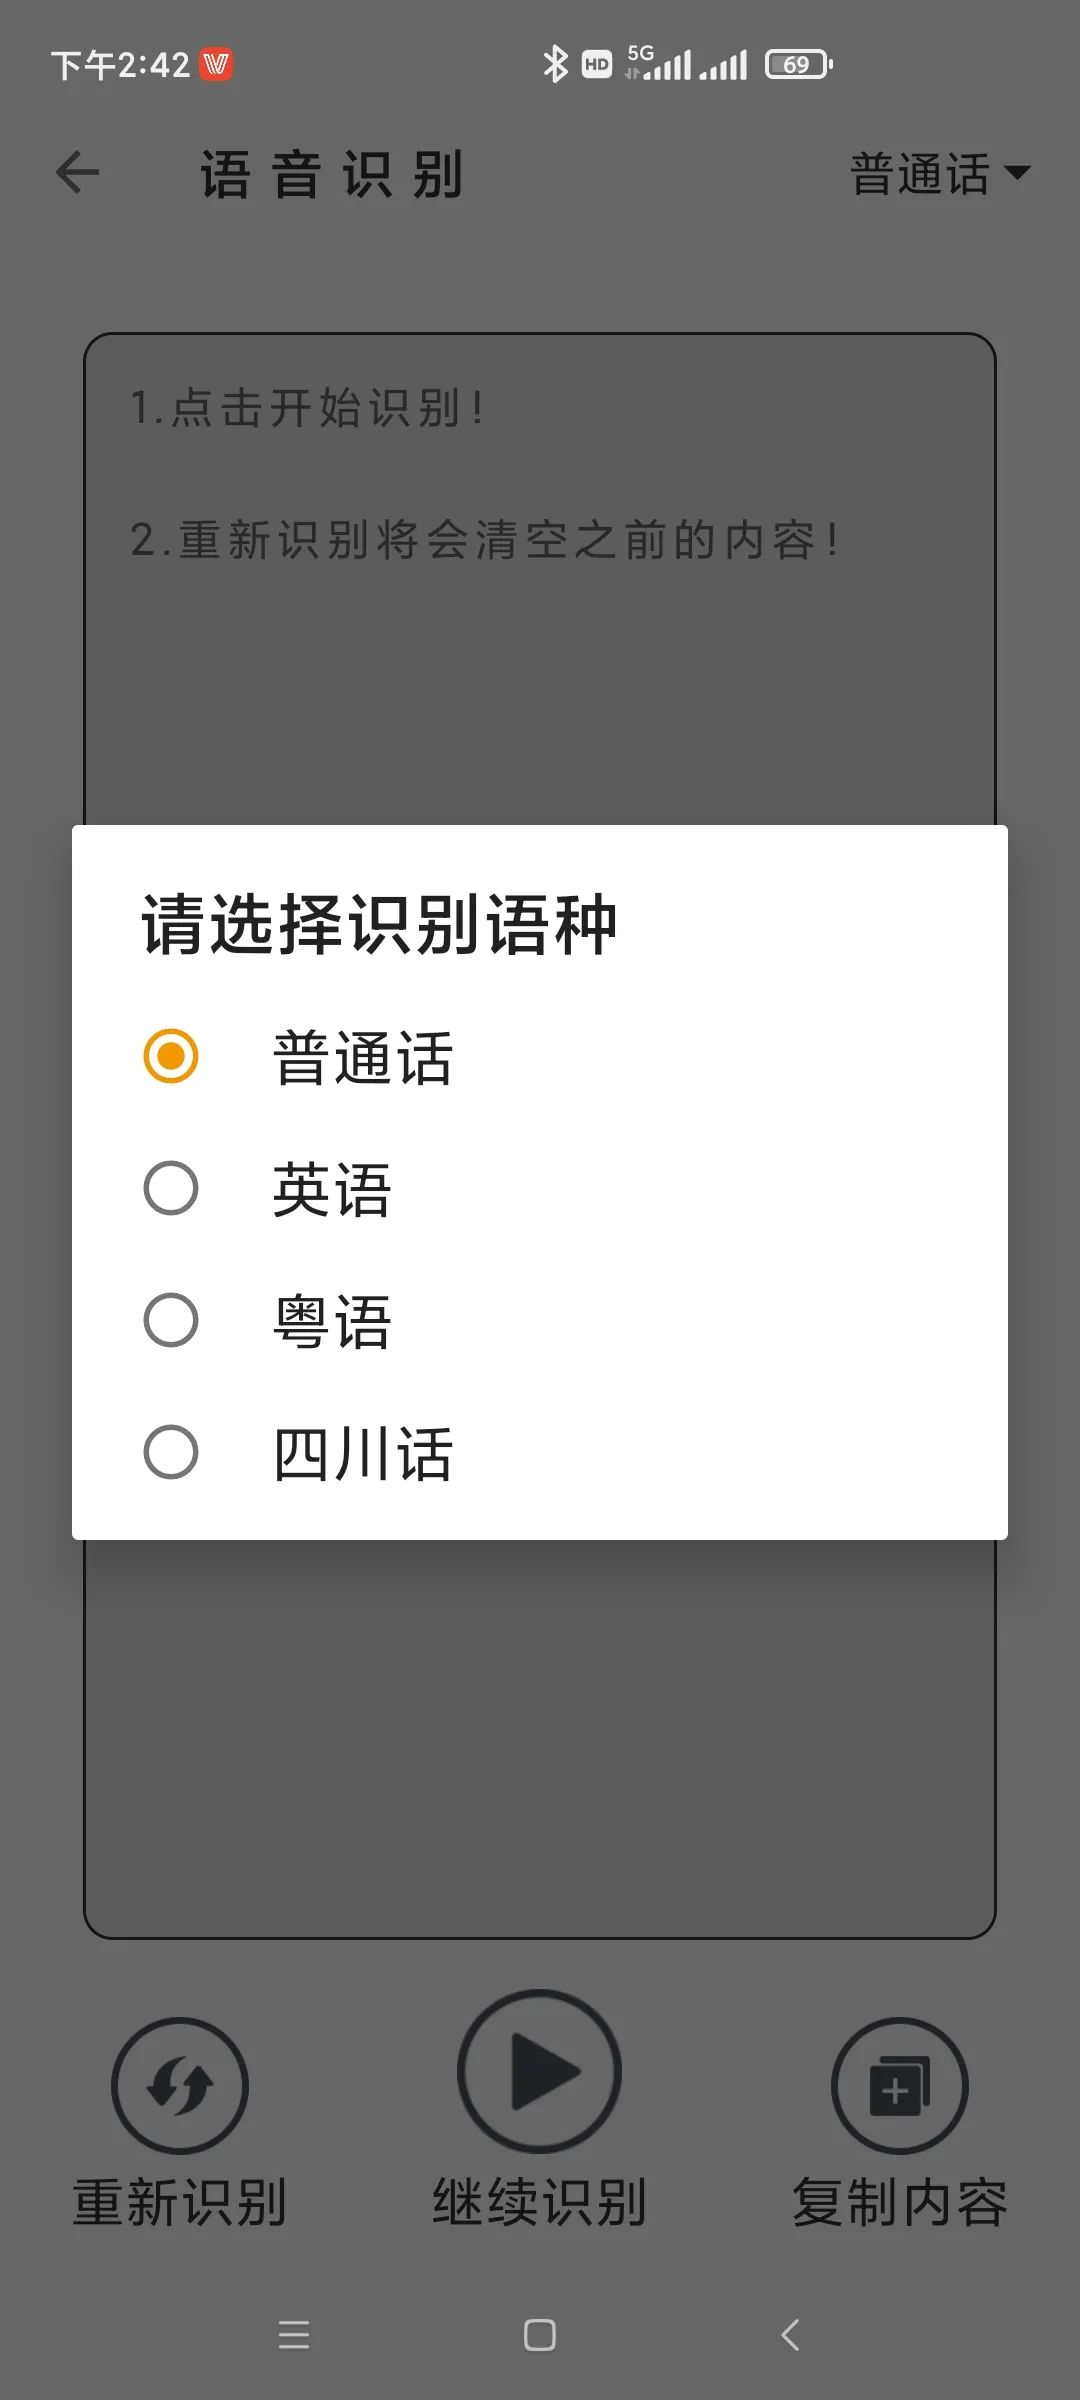
(Figure 11 Supported languages for live voice recognition)
4. Recognize and Convert Text from Video
If you need to convert voice content from a video into text information, you can use the “Video to Text” module. After starting this module, first select the video file to process (Figure 12).
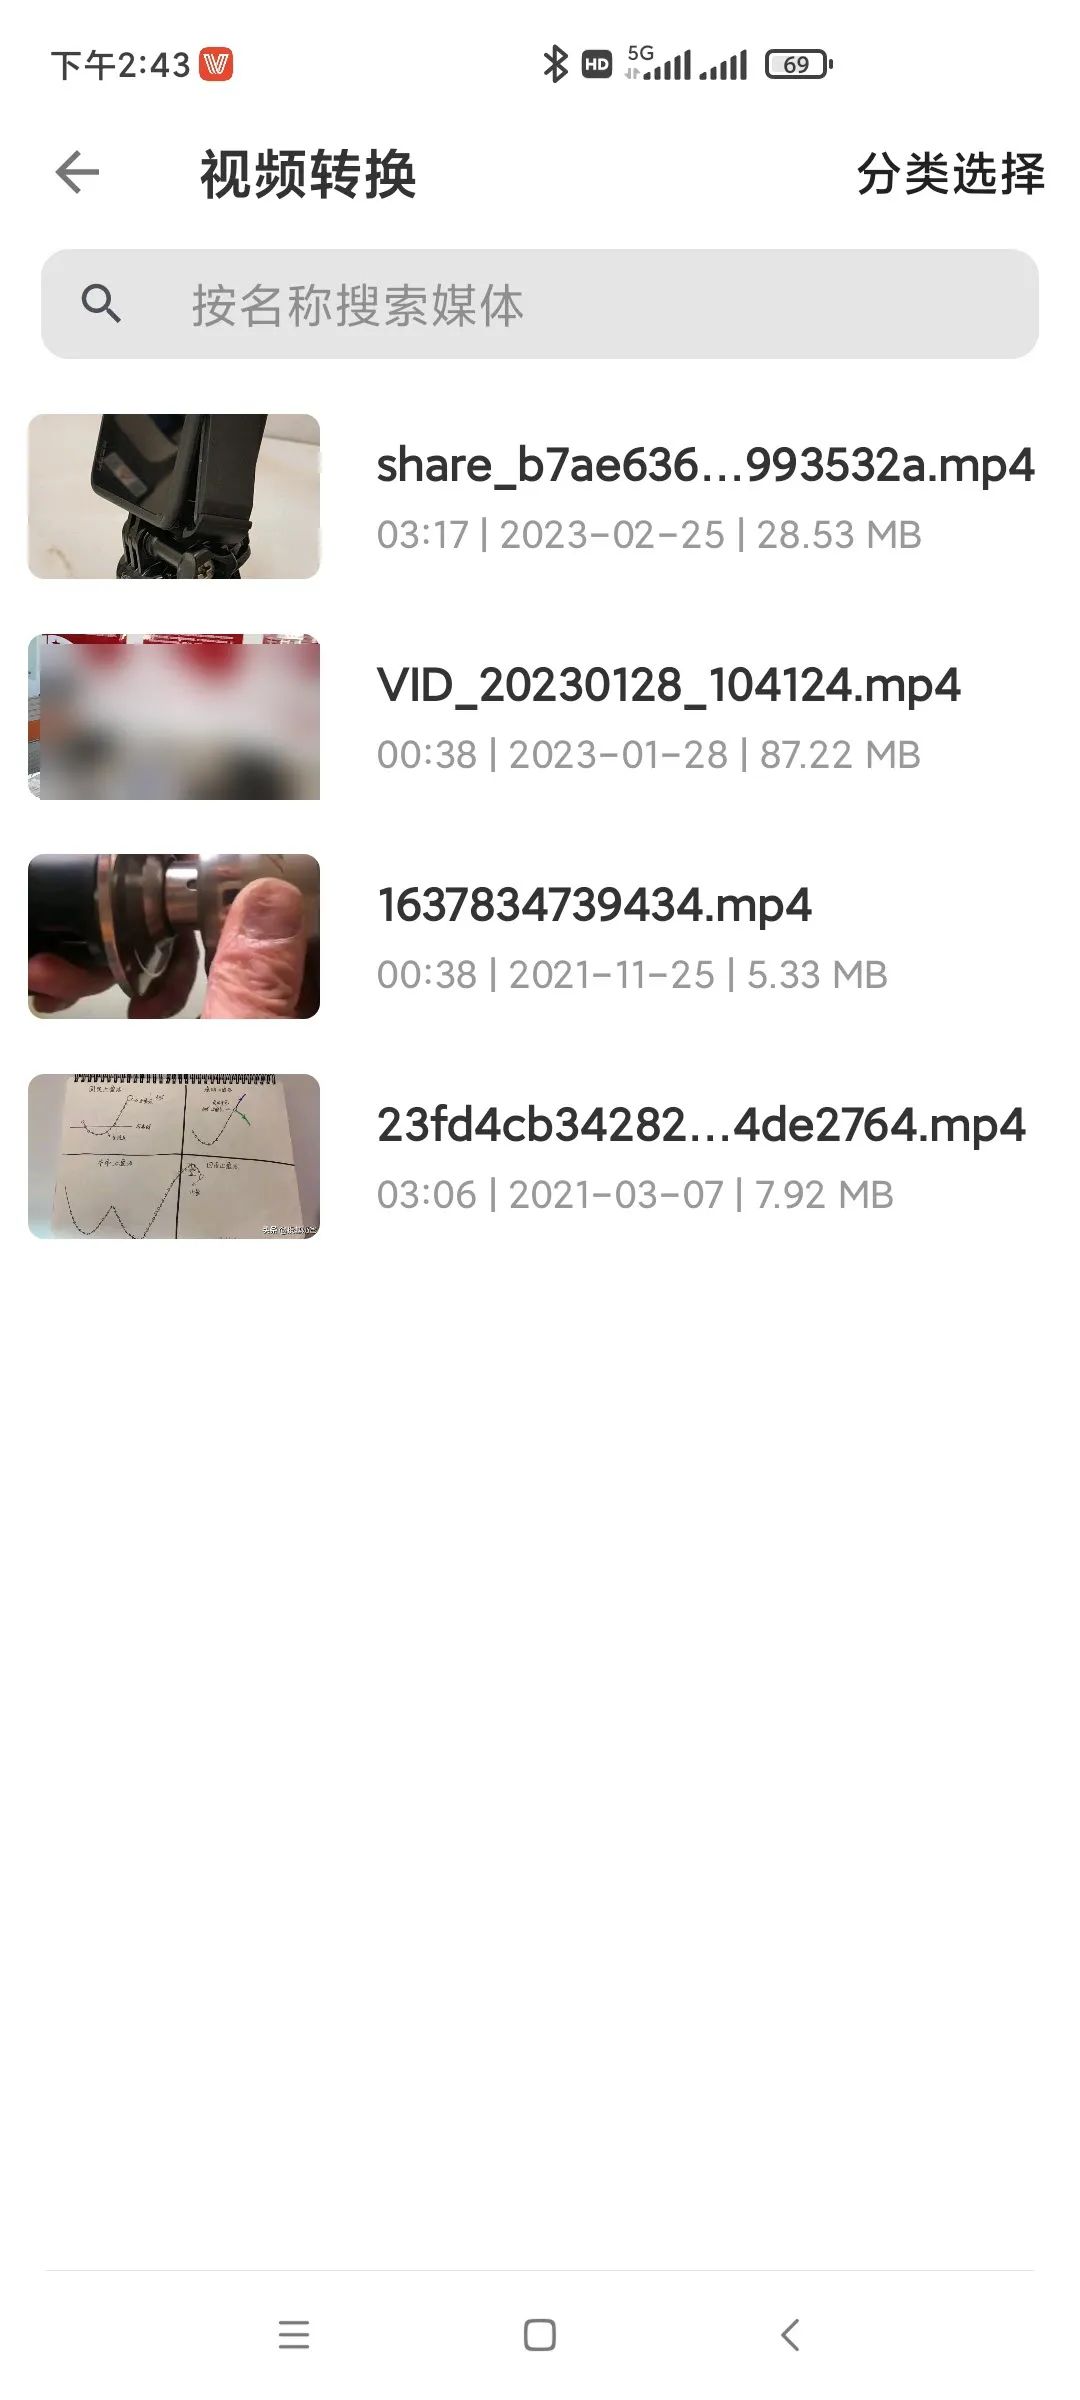
(Figure 12 Select the video file to process)
Next, the video duration and the time consumption for conversion will be displayed. Click the “Confirm” button to start the conversion (Figure 13).
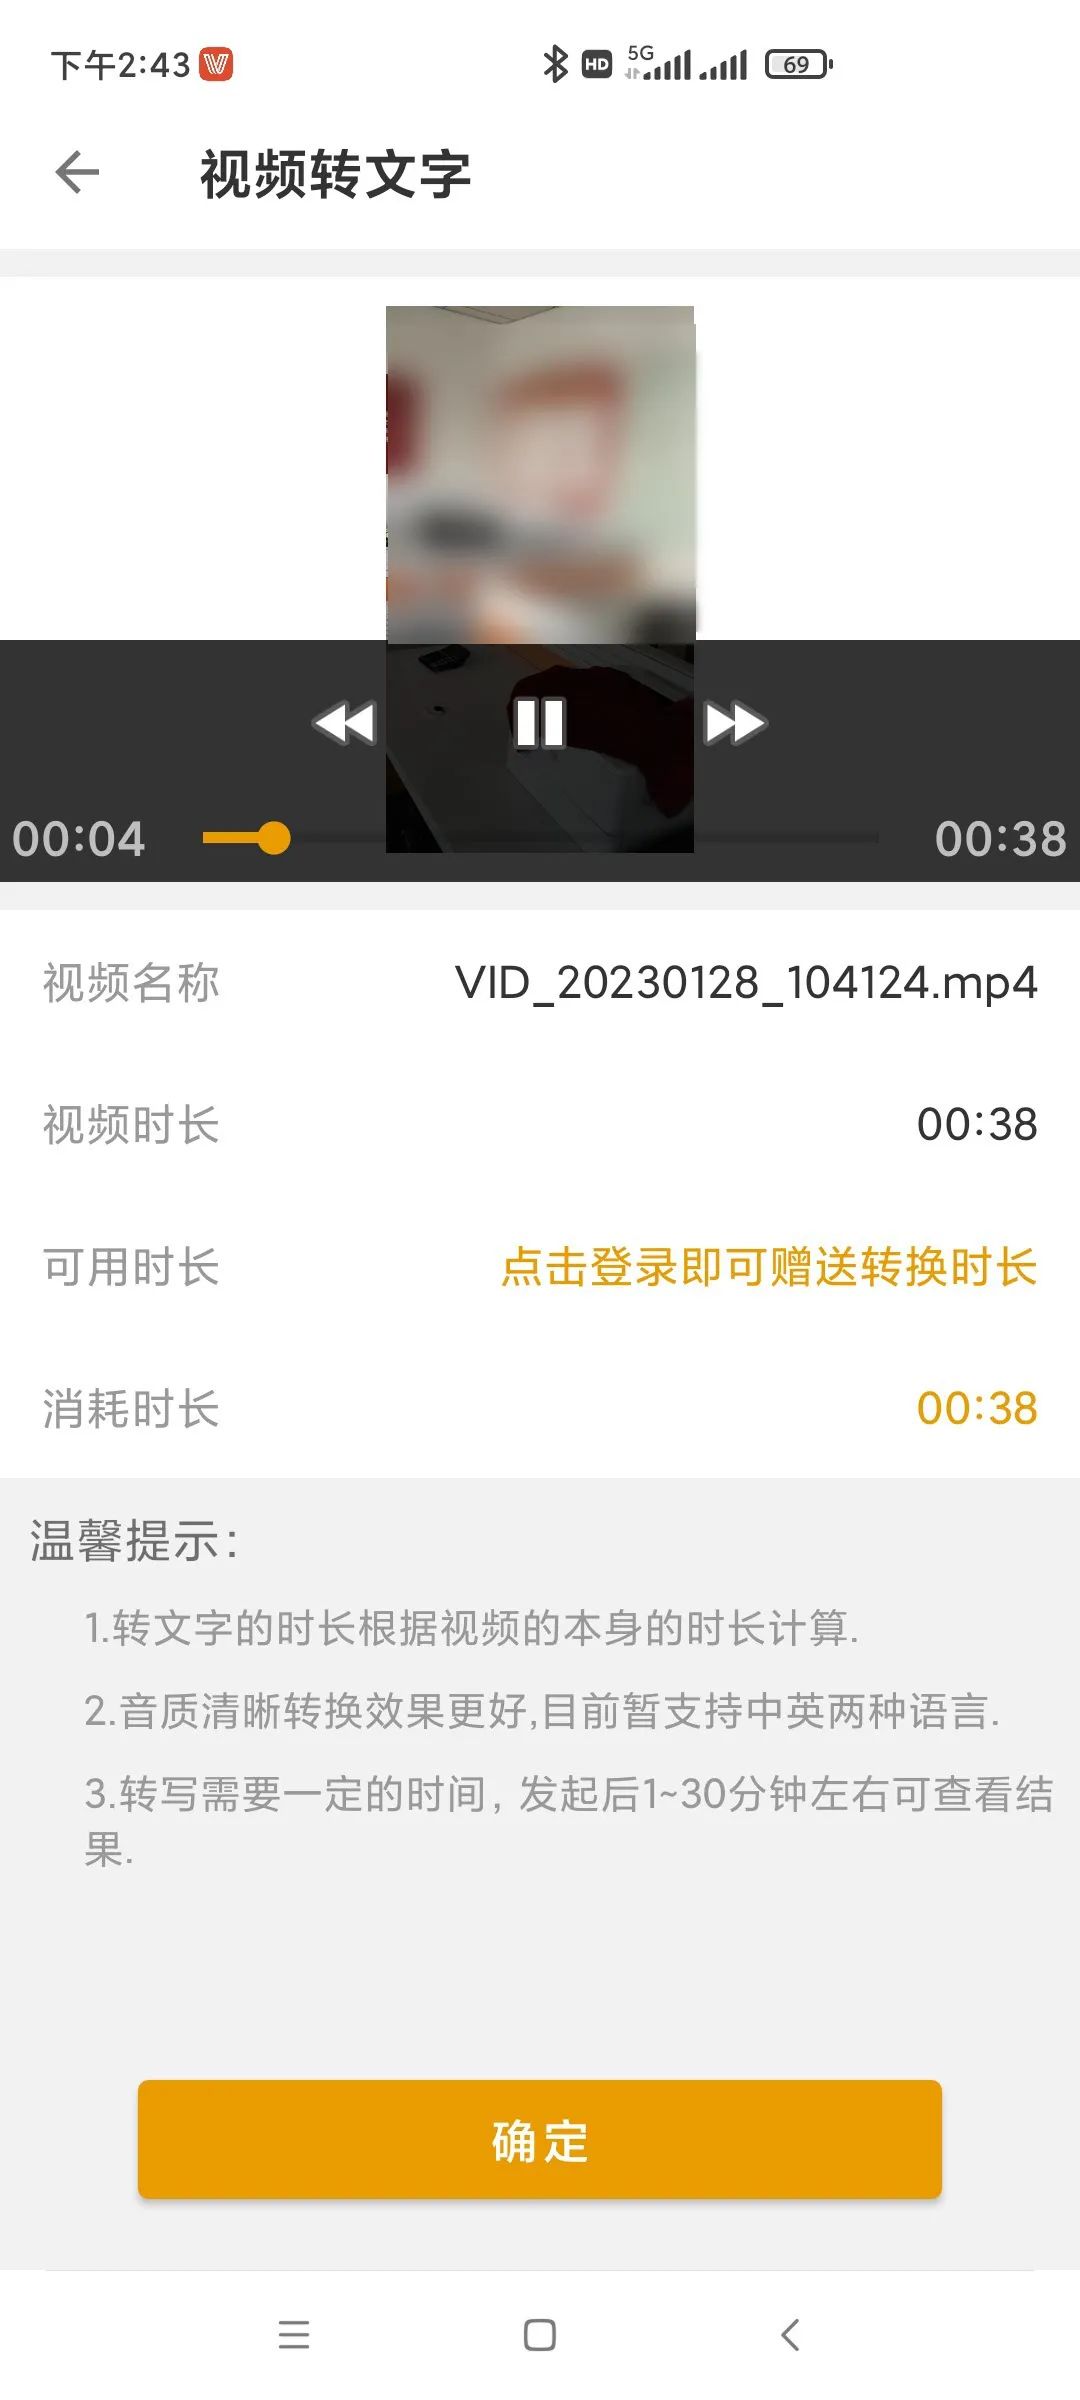
(Figure 13 Start recognizing text from the video)
5. Convert Online Audio Information to Text
We can also convert online audio content to text. To do this, activate the “Online Work Recognition” module, then enter or paste the online address or cloud file address in the address box. Finally, click the “Start Recognition” button to conduct voice recognition (Figure 14).
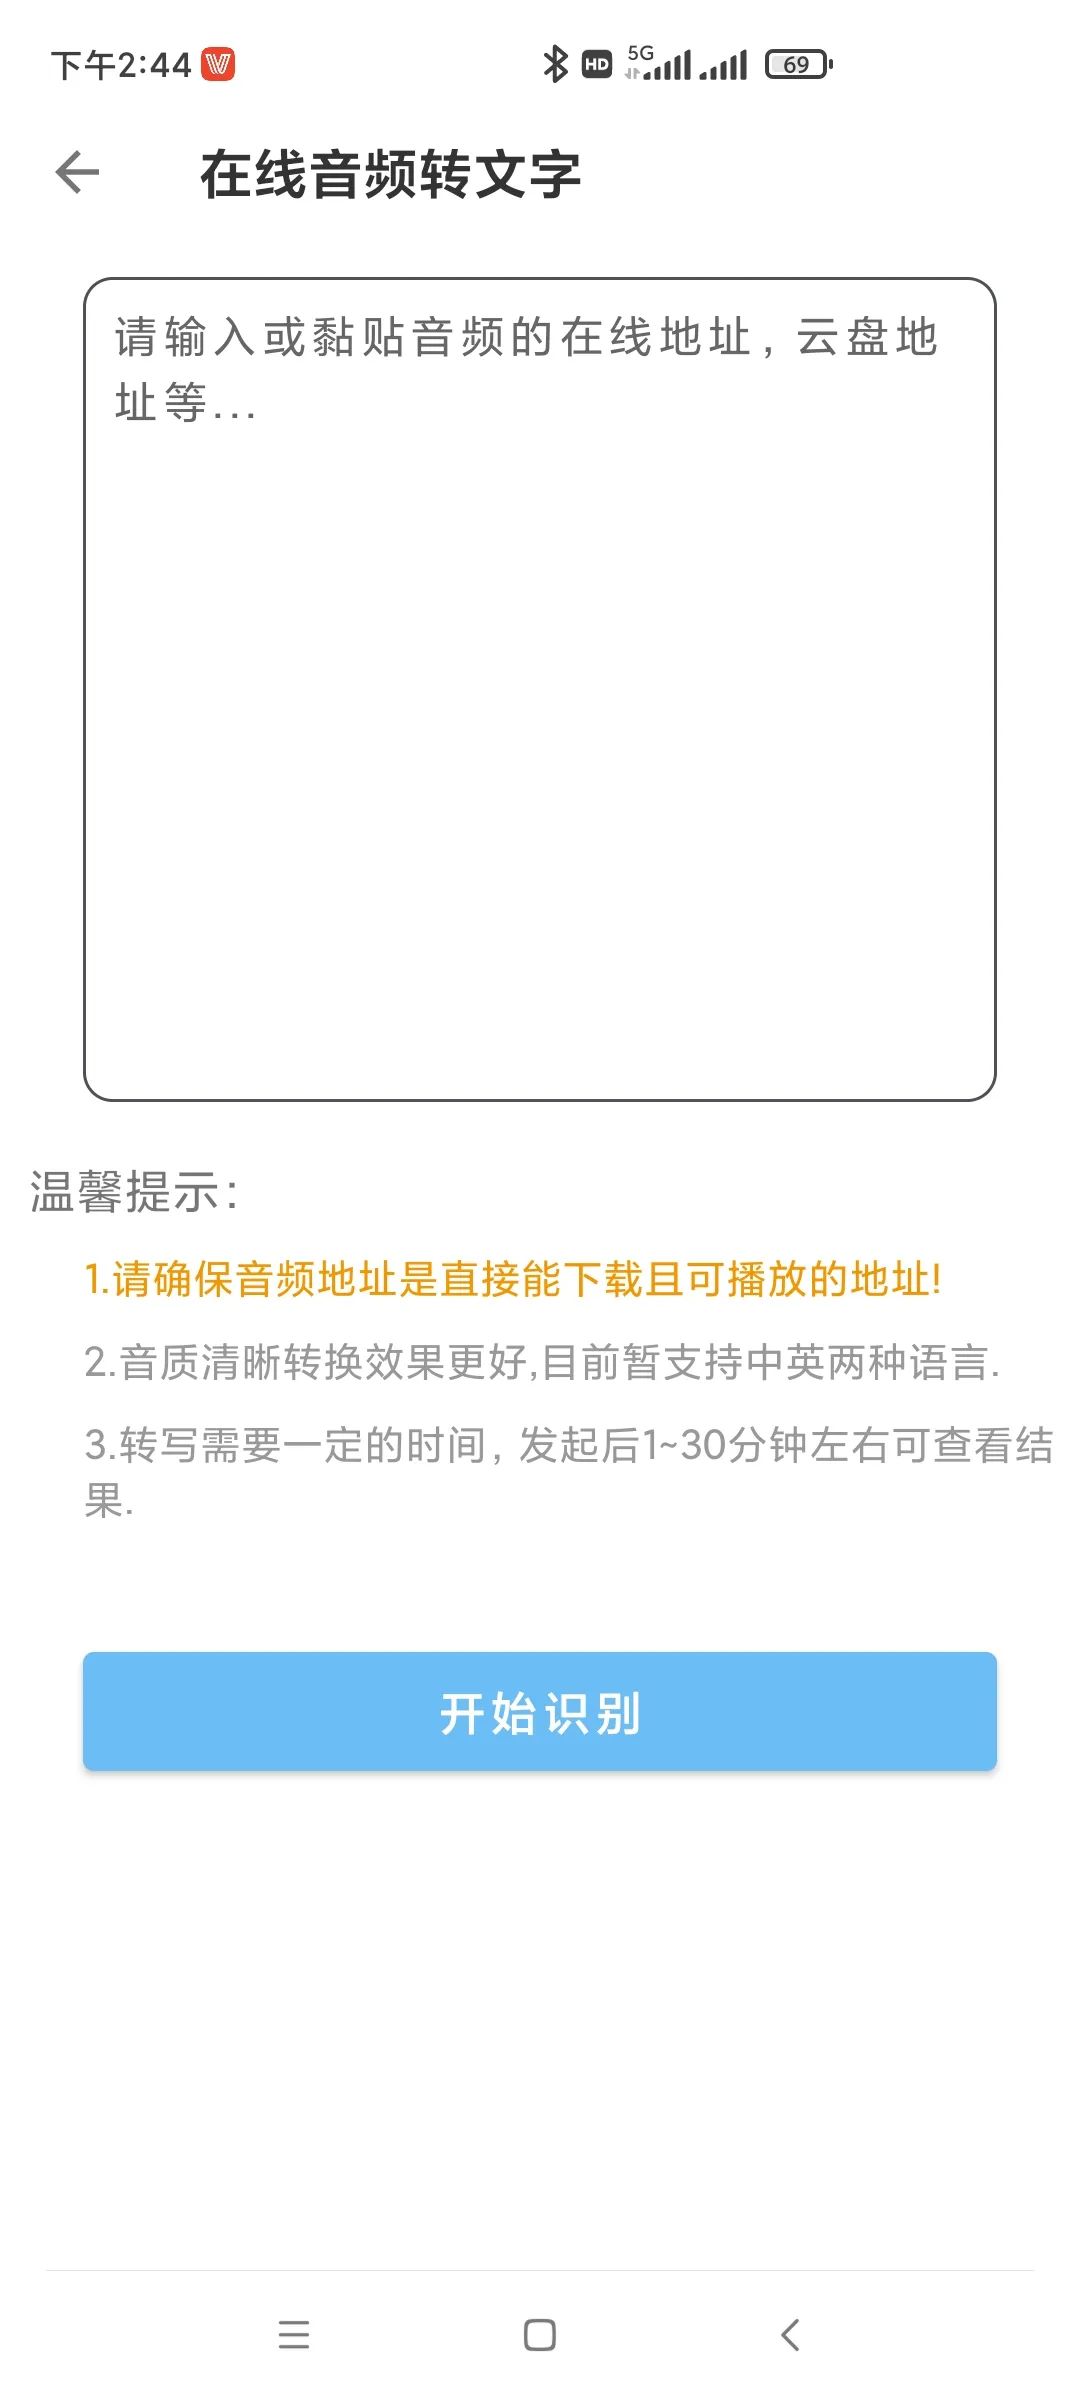
(Figure 14 Recognizing online audio and converting it to text)
6. Other Text and Audio-Video Related Tools
The software also comes with several text, audio, and video processing tools for us to choose from. These include: “Capture Text from Photos”, “Extract Audio”, “Cut Audio”, “Splice Audio”, “Mix Audio”, and “Format Conversion” (Figure 15).

(Figure 15 Several related tools included in the software)
Using the “Capture Text from Photos” tool, we can take pictures of works or objects containing text on-site, and then recognize the text in the photos as text information. First, click the “Camera/Album” button to take a photo or select a prepared photo from the album. The software will automatically recognize the text in the photo and display it in the window. The recognized text can be previewed for speech effect or copied for use. The speech effect can be saved as an audio file for retention (Figure 16).
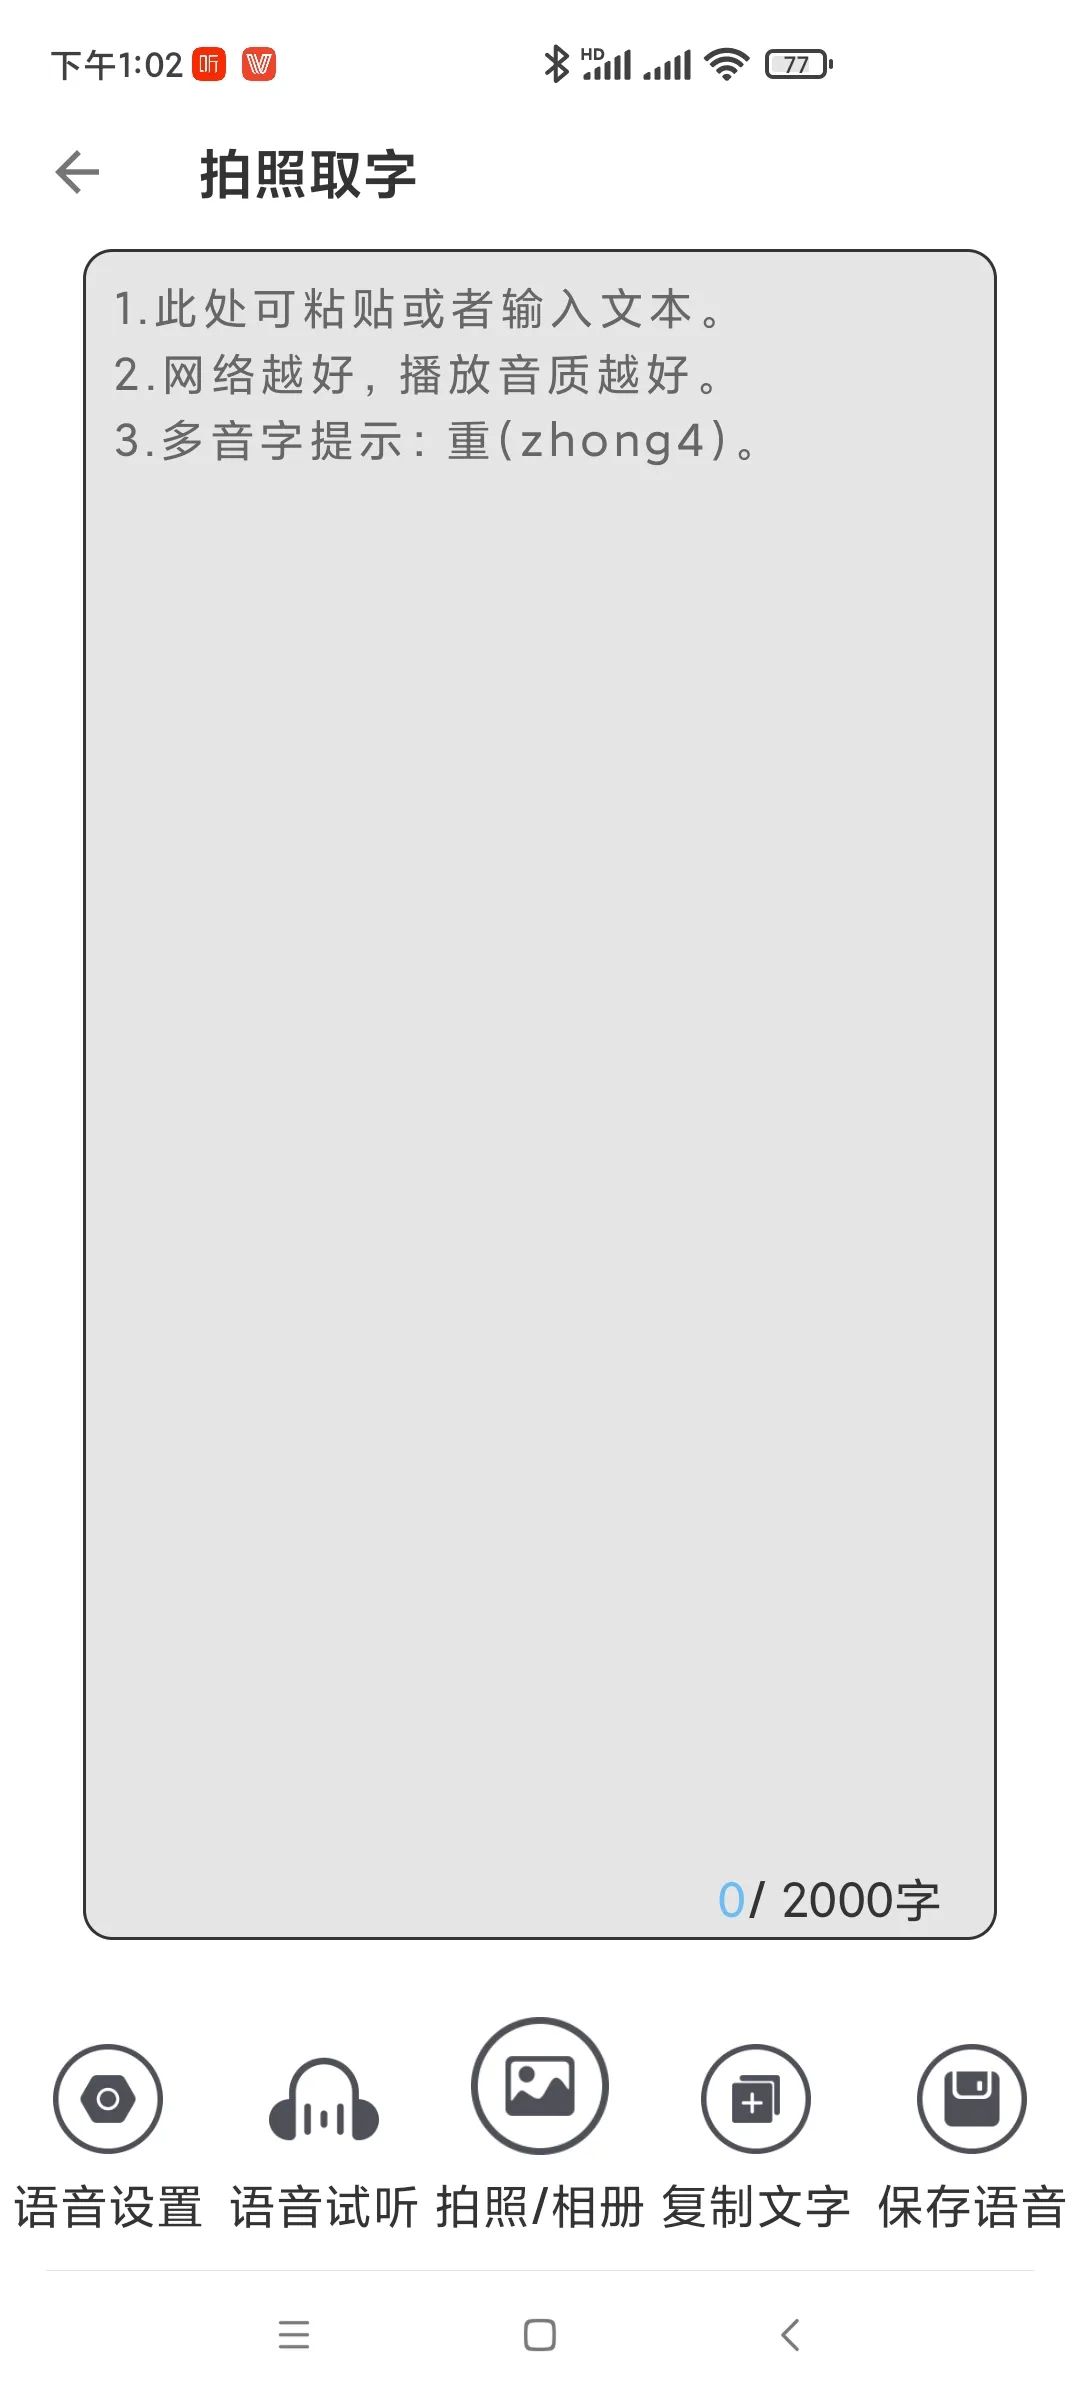
(Figure 16 Recognizing text in photos and converting it to speech)
Sometimes we only need the audio information from a video. Using the “Extract Audio” tool, we can extract audio from the video. After selecting the video file, click the “Extract Audio” button to extract it (Figure 17).
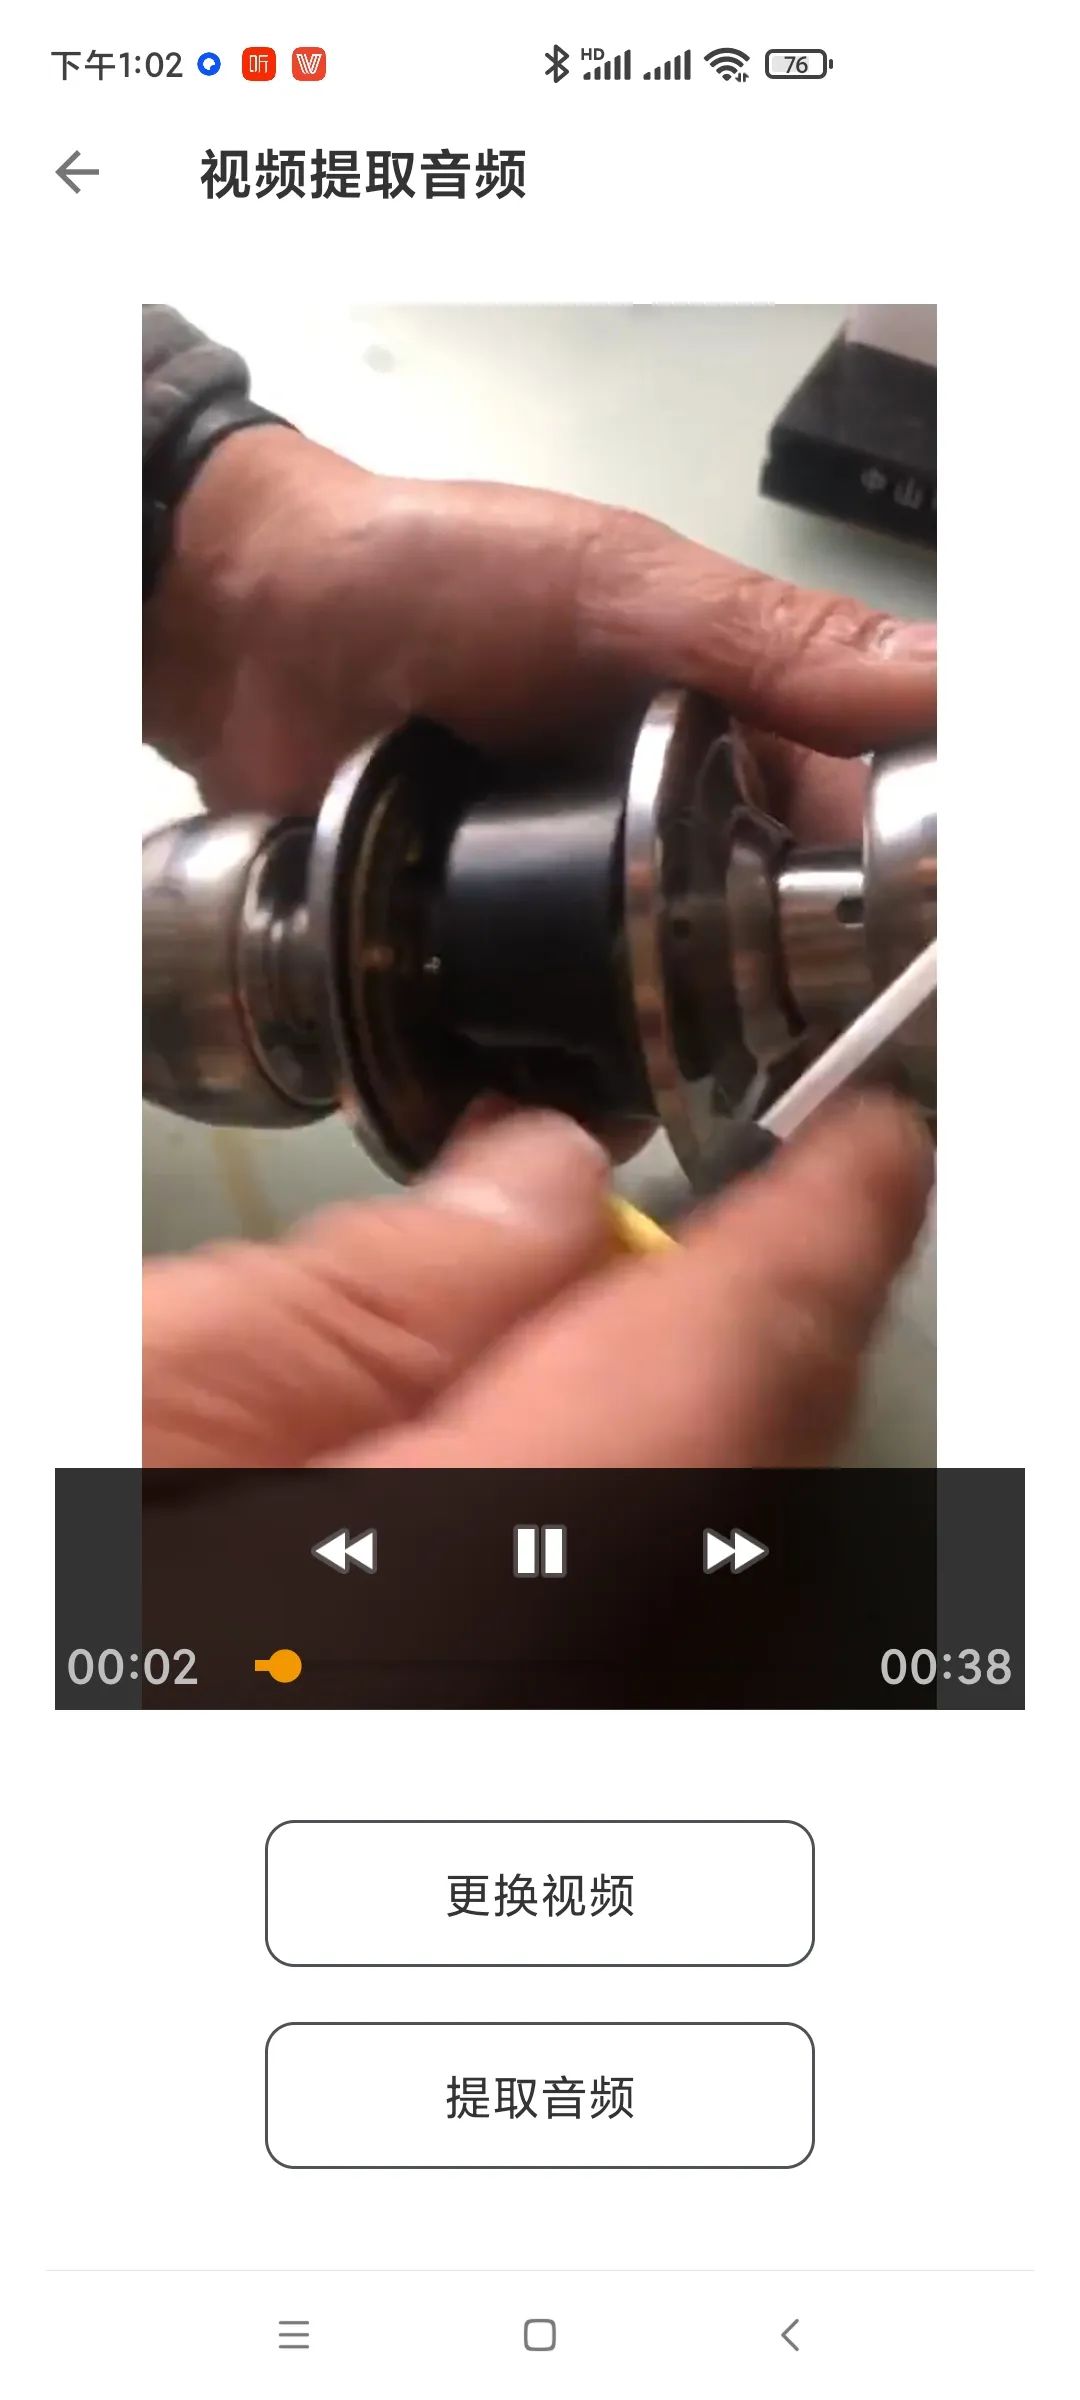
(Figure 17 Extracting audio information from the video)
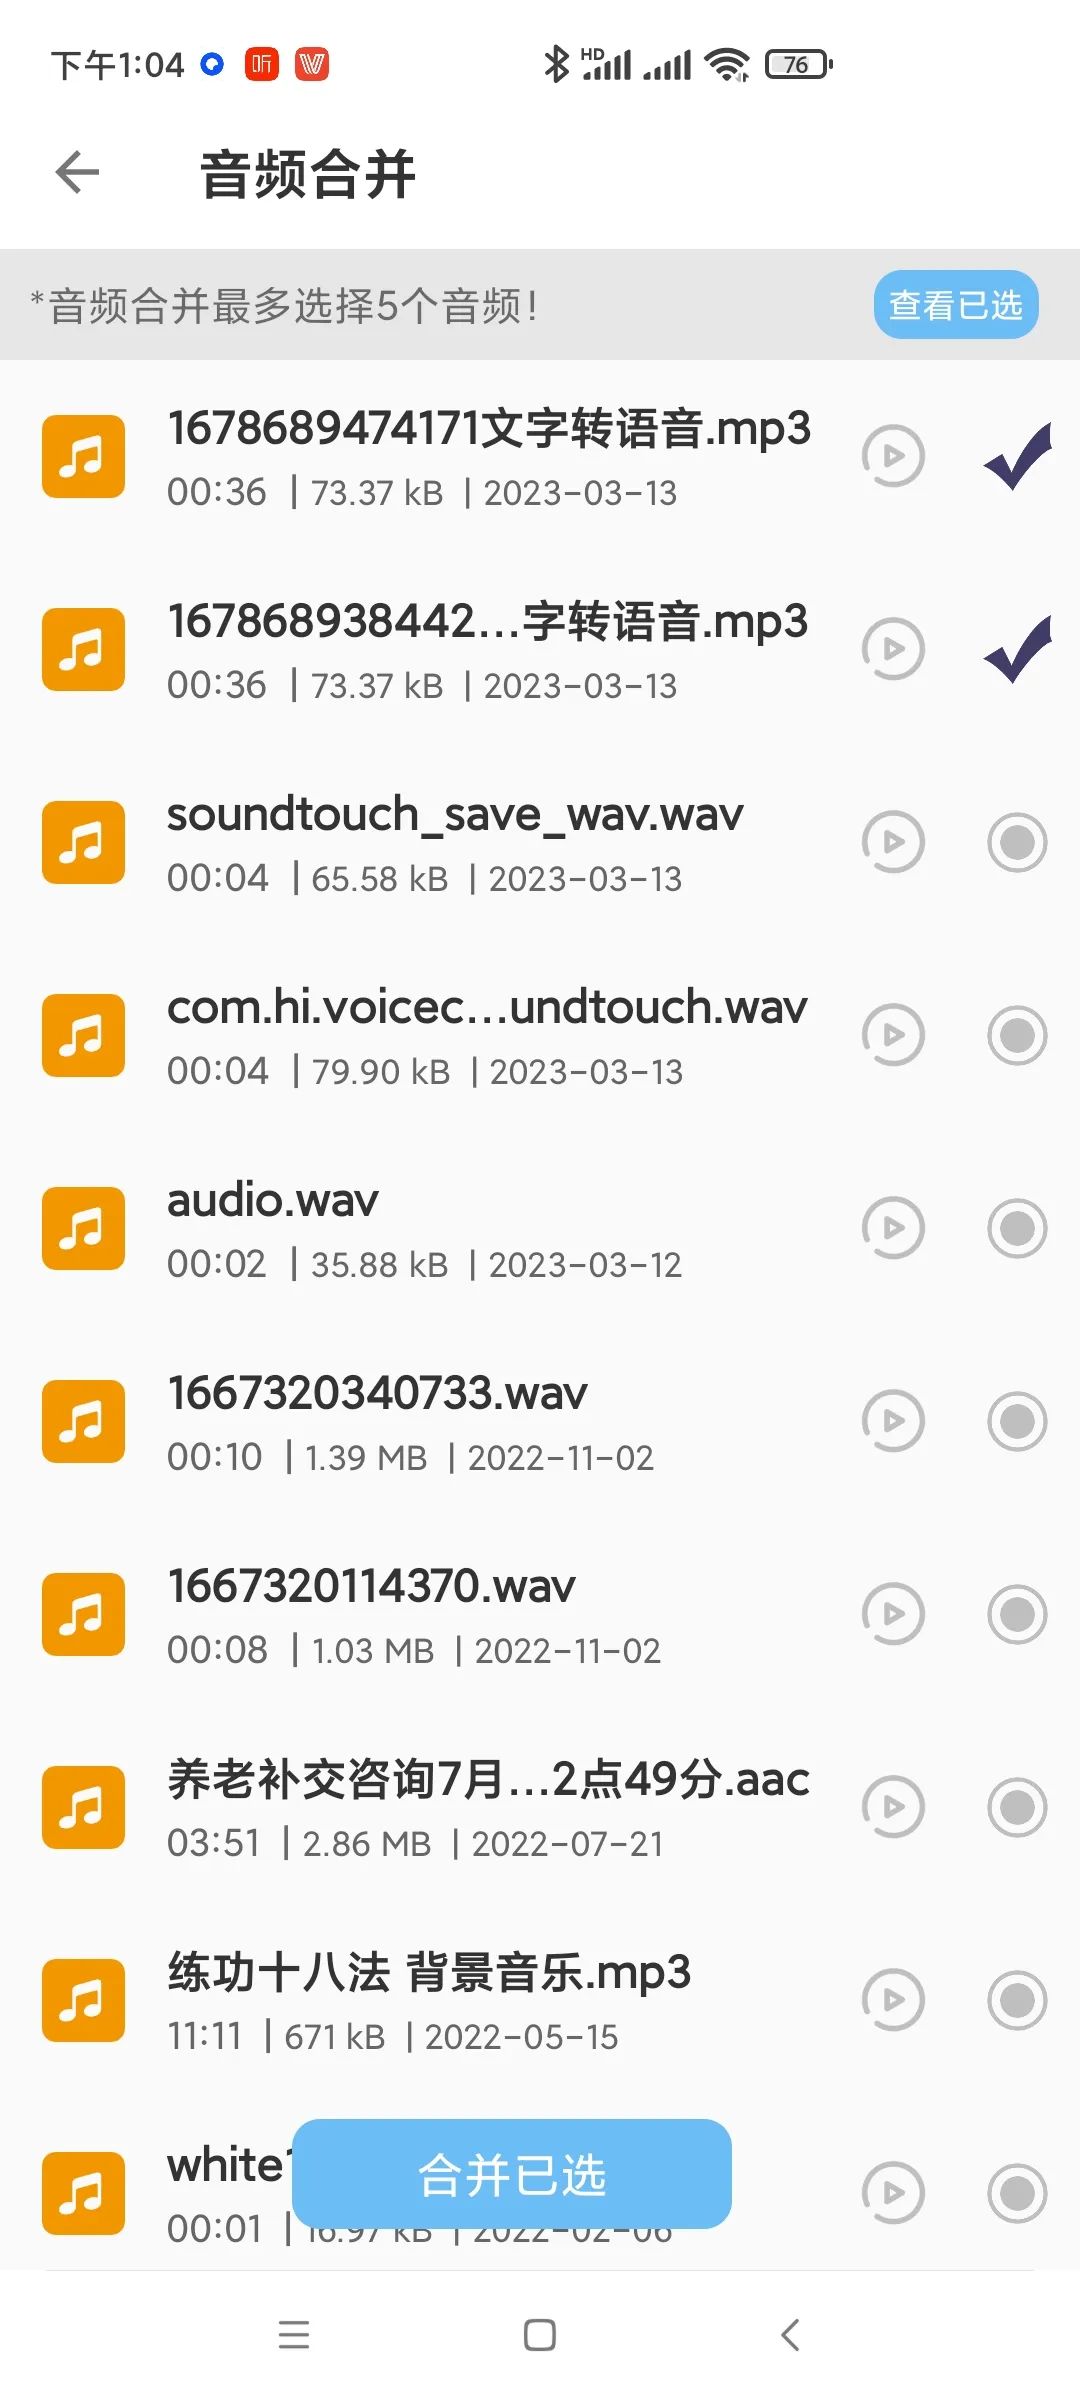
We can also use the “Mix Audio” tool to achieve the mixing effect of two or more audio segments, combining multiple audio files into one audio file. First, select the audio files to be mixed, then click the “Mix Selected” button to execute the merge (Figure 18).
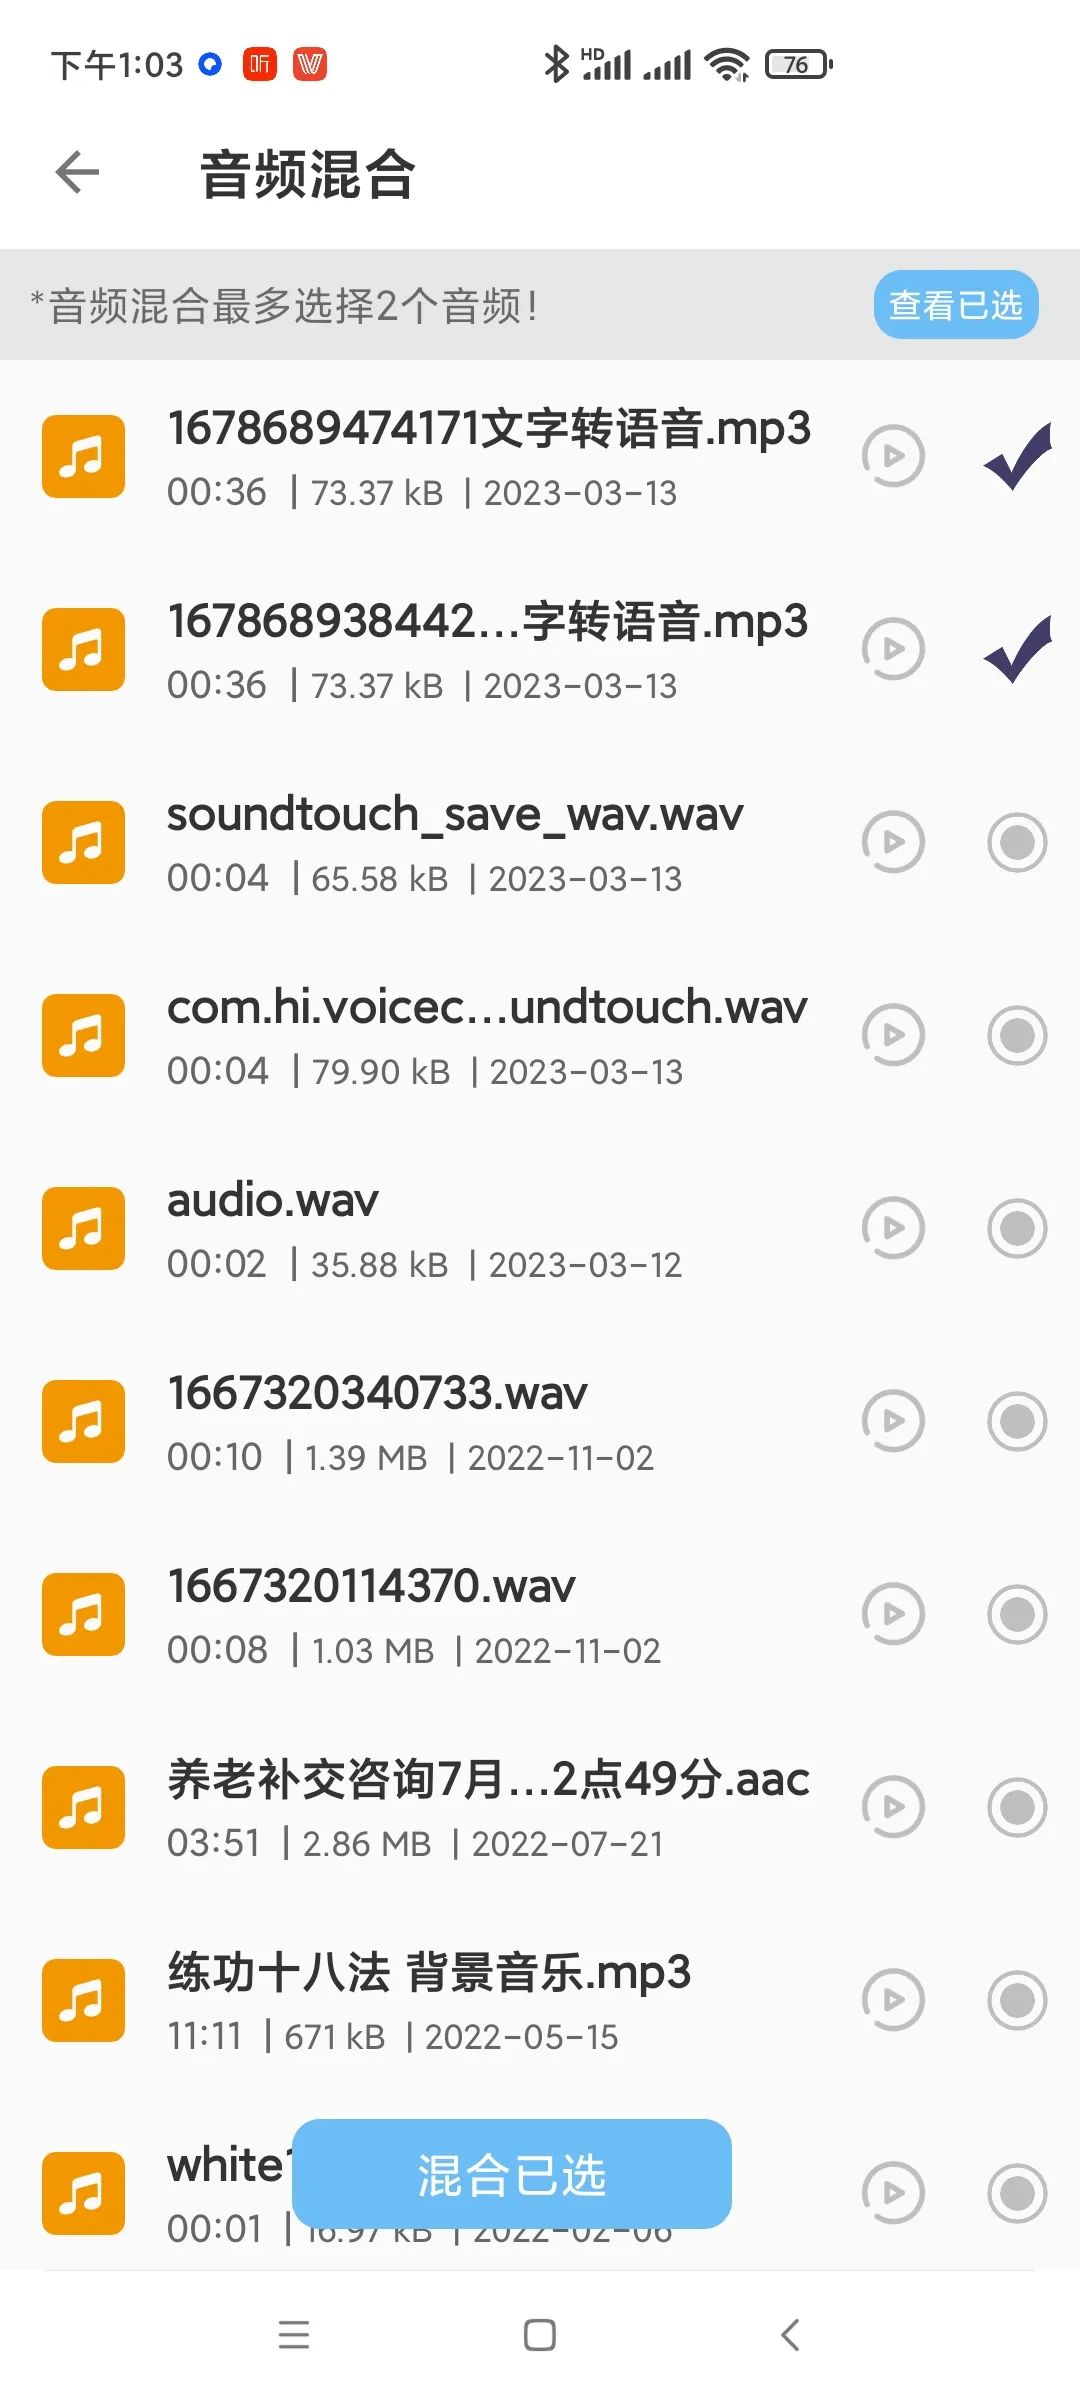
(Figure 18 Achieving audio mixing overlay effect)
If you want to clip useful segments from a piece of audio, you can use the “Cut Audio” tool. After starting this tool, use the slider to select the start and end time points, then adjust the volume and speed. If needed, you can also set fade-in and fade-out effects for the audio segment. Finally, click the “Save Selected Audio” button to save the audio you want to keep, or click the “Delete Selected Audio” button to remove the audio segment you want to discard (Figure 19).
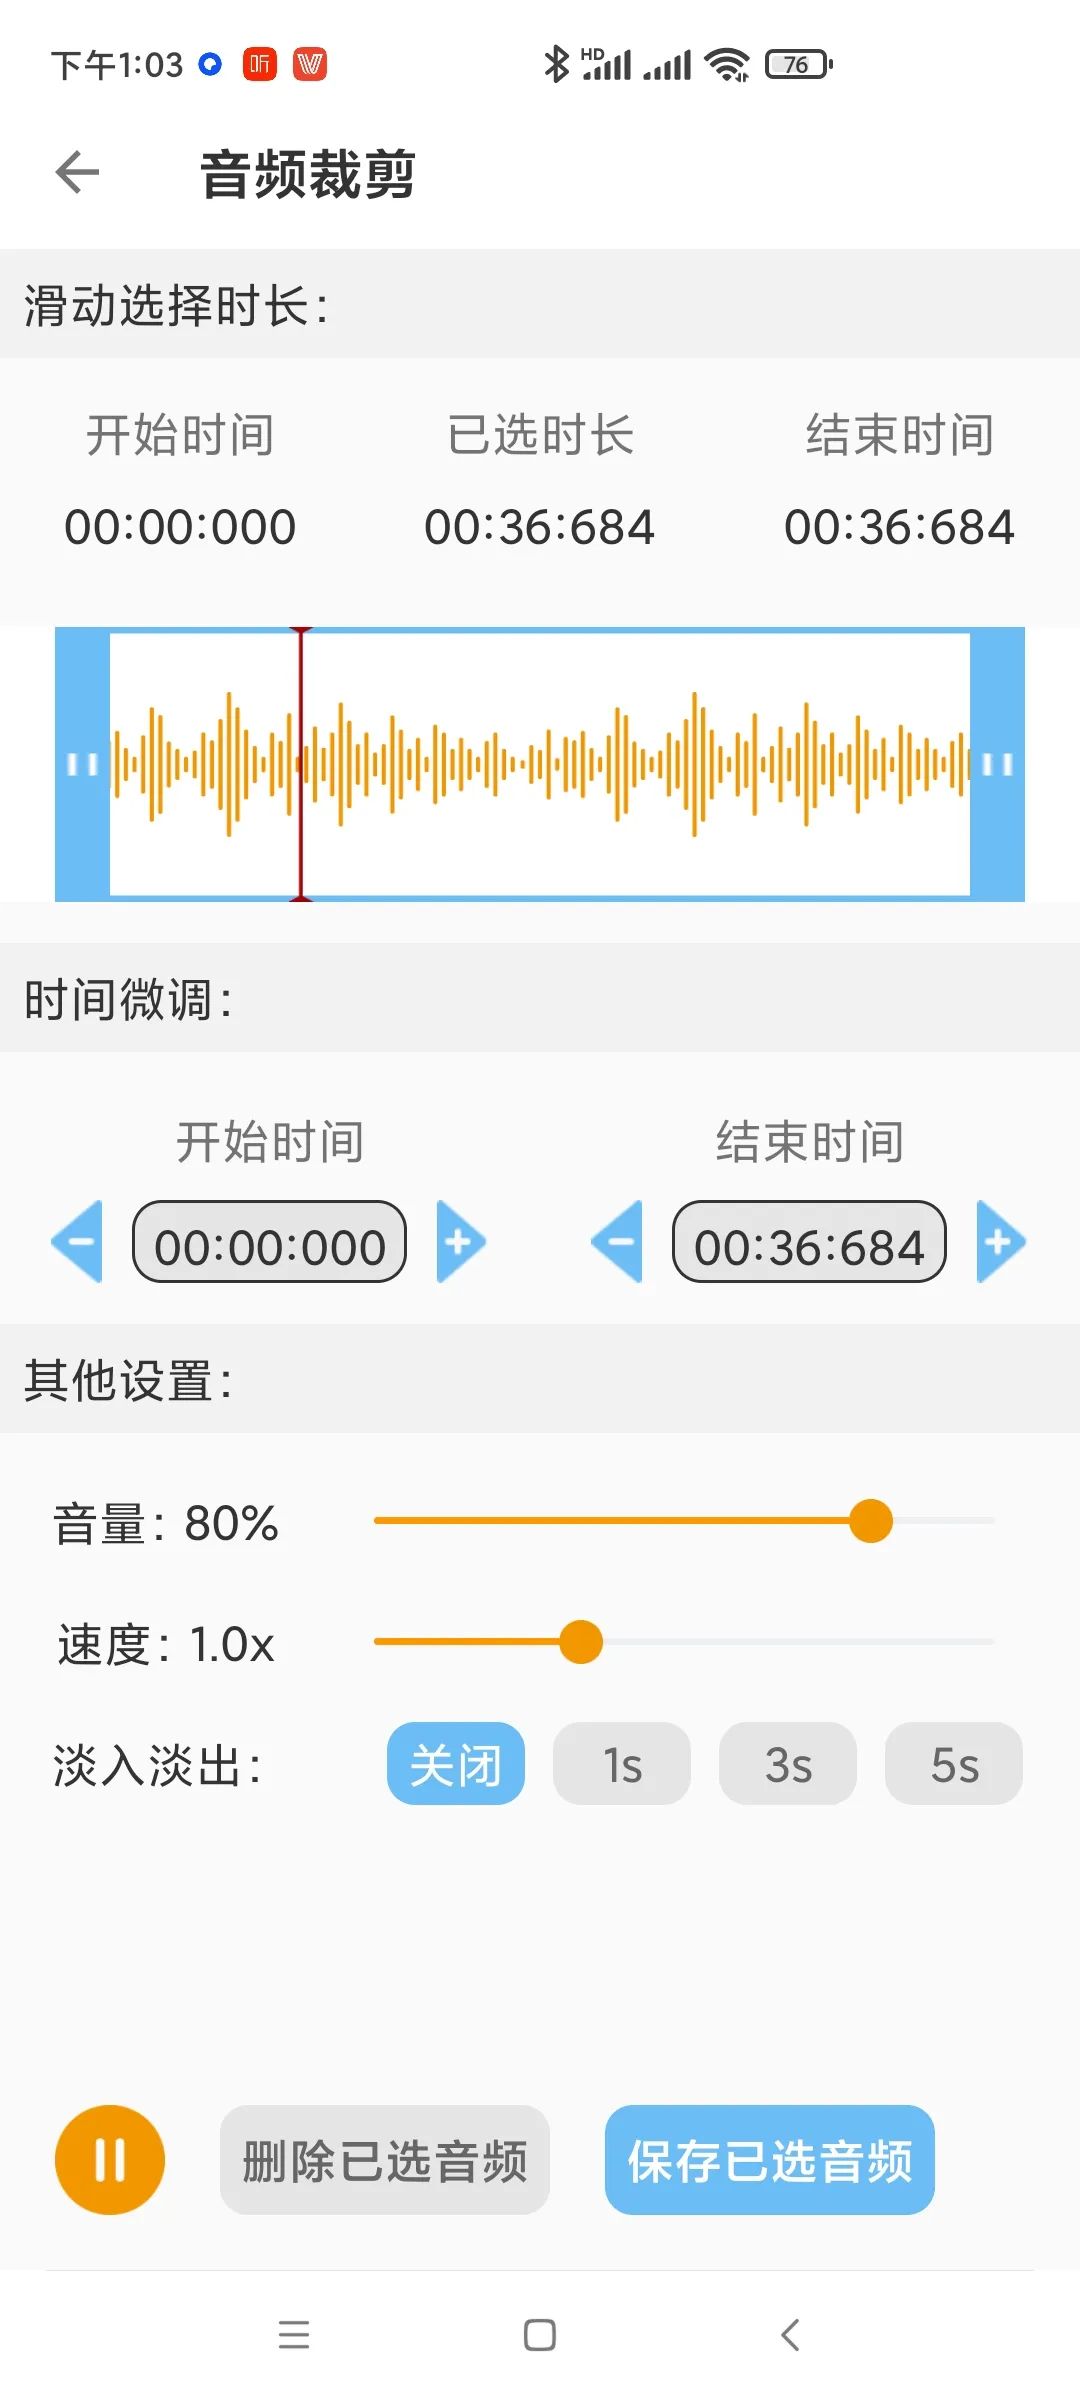
(Figure 19 Using the audio editing tool to retain or delete audio segments)
As we mentioned earlier, audio mixing can be done. In addition to mixing, multiple audio segments can be connected to form a long audio file. The “Splice Audio” tool can achieve audio splicing. First, select the audio files to be merged, then click the “Merge Selected” button to execute the audio merge (Figure 20).
(Figure 20 Selecting multiple audio segments to merge)
Sometimes we need to convert an audio file from one format to another. The “Format Conversion” tool can achieve this. After starting this module, first load the audio file to be converted, then select the target audio format to convert to. Finally, click “Confirm” to start the conversion (Figure 21).
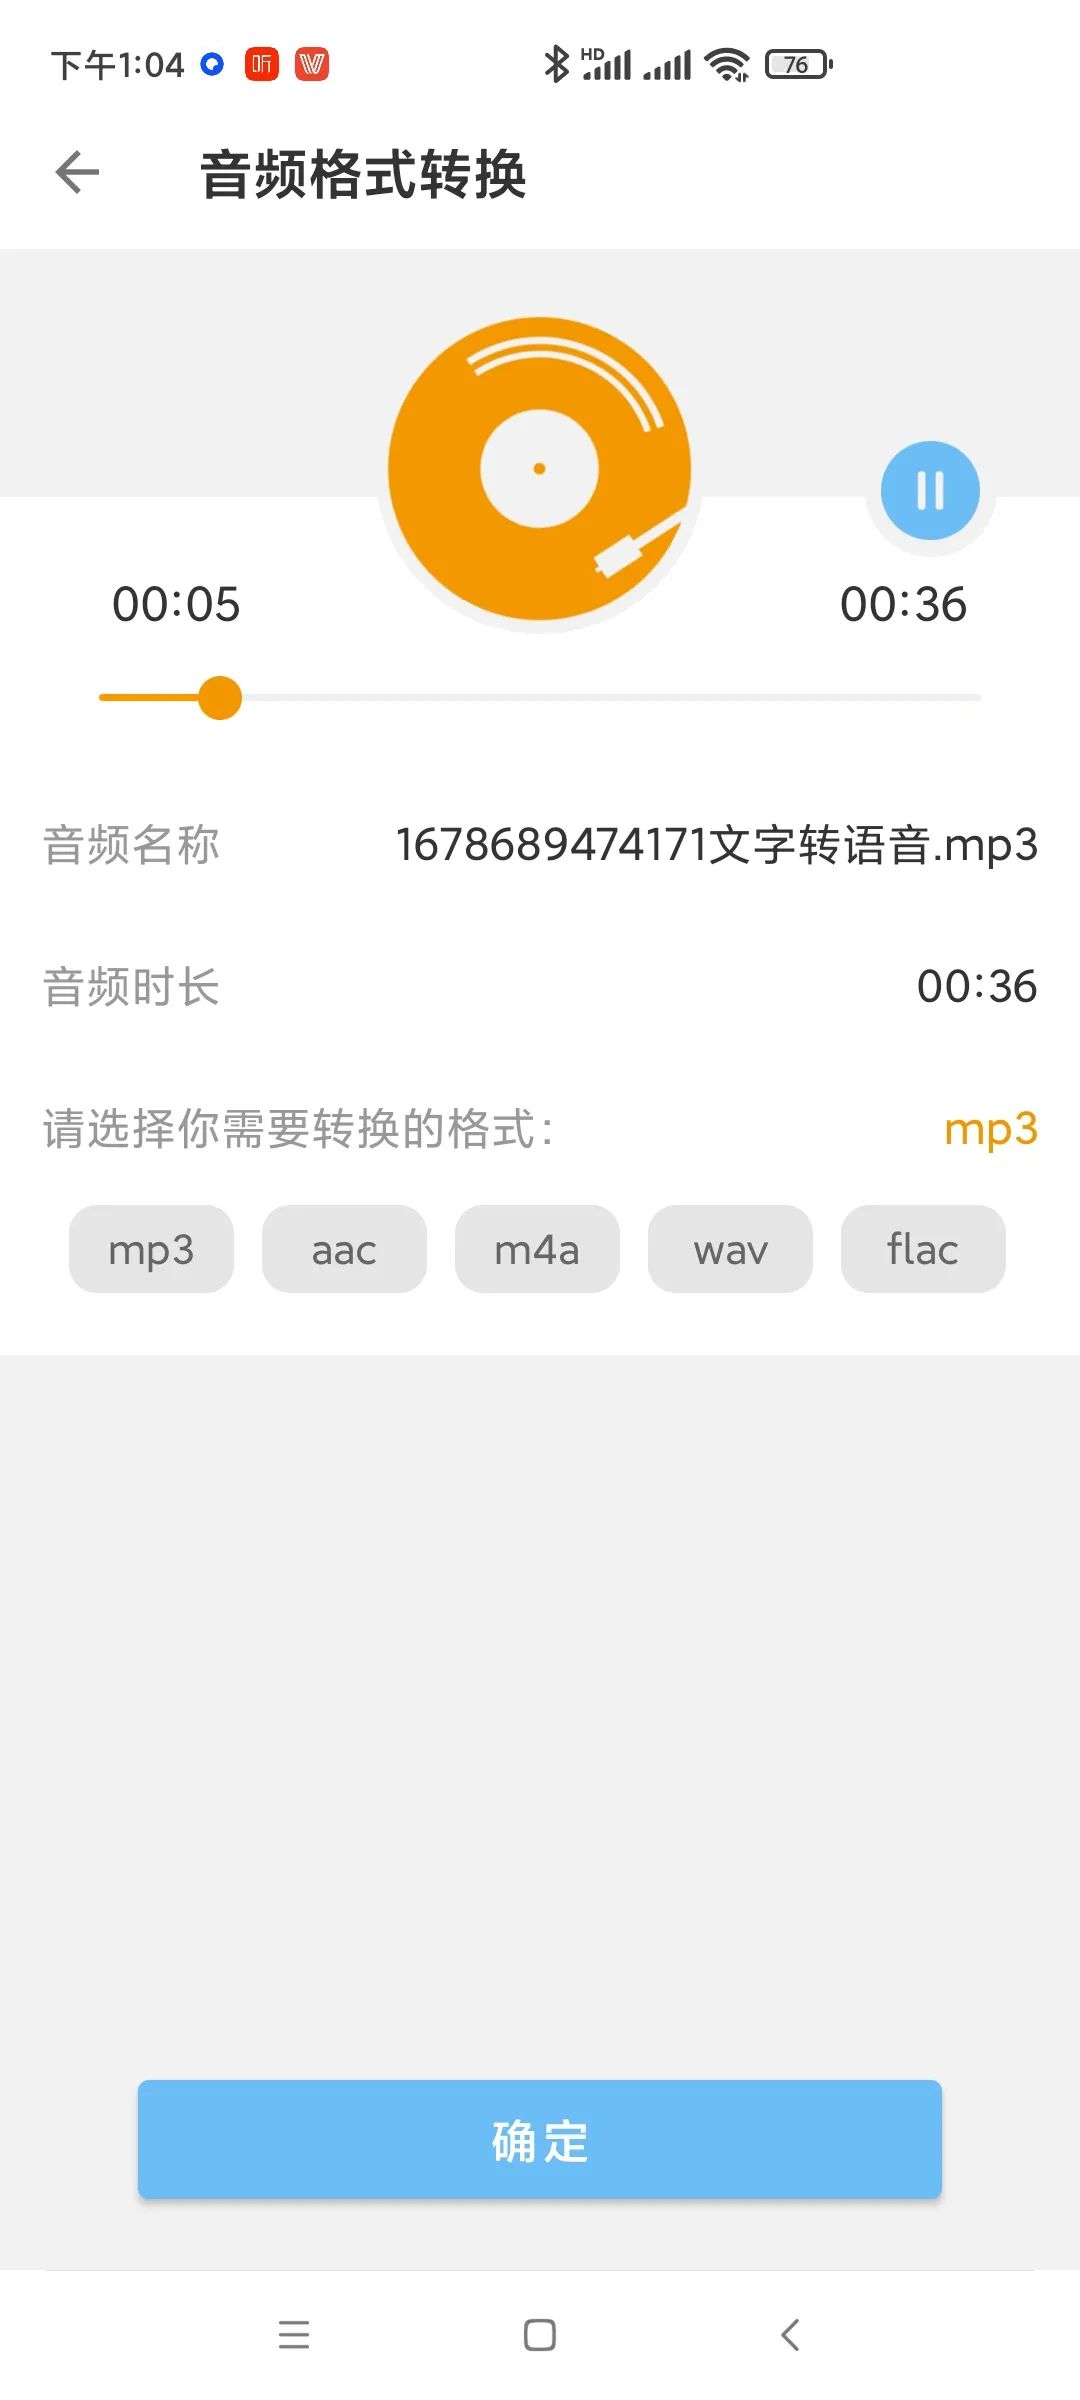
(Figure 21 Converting audio from one format to another)
As can be seen, using “Text to Speech” not only allows conversion from text to speech but also enables the conversion and processing of text, audio, and video that we require in daily life. This software is no longer a single-function tool; its various functions are worth our full exploration and utilization.CF
Original article published in the December 15, 2022 issue of Computer Enthusiast, Issue 24
END
More exciting content, stay tuned…