

Have you ever experienced the frustrating moments when the web version of DeepSeek keeps “spinning”? Today, I’ll teach you how to install the most powerful domestic AI model on a regular computer, allowing you to say goodbye to lag and privacy concerns! A complete toolkit and pitfall guide are included at the end of the article.
1. Hardware Preparation: Is Your Computer Up to the Task? Configuration Reference Table (recommended to bookmark):

Tip: For ordinary users, the 7B version offers the best cost-performance ratio, and tests show that it can run smoothly on an RTX3060 graphics card.
2. Three Simple Steps to Deploy
Step One:
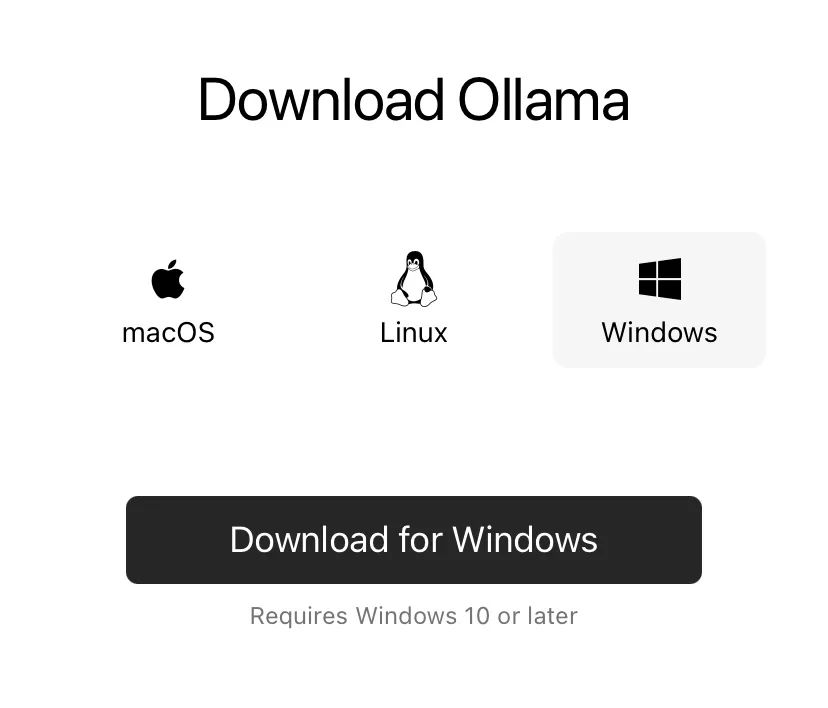
Install the AI Engine Ollama
-
Visit https://ollama.com/
-
Download the installation package for your operating system (Windows users should choose the .exe file)
-
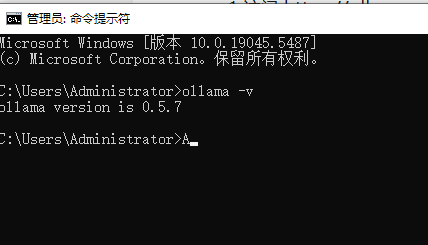
Double-click to install, keeping the default settings throughout. To verify the installation, press Win+R to open the command line, and enter
ollama -vto display the version number, indicating success
Step Two: Download the DeepSeek Model
-
Enter the magic command in the command line:
ollama run deepseek-r1:7b -
Wait for the download to complete, approximately 5GB, depending on your internet speed. Once you see the Success message, deployment is successful.
-
Pitfall Guide: If the download is interrupted, you can retry the command multiple times.
Step Three: Create Your Own AI Control Panel
Option 1:
Geek’s choice—command line interaction. Just type your questions to chat, press Ctrl+C to exit.
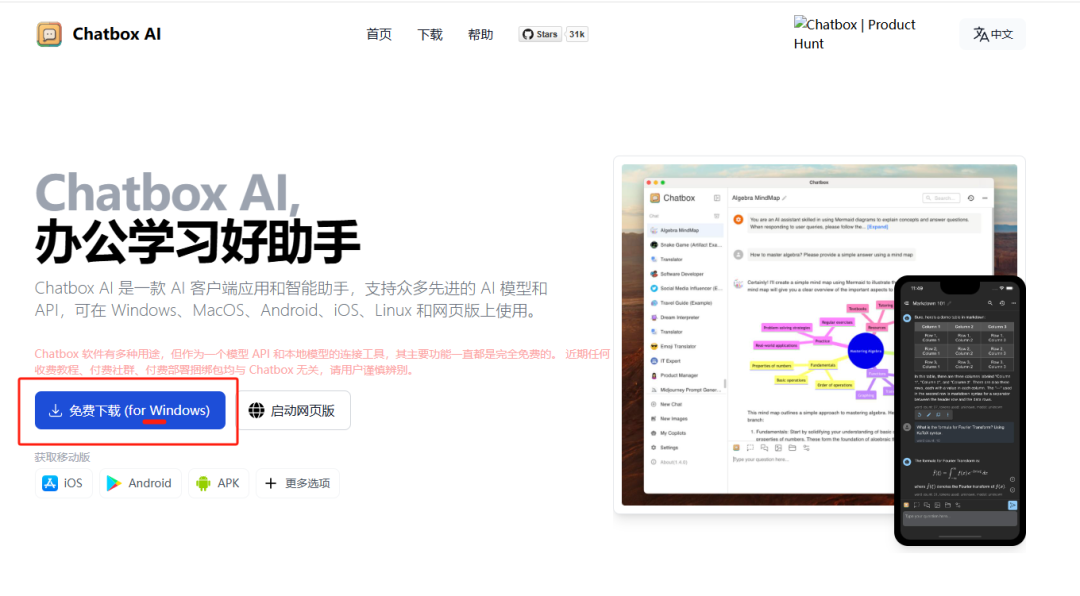
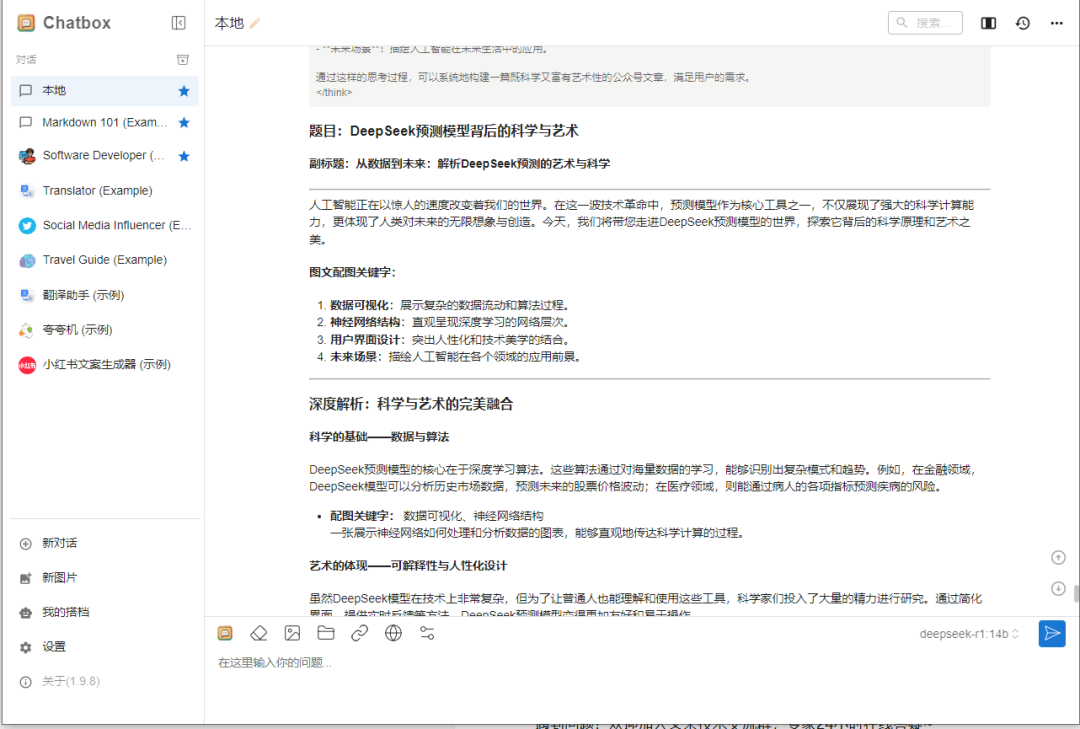
Option 2:
Beginner’s must-have—Chatbox visualization 1. Download https://chatboxai.app/
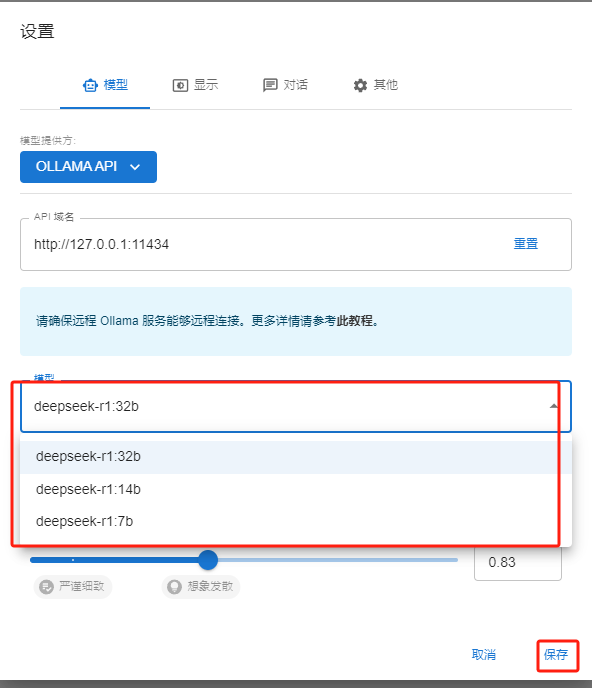
2. Settings → Model Provider select Ollama API
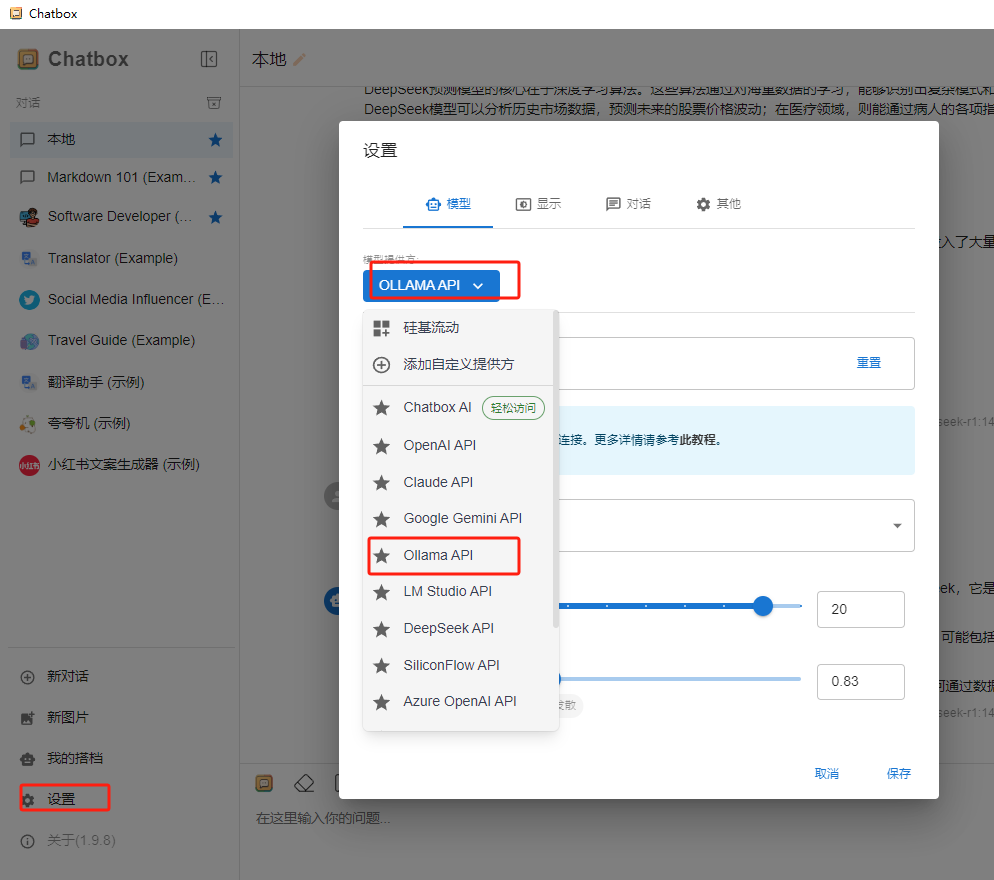
3. Fill in the API address http://localhost:114344. Select the deepseek-r1:7b model.
3. Advanced Play: Unlock Hidden Skills
1. Private Knowledge Base: Feed company documents/personal notes to the AI.
2. Automated Office: Connect Excel/DingTalk via API.
3. Offline Development: Install the Continue plugin in VSCode to directly connect to the local model.
4. Common Questions First Aid Kit
❓ Is the model response slow as a snail? → Try the quantized version: add -q4 to the model name (e.g., deepseek-r1:7b-q4)
❓ Insufficient memory error? → End unrelated processes in Task Manager, or switch to a smaller model.
❓ Want to use the latest model? → Regularly execute ollama pull deepseek-r1:latest
Resource Package: Follow this public account and reply with the keyword [DeepSeek Toolkit] to get: · Ollama offline installation package · Chinese optimized version of Chatbox · Model configuration parameter table · Enterprise-level deployment plan. Start deploying now and transform your computer into an AI workstation!
If you encounter problems, feel free to join the technical exchange group at the end of the article, where experts are online 24/7 to answer your questions~
Is installing large models too troublesome? Enjoy benefits from MoYu Office! Scan to log in and experience for free, usable for both work and life, come quickly!