
AutoGPT, which is an automatic chat robot, is an upgraded version of ChatGPT. AutoGPT essentially gives a memory and a body to models based on GPT. With it, you can assign a task to the AI agent, allowing it to autonomously propose a plan and then execute it. Moreover, AutoGPT is a completely open-source tool that anyone can use for free.
Today, I will introduce you to the installation and usage methods of AutoGPT.
Step 1: Download Git
Search for Git for Windows on Baidu, open the first search result, click download, and download the official Windows version of Git.

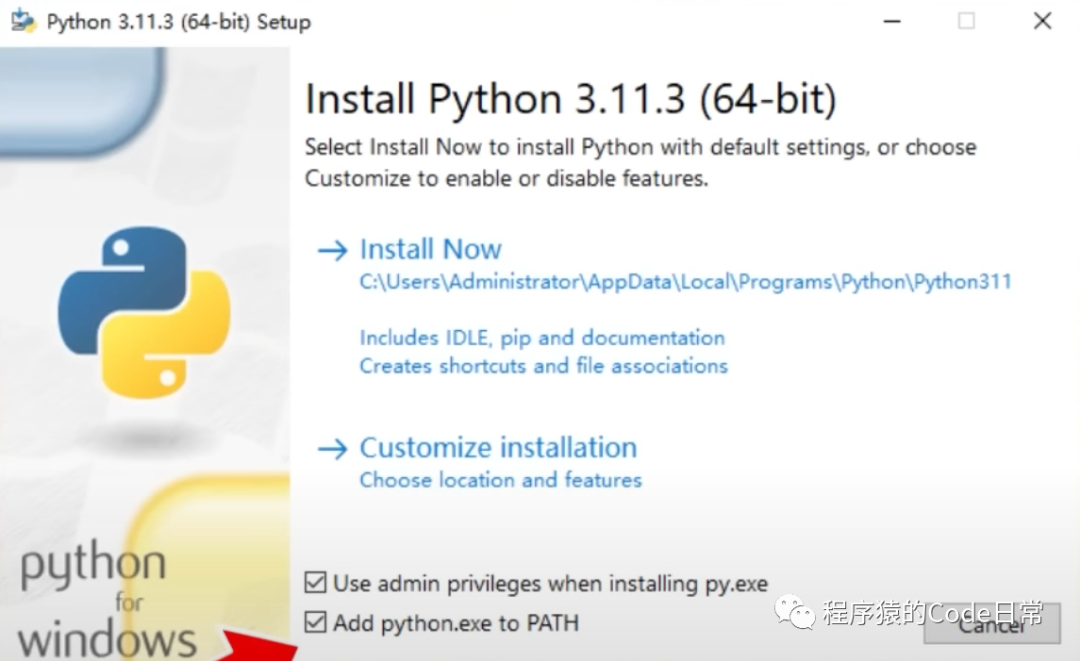
Step 2: Download Python
Download the latest version of Python by visiting the Python official website and clicking download to complete the download. After the download is complete, open the installation file, check the add to PATH option, click next, and finish the installation.
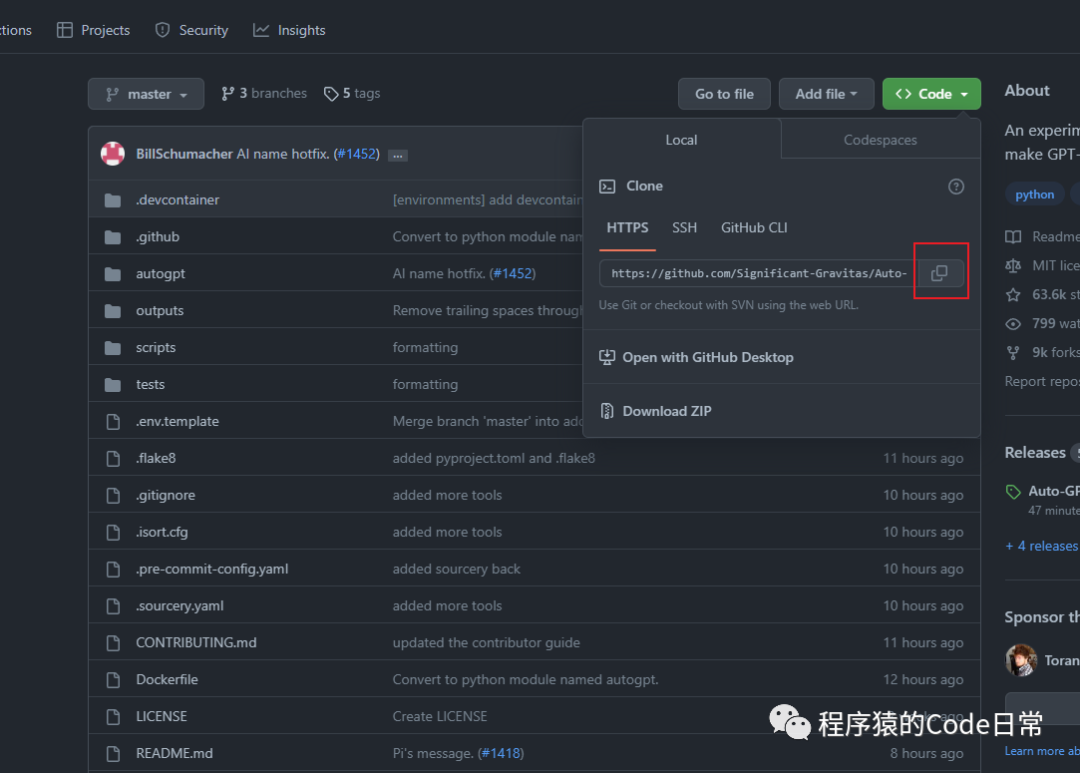
Step 3: Download the AutoGPT Project
Go to the AutoGPT project address (https://github.com/Significant-Gravitas/Auto-GPT), click the green code button, and copy the Git installation address.
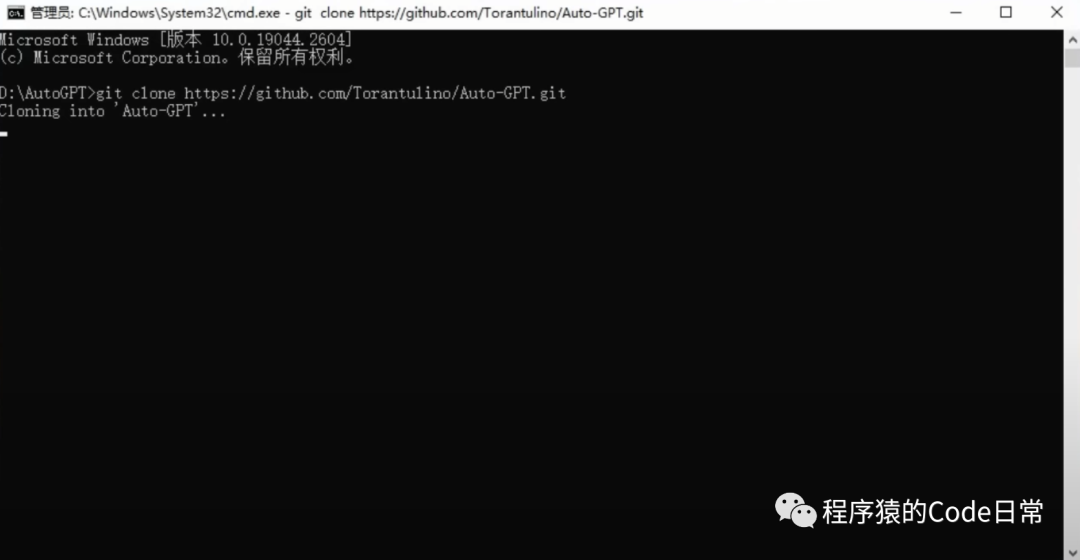
In the search box, type cmd or use the shortcut Windows + R to open the command prompt, and enter the following command:
git clone https://github.com/Significant-Gravitas/Auto-GPT.gitPress the Enter key to complete the online installation.
Step 4: Local Deployment
Open cmd and enter the following command. Note that we should run cmd in the D drive Auto GPT folder to avoid errors. After pasting the code into cmd, press the Enter key, and the system will complete the automatic installation.
cd 'Auto-GPT'pip install -r requirements.txt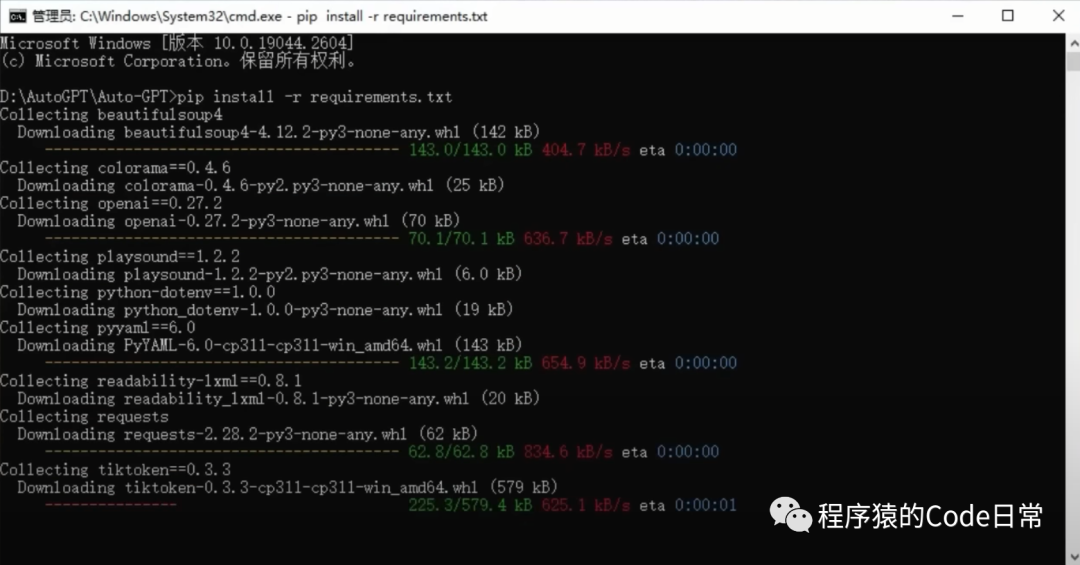
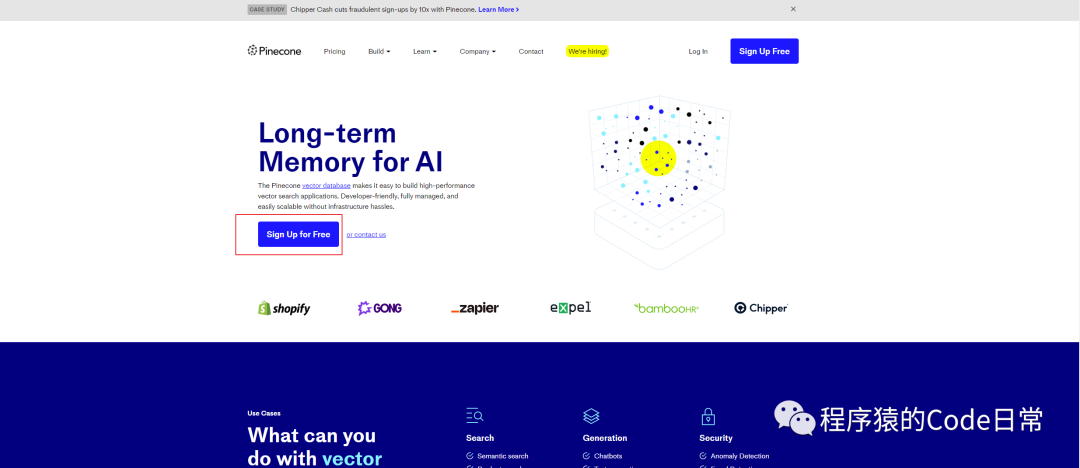
Visit the Pinecone website (www.pinecone.io) and click sign up for free.
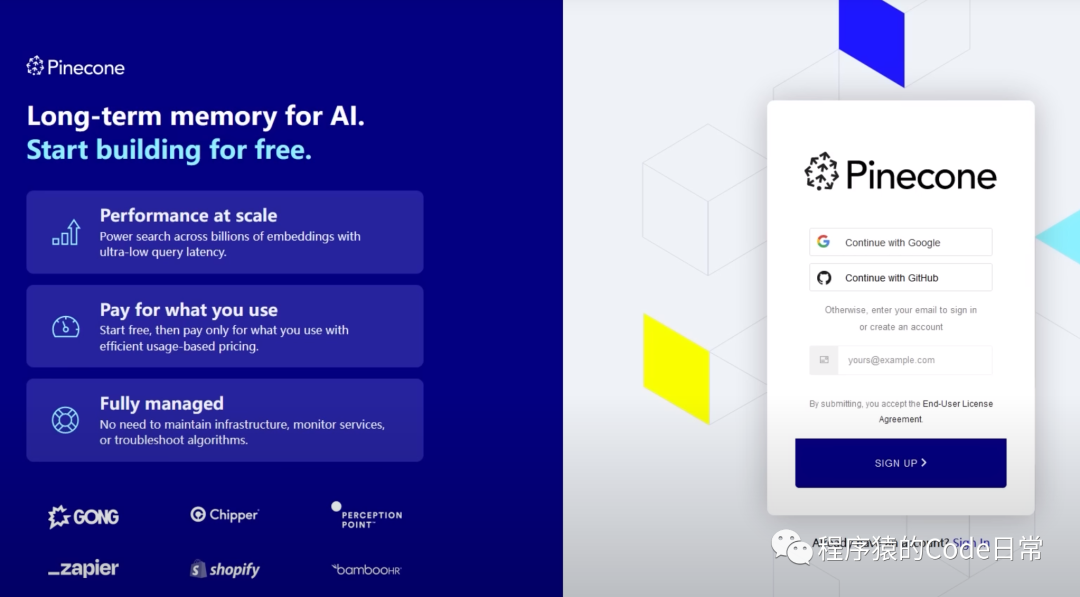
Register an account.
Click on the left side API KEY, select CREATE API KEY in the upper right corner, and enter autogpt in the dialog box to generate an API KEY.

Click on the right side copy to copy this code.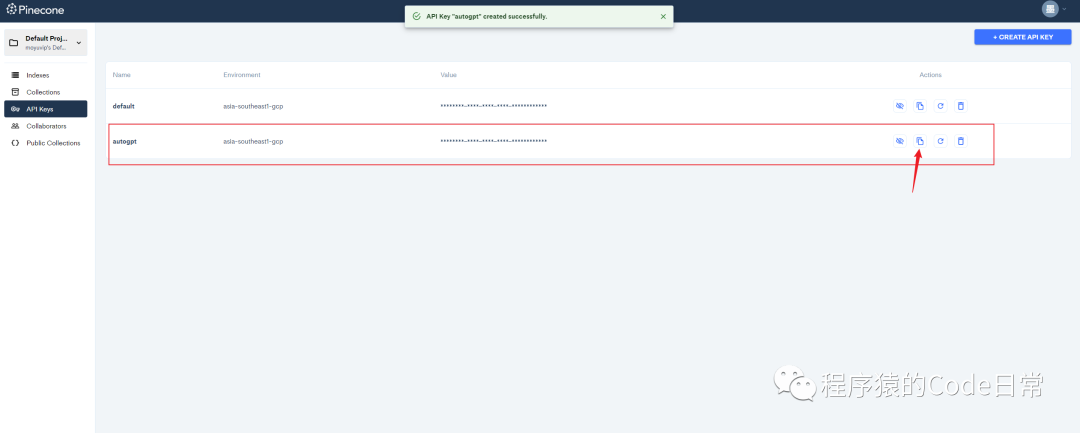
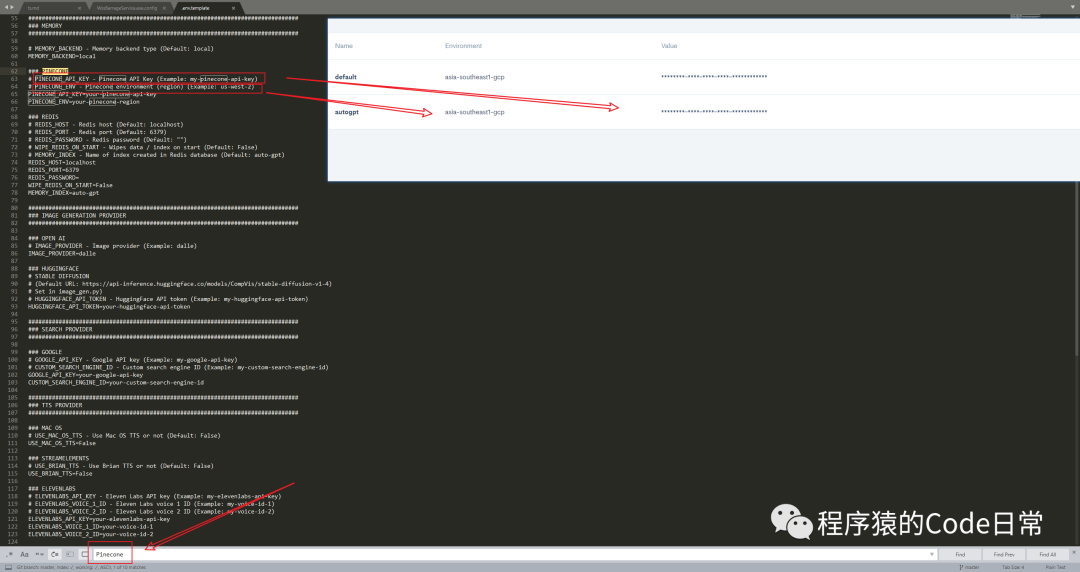
Find the .env.template file and open it with a text editor. Now we need to add each API KEY value.
Obtain the API KEY from OpenAI (https://platform.openai.com/account/api.keys).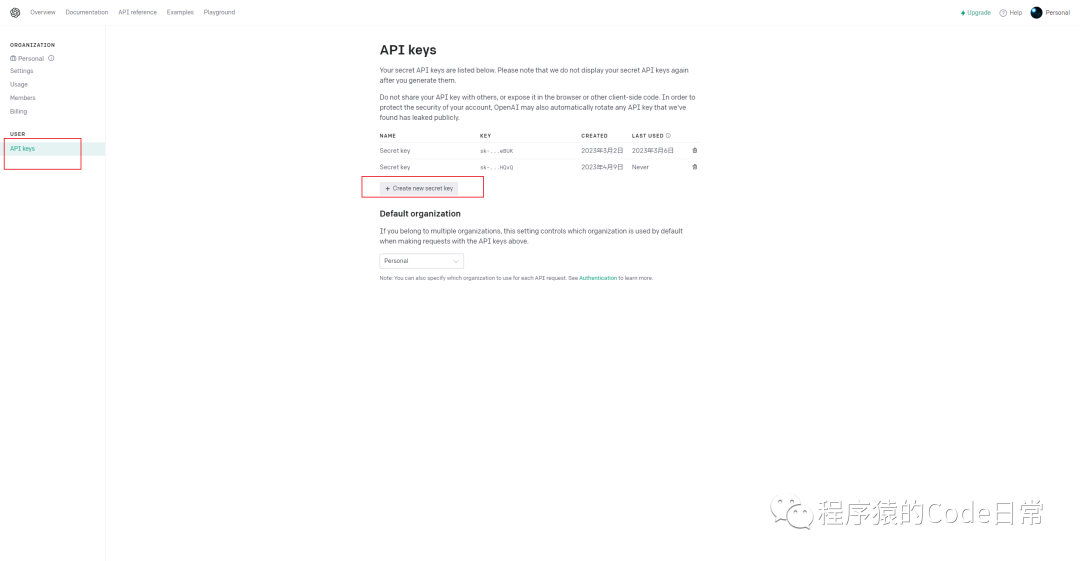
Replace the OpenAI API KEY with your API KEY.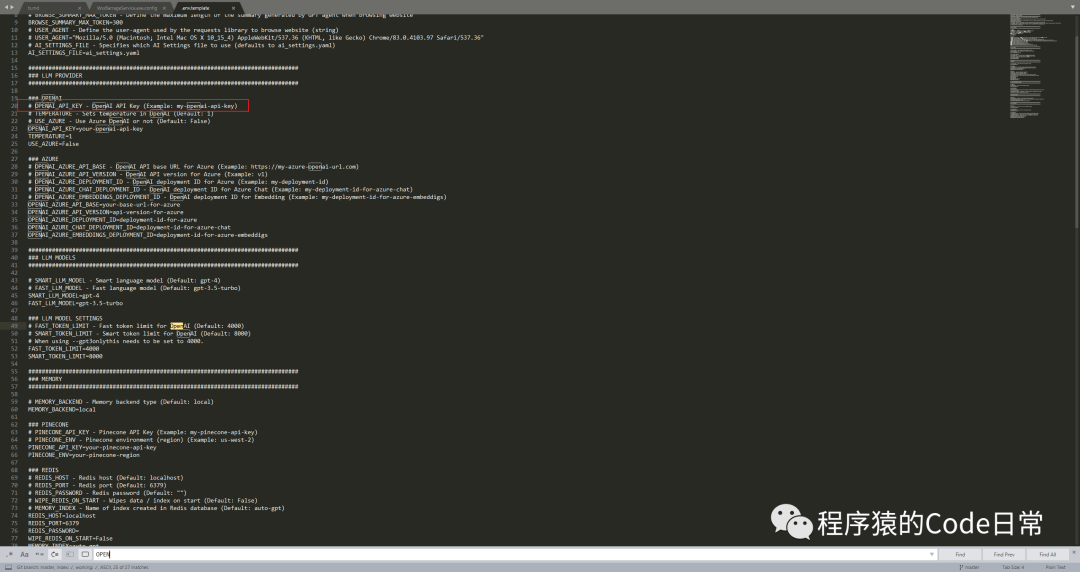
Rename .env.template to .env, and now we have completed the configuration. Enter the following command to start a conversation with AutoGPT:
python scripts/main.py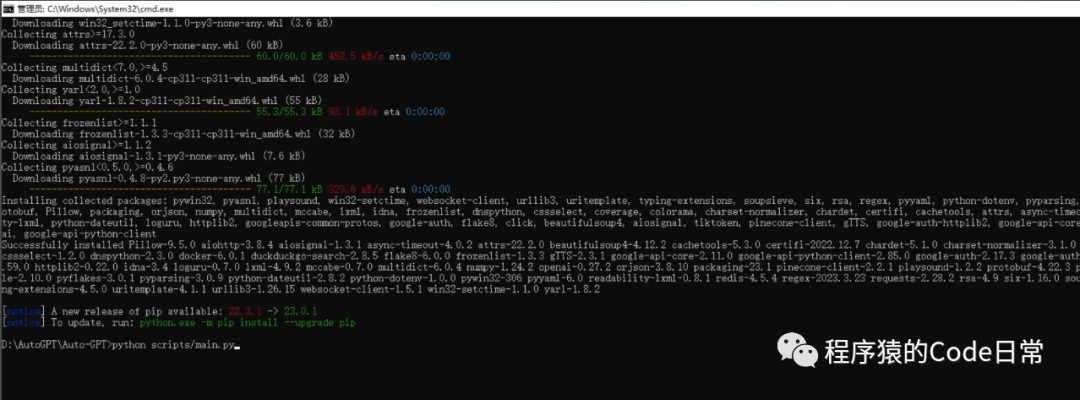
In conclusion
To facilitate everyone’s exchange of ideas and the latest industry trends, I have created a ChatGPT group where I provide free learning materials about ChatGPT. Below is my WeChat ID; feel free to contact me if you have any questions.