Hello everyone, I am Xiao Yang. Today I am bringing you a super beginner-friendly tutorial on the trending AI image-to-video generation! If you are not familiar with AI image generation, please check the previous article~
Let’s start our tutorial:
First, everyone needs to prepare a tool for scientific internet access (you know what I mean)
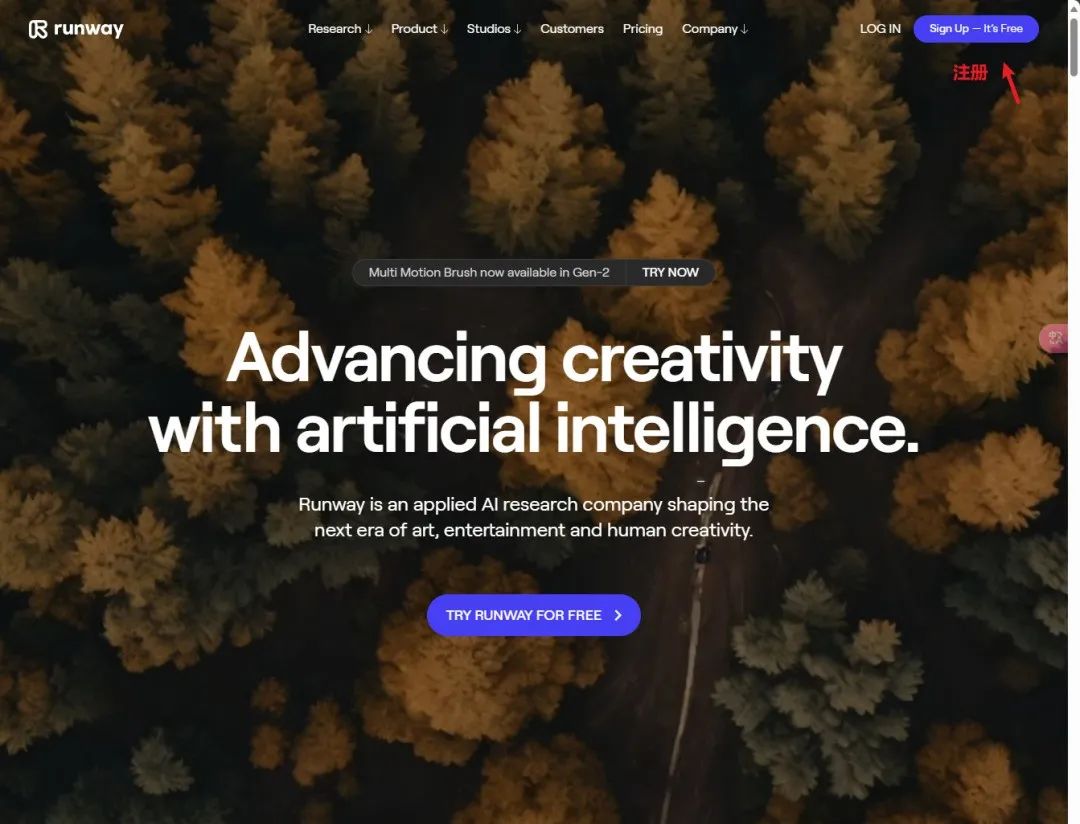
First, open the Runway website:https://app.runwayml.com/login
We click on the top right corner to register or log in
(Then I used the browser’s built-in translation to translate the site into Chinese~)
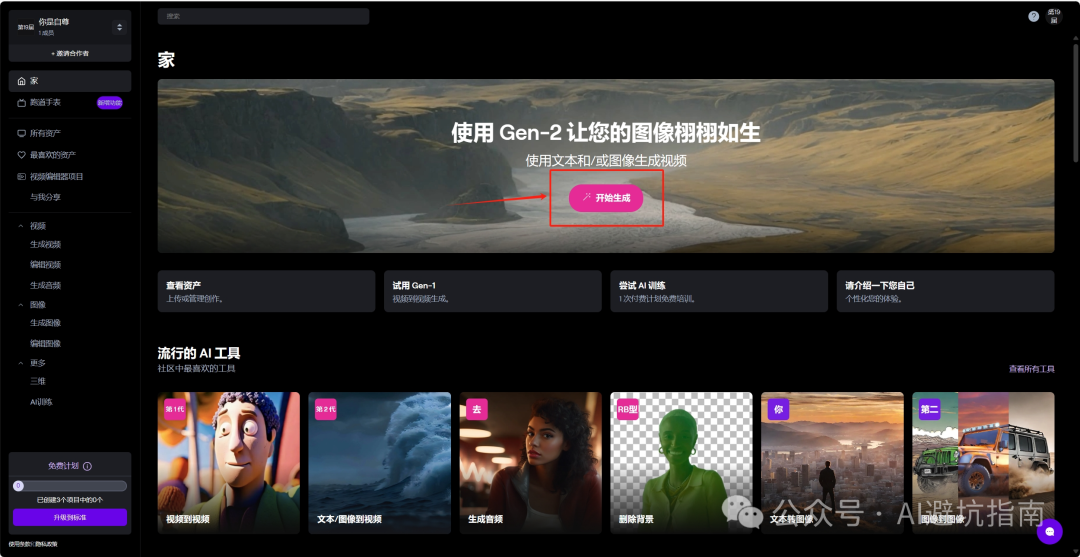
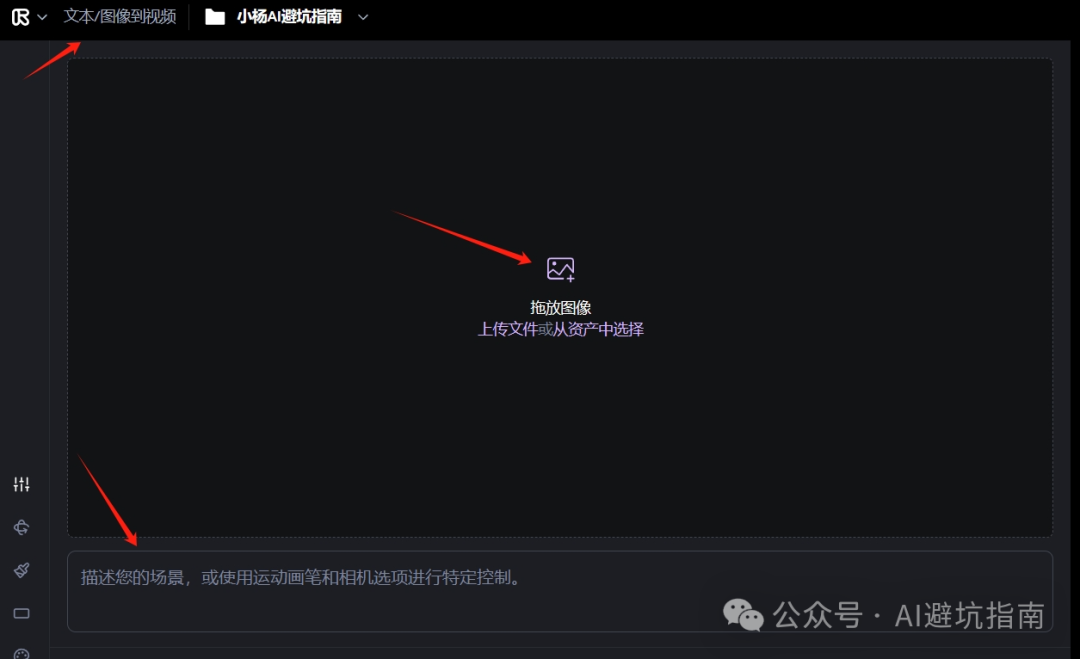
Next, we click on this 【Start Generating】
Then upload the image. The default is text/image to video, which generates a video using the image + text description.
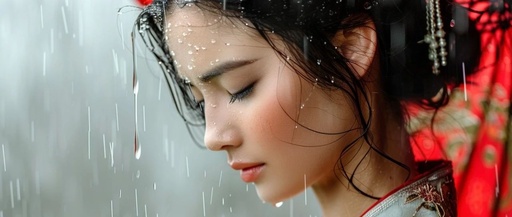
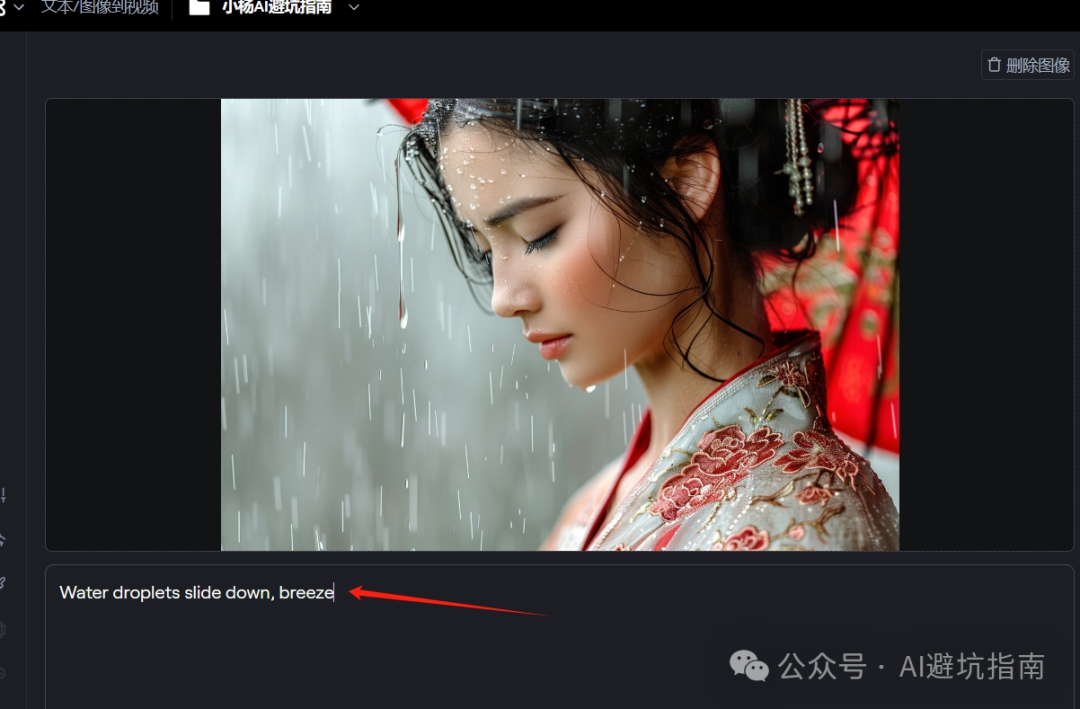
Upload the image and add a description. My description is simple: water droplets slide down, breeze.
Water droplets slide down, breeze
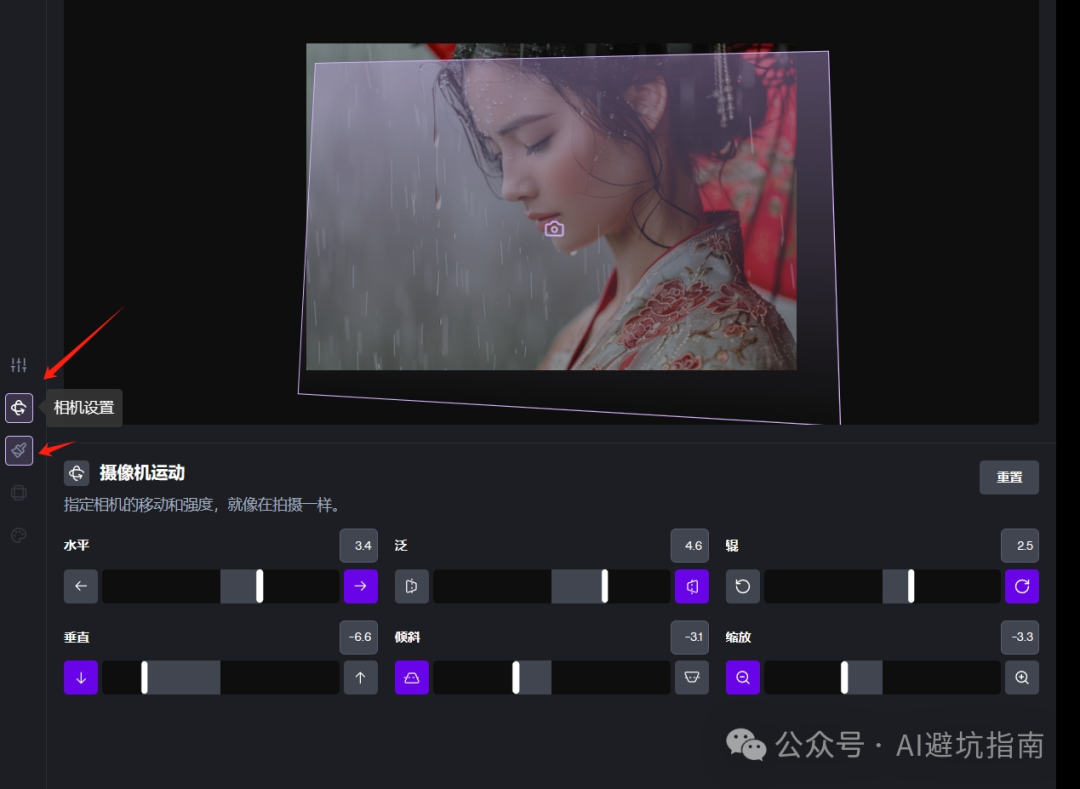
Step 2: Set the Effects
There are two types of effect settings here:
The camera action mainly controls the zoom, pan, and rotation of the entire scene. You can intuitively feel the changes in the camera through the preview window.
Motion Brush
Just check the brush, and it will intelligently recognize the area. It provides motion along the X, Y, and Z axes. If you don’t know how to adjust the motion, just pull this 【Atmosphere】 slider, and the algorithm will assist you.
Tip: After drawing the brush, make sure to adjust the parameters; the 【Done】 button will only activate after that.

Next, just wait for the generation!
After a short wait, our video effect is ready! Let’s take a look at the effect! Wow~~
If you need to adjust the duration, you can do so here. The default is 4 seconds, and if there’s no special need, you can leave it as is. Based on my experience, the quality of the generated images tends to decrease as you go further (without upgrading to a membership).
Click Download, and you can download it~~
In the end, you will get the finished product that you saw at the beginning~~
How about that? Isn’t it quite simple?~~
I will share more knowledge related to AI-generated videos in the future. If you are interested, you can bookmark and follow me.
No More IQ Tax in the AI Industry
AI Complete Avoid Pitfalls Manual – Please Add WeChat
Anti-Anxiety Harvest, No Fees, Shine with Love
Welcome to like, collect, and comment
Scan the QR code for more information