In the era before Stable Diffusion, post-processing lighting in photos relied heavily on Photoshop. For example, adding an exposure layer. This technique is convenient for simple-shaped objects because lighting effects can be well simulated. However, for complex subjects like humans, achieving a natural lighting effect requires a good artistic background and a graphics tablet.
The emergence of Stable Diffusion has made changing lighting both simple and natural, as it has learned from countless photos and can simulate very realistic lighting effects.
This article will reveal this magical function step by step through practical cases, allowing you to easily master the lighting in images with the power of AI.
# Task Introduction
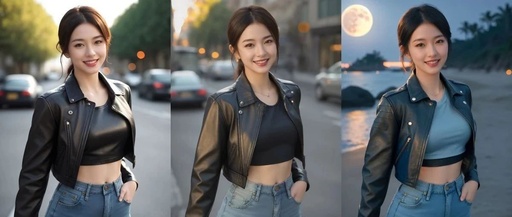
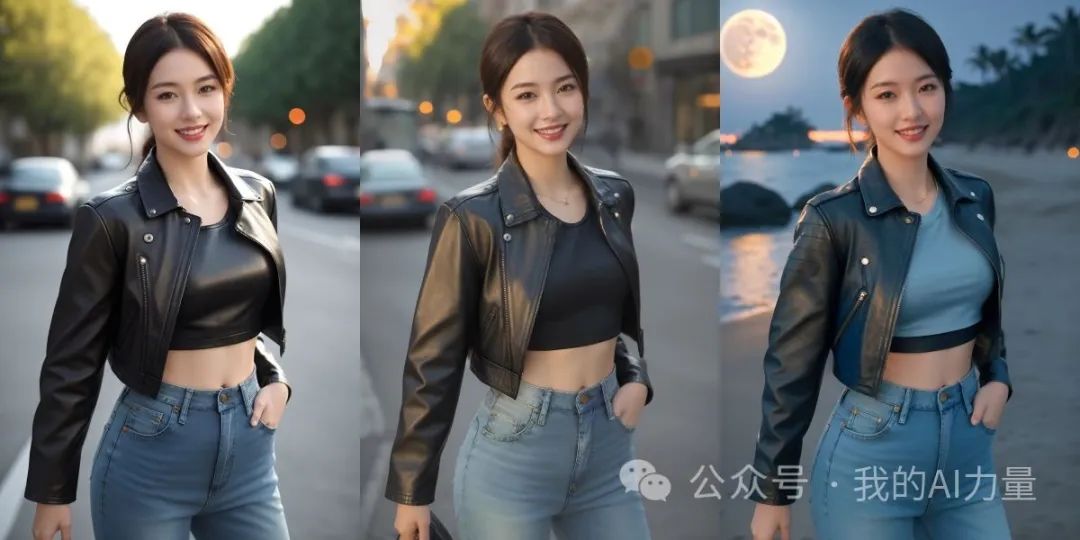
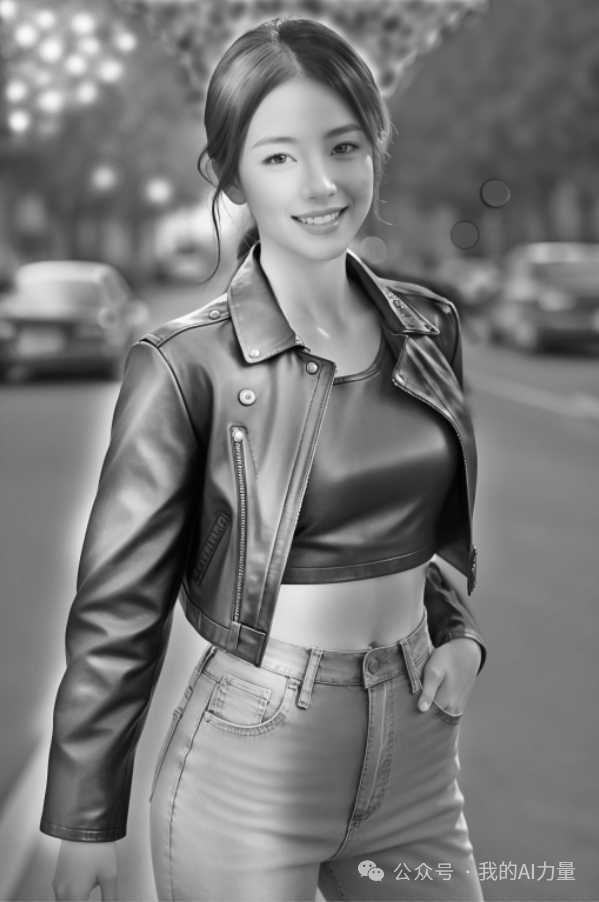
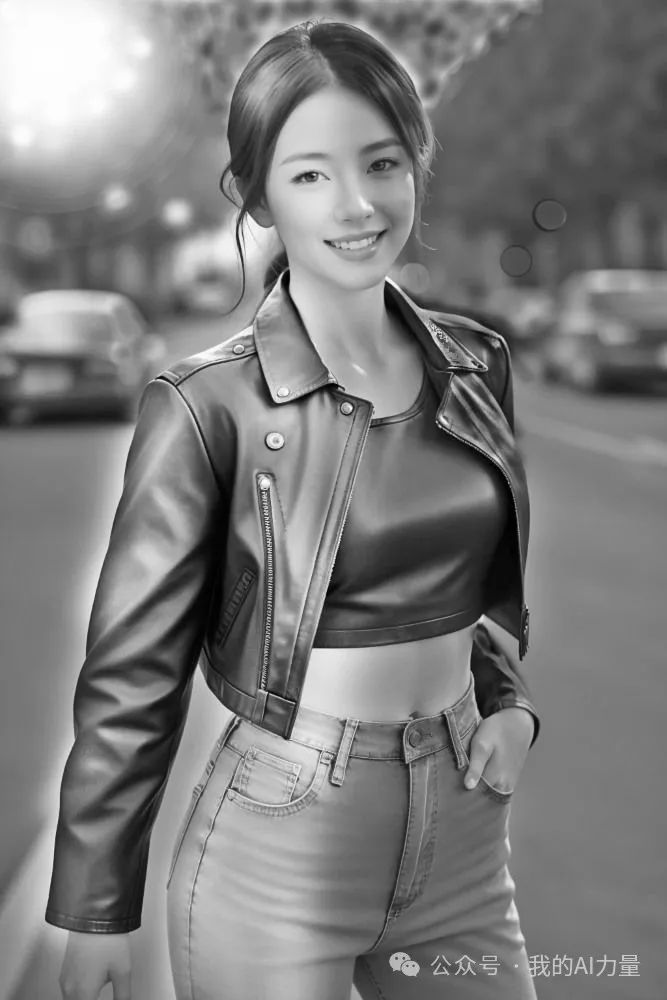
The image below is also generated by Stable Diffusion. Of course, we can also process photos taken by a camera.
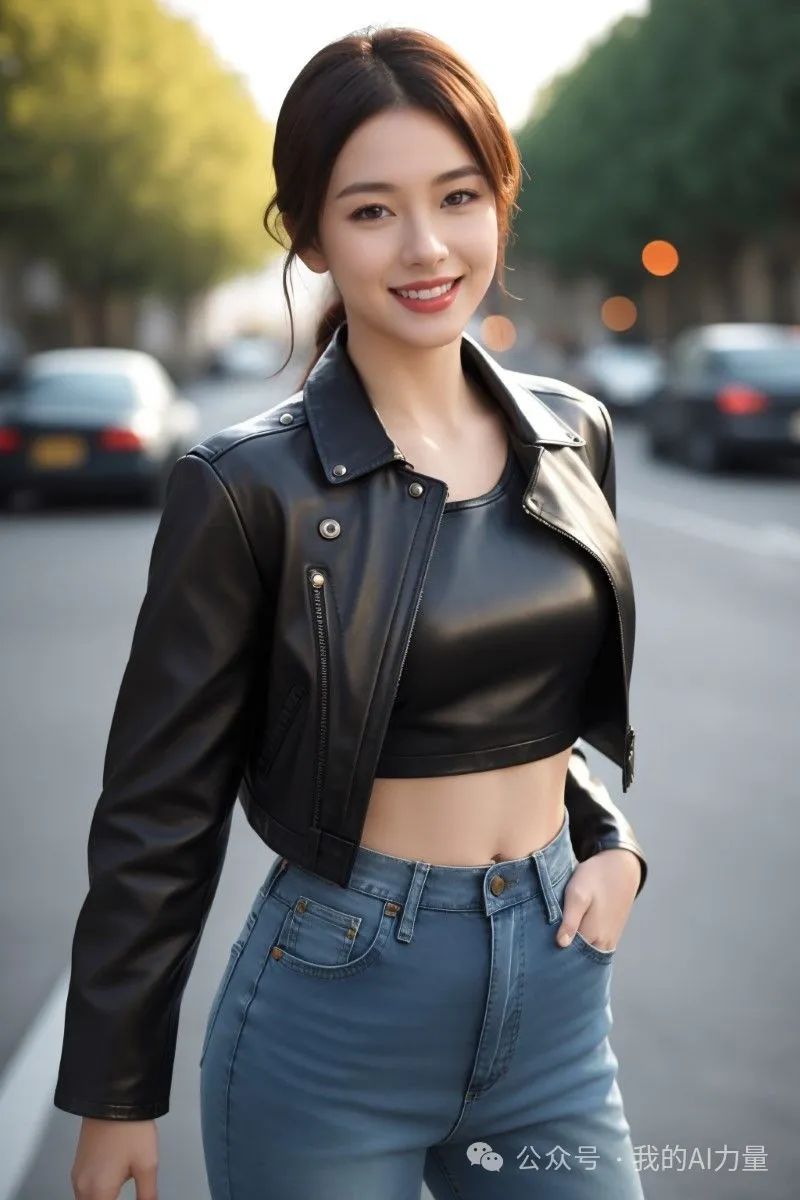
The light in the image comes from the left side of the subject. Now we want to change the direction to come from the right. If you were to paint on the exposure layer in Photoshop, it would be difficult for someone without an artistic background to achieve a very natural effect. Let’s see how to process this using Stable Diffusion.
# Models Used
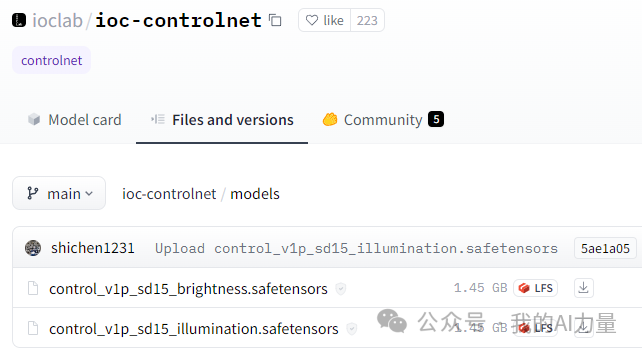
We will use the ControlNet Brightness model of Stable Diffusion. This model can be downloaded from HuggingFace at huggingface.co/ioclab/ioc-controlnet/tree/main/models.
If you are using this SD cloud platform like I am, it is already built into the WebUI, which is incredibly convenient!
👉 Want to play with Stable Diffusion but don’t have a good graphics card? Try the cloud platform recommended by Qiuye.
This model, as the name suggests, is used to control the brightness of images. We just need to select it and upload a grayscale image that records the brightness information. To change the brightness of the original image, we can modify its grayscale image in Photoshop.
# Photoshop Preprocessing
After converting the image to grayscale mode in Photoshop, we can use the dodge/burn tools to adjust the brightness. In areas that need to be brightened, we use the dodge tool; in areas that need to be darkened, we use the burn tool.
These strokes do not need to be very precise because Stable Diffusion will process the brightness relationship more naturally later. The image below is my stroked grayscale image.
I darkened the area above the subject’s head and brightened the right side of the subject’s body while darkening the left side. A bright area was also added to the upper left corner of the image.
# SD Processing Lighting
Once the grayscale image is ready, we go to the SD text-to-image interface, select a realistic large model, and fill in the corresponding prompt words. The sampler will choose based on the selected model. Other settings can follow the basic ones. You can enable high-resolution restoration to enhance image quality.
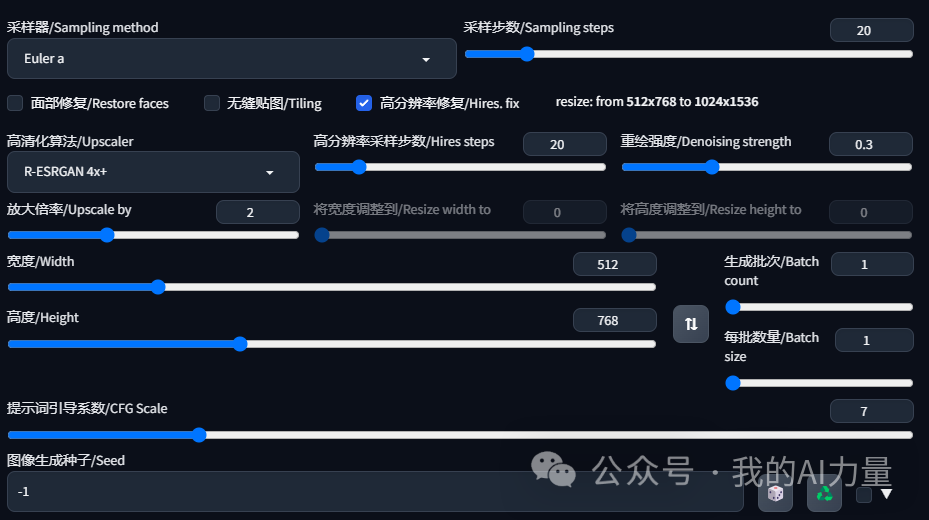
Then go to the ControlNet settings page. Choose none for the preprocessor; select “control_vlp_sd15_brightness” for the model. Here, the Control Weight and Ending Control Step are important. They should be set to a lower value; too high will lead to overfitting and distortion of the image. Specific values vary for each image.
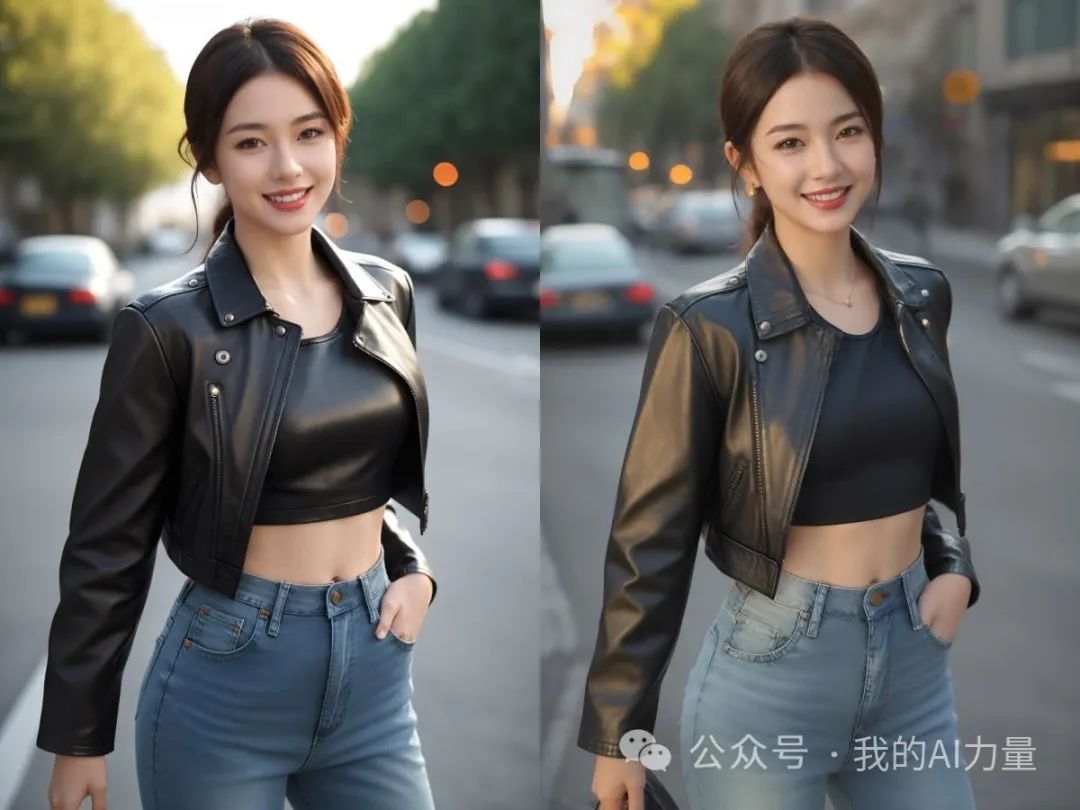
The right half of the image below shows the picture after changing the lighting. Observe whether there is a significant difference in lighting.
# Other Cases
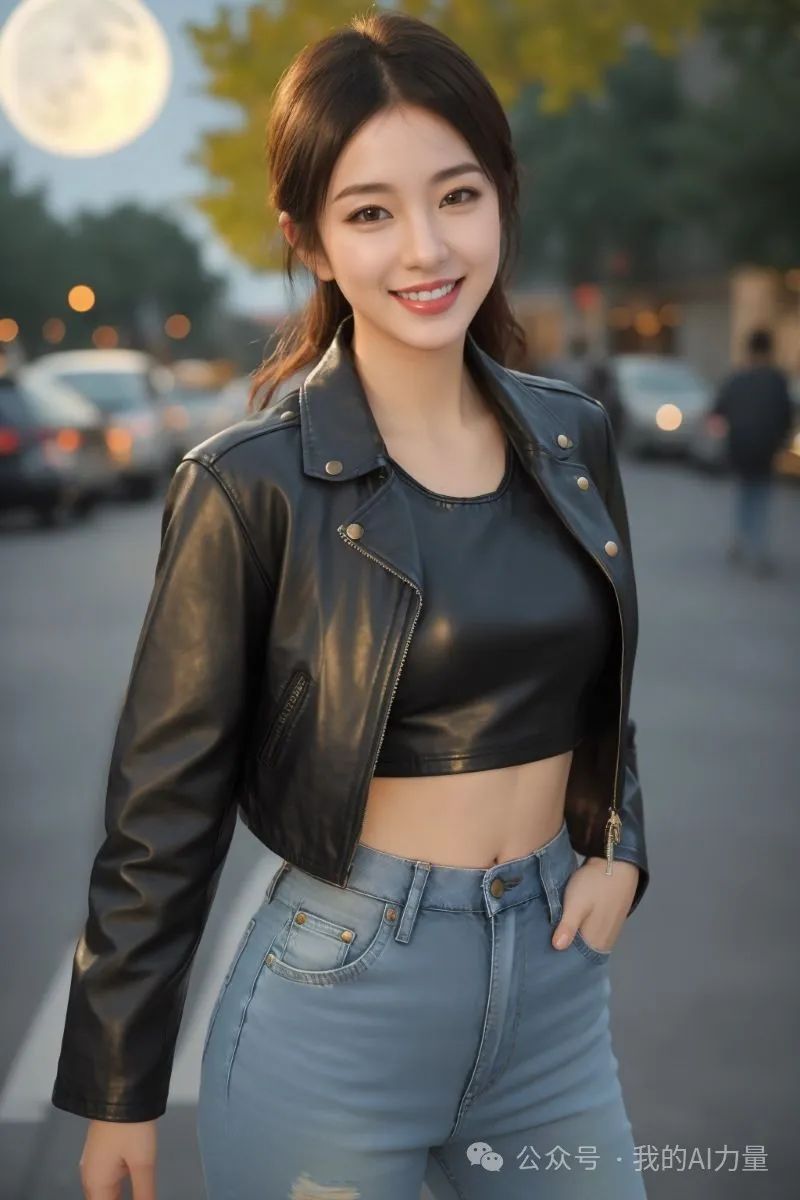
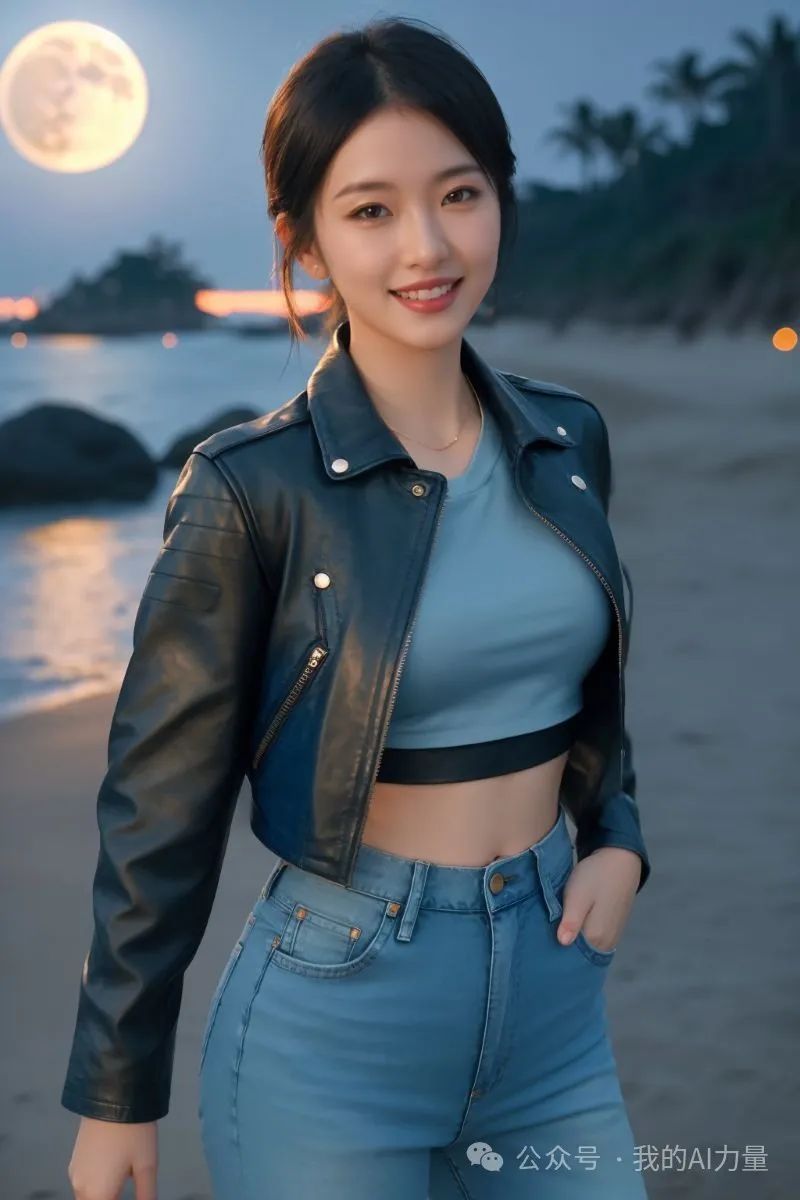
I can even modify the grayscale image to create a sun or moon.
I drew a white circular area in the upper left of the grayscale image, so SD can simulate the effect of the sun or moon for me. After replacing the original grayscale image, I added the English words “moon” and “blue hour” to the prompt and clicked generate, and SD generated the image below for me.
Then, I replaced “street” in the prompt with “beach,” and SD generated the image below for me.
# Other Notes
The Brightness model is great, but it often has issues when used in conjunction with other ControlNet models. If there are no issues, it can also work in combination with Canny or Lineart to precisely control the composition of the image. While it can change the light and shadow effects when used alone, the composition of the image may also change somewhat.
Sharing is complete, thank you for reading🤗 Feel free to like and bookmark
You are also welcome to add me on WeChat to join the AI drawing group for exchange and learning
Add me on WeChat
Join the group for free