

Set Program Perspective as a favorite to read premium articles immediately
Hello everyone, welcome to Program Perspective! I am Xiao Er Ge.
In yesterday’s article, we shared the activation toolkit for AI Assistant in IntelliJ IDEA 2023.3! Many friends have privately messaged saying they don’t know how to use it. Some friends encountered many problems during the activation process. Therefore, today I will supplement the usage tutorial and precautions for the AI Assistant activation toolkit.
Download and Install IntelliJ IDEA 2023.2 and Above
For detailed steps to download and install IntelliJ IDEA, you can refer to my previous article: A Step-by-Step Guide to Installing and Activating IntelliJ IDEA 2023.3 AI Version
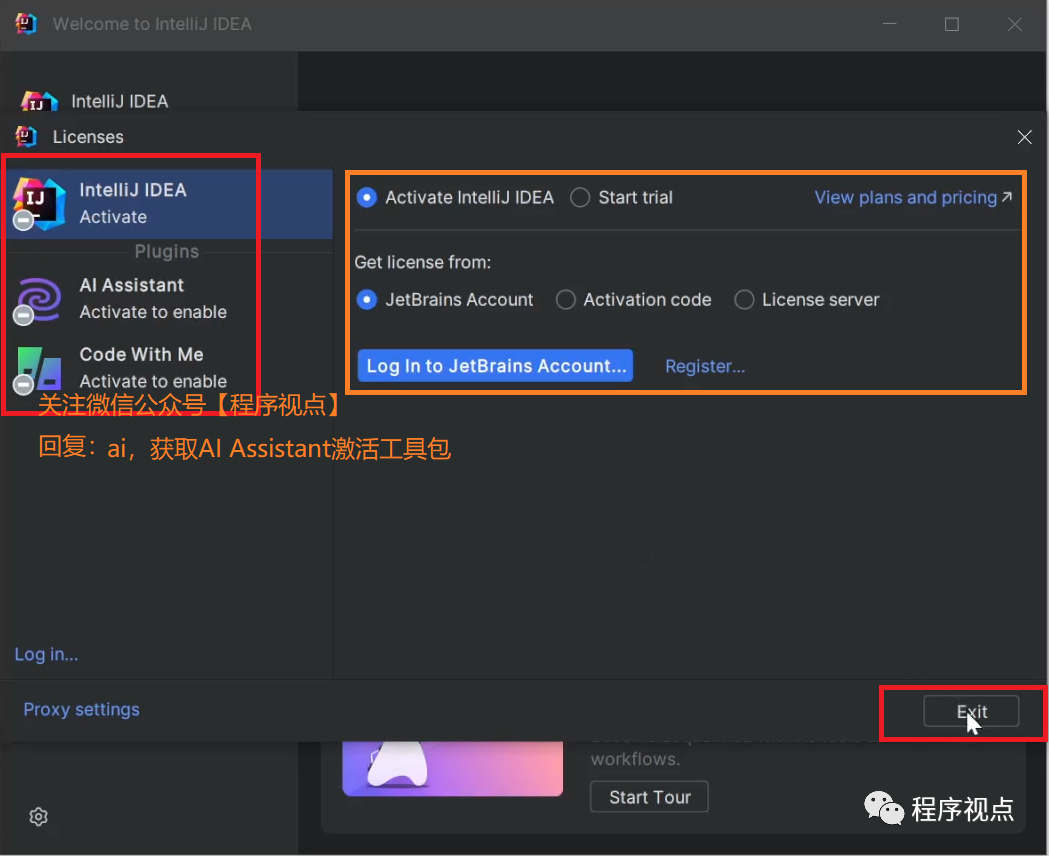
In this step, pay special attention: when you open the IDEA tool and arrive at the activation prompt window, do not activate it, but directly close the IDEA tool. Important things need to be repeated three times!
Do not activate the IDEA tool the first time you open it; just close the IDEA tool. Do not activate the IDEA tool the first time you open it; just close the IDEA tool. Do not activate the IDEA tool the first time you open it; just close the IDEA tool.
Download the AI Assistant Dedicated Activation Toolkit
You can follow the WeChat public account [Program Perspective] and reply: ai to obtain the dedicated activation toolkit!
Download the toolkit shown in the image below to your local computer!
 After extracting, you will get the
 jetbra folder and the activation code file.
Using the jetbra Folder
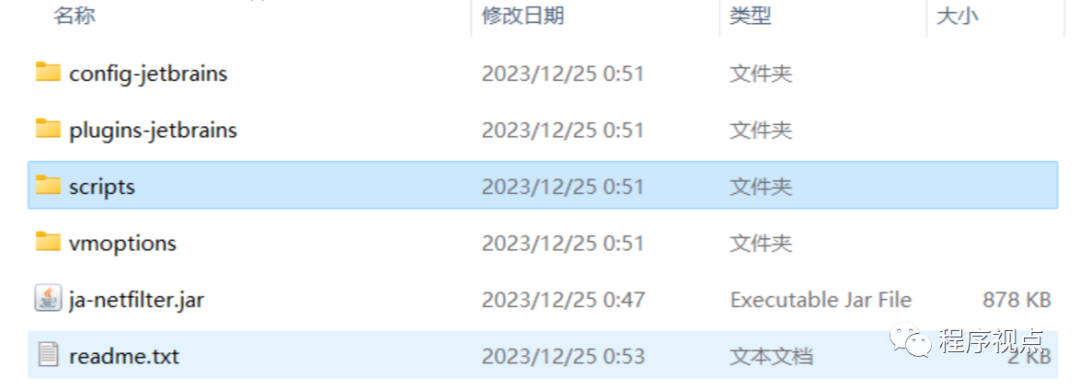
Copy the jetbra folder to a path without Chinese characters. After that, remember not to delete or move it! Again, do not delete or move it! The files in the jetbra folder look like this (Windows version).
 Open the
 scripts folder.
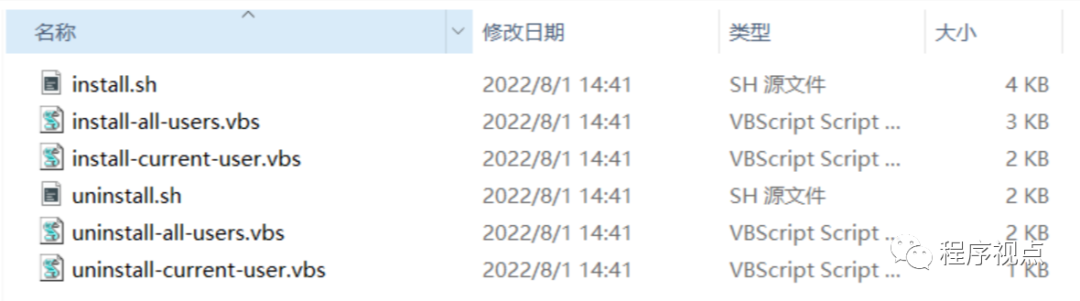 First, execute
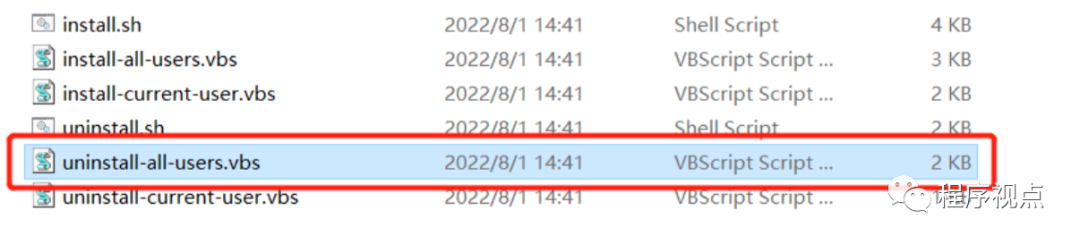
 uninstall-all-users.vbs. Just double-click to open it. This step is to prevent any previous activation information, ensuring there are no activation tool variables in the current environment variables. Be sure to execute this script before proceeding with the activation steps to avoid activation failure.
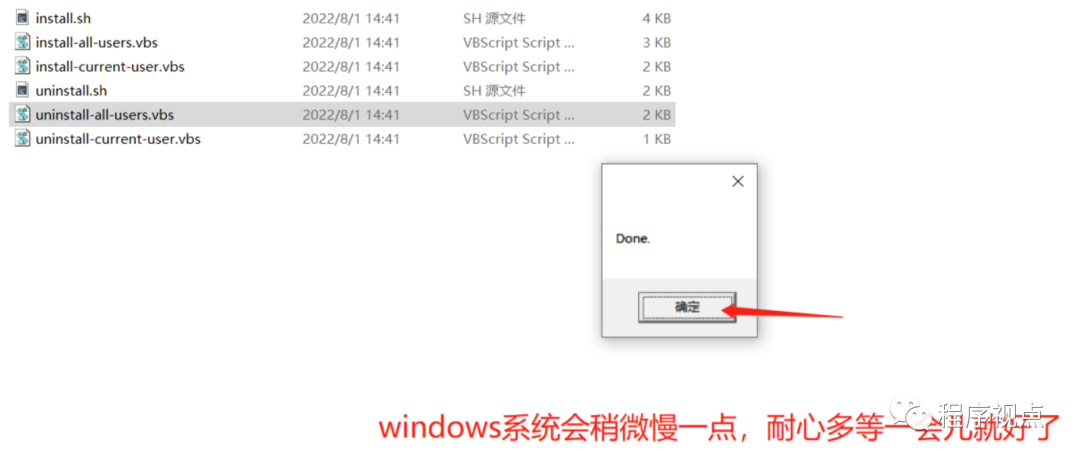
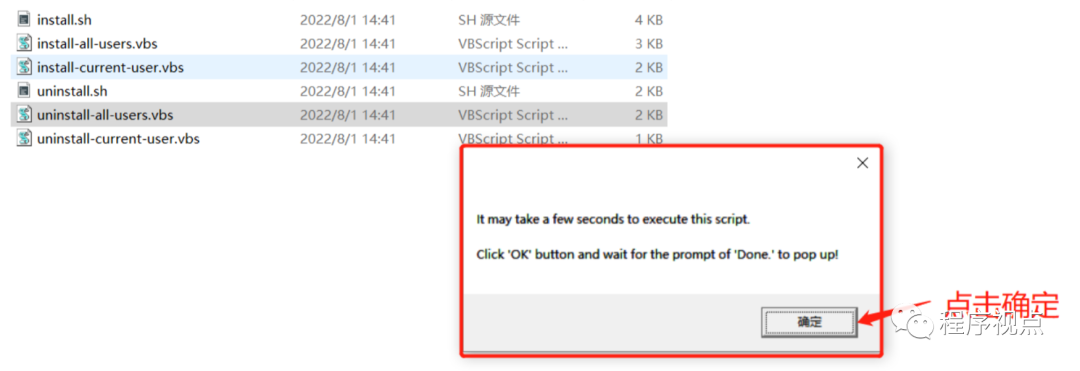 When a pop-up says Done appears, it indicates successful execution! (This process may take some time, please be patient)
 Then execute
 install-current-user.vbs, just double-click to open it!
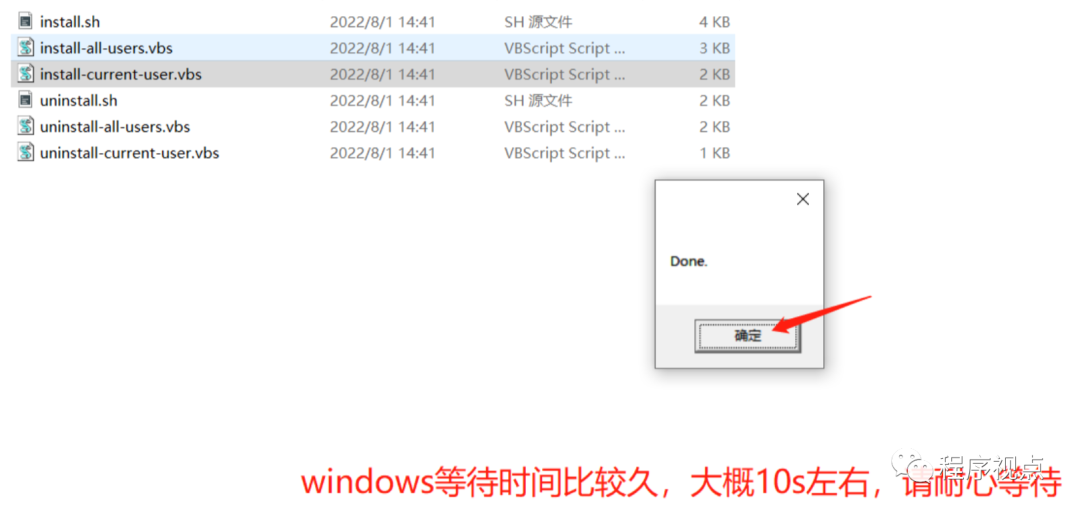
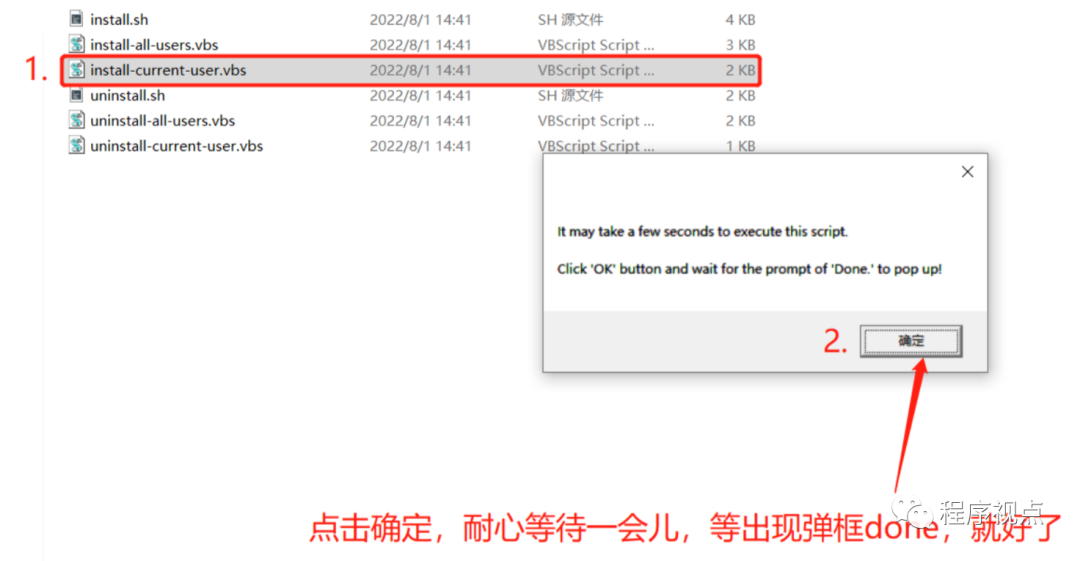 Similarly, wait until the Done pop-up appears, indicating successful execution!
Using the Activation Code
Reopen the IDEA tool, and it will automatically bring you to the activation prompt pop-up!
 Enter the activation code you just downloaded. Click
 Activate.
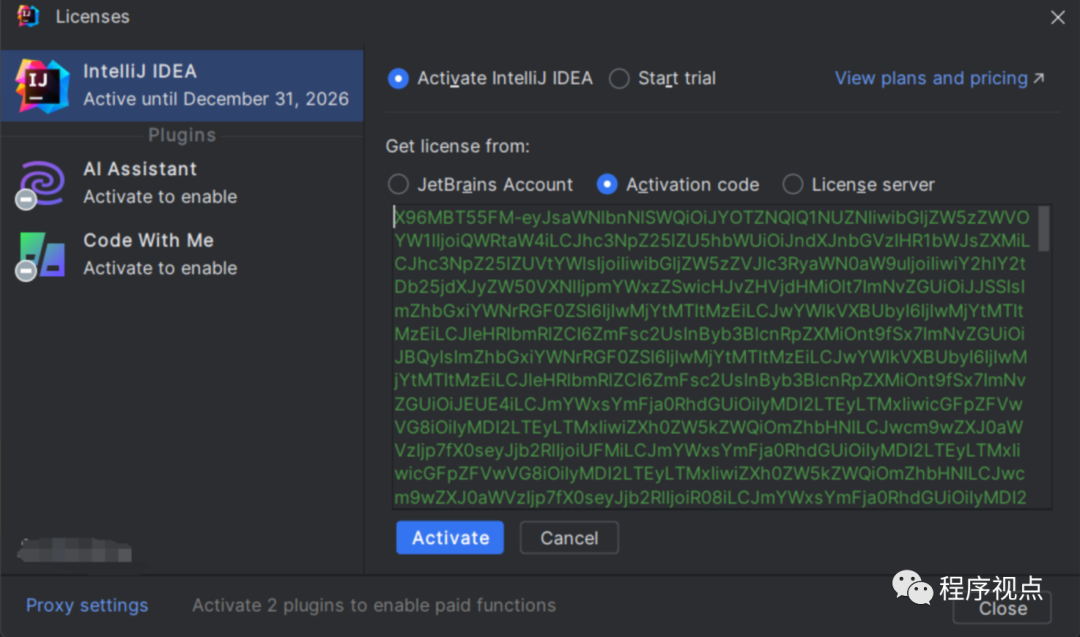 If
If Licensed appears, it indicates successful activation. Click Continue, then Close to exit the window.
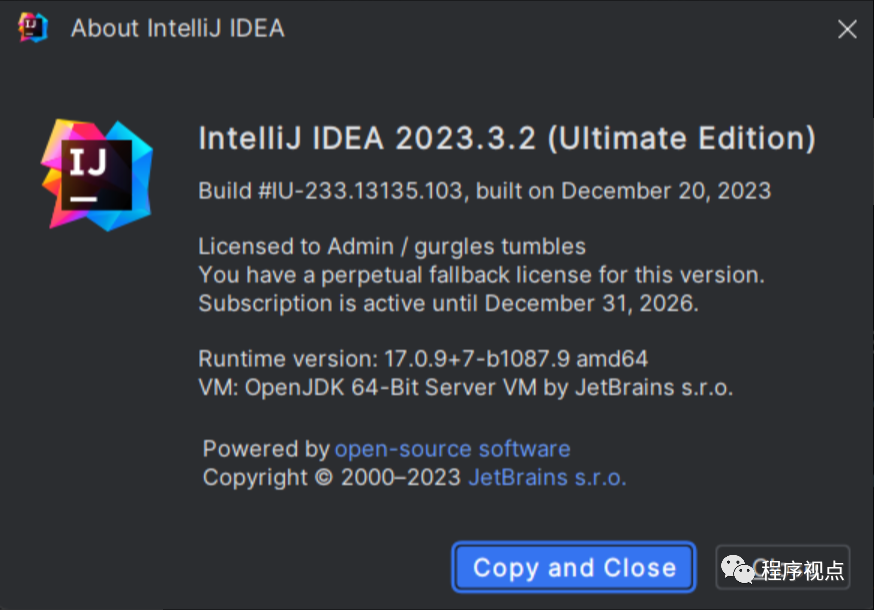
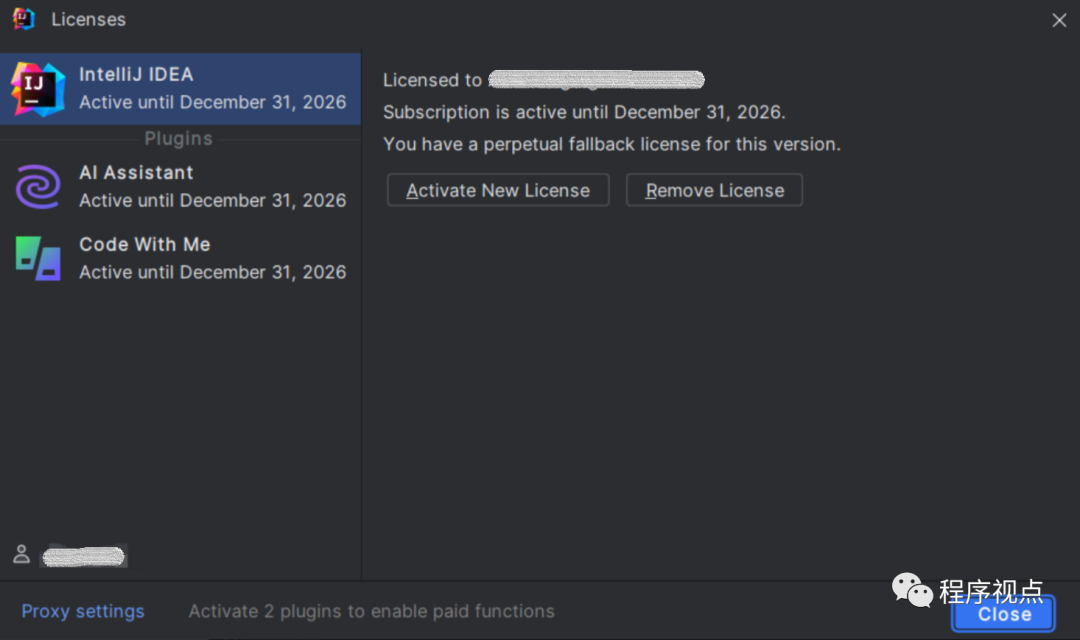 After successful activation on Windows, you will find this.
Key is Invalid and Other Minor Issues
-
Key is invalidis probably the most common issue
-
You clicked to execute without extracting the folder 
-
Cannot open the application; double-click has no response
Solutions
-
Ensure that the activation toolkit is used according to the tutorial in the first part. -
If activation fails, check if any vb scripts have been installed, as this may affect the loading of the jar package. Please delete the cache and uninstall the software cleanly before reactivating. For deletion methods, please refer to:
-
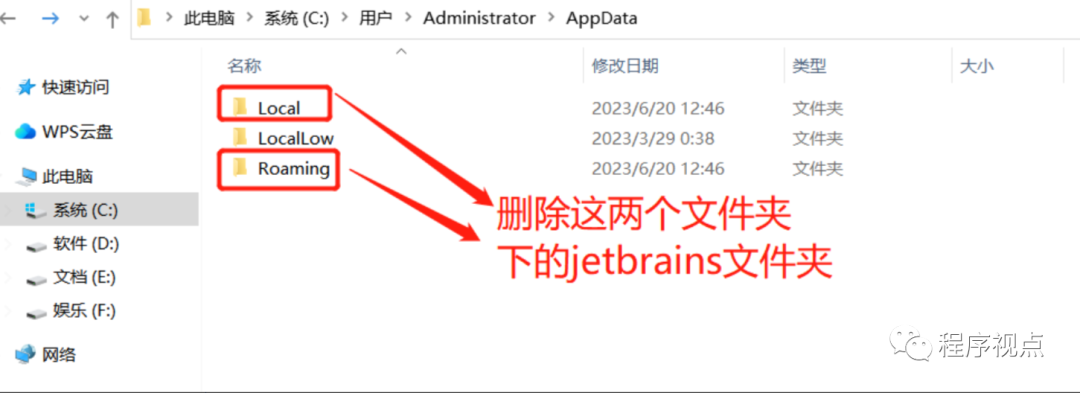
Delete local cache Delete the JetBrains cache under the user directory, generally found in the AppData directory, as shown:
-
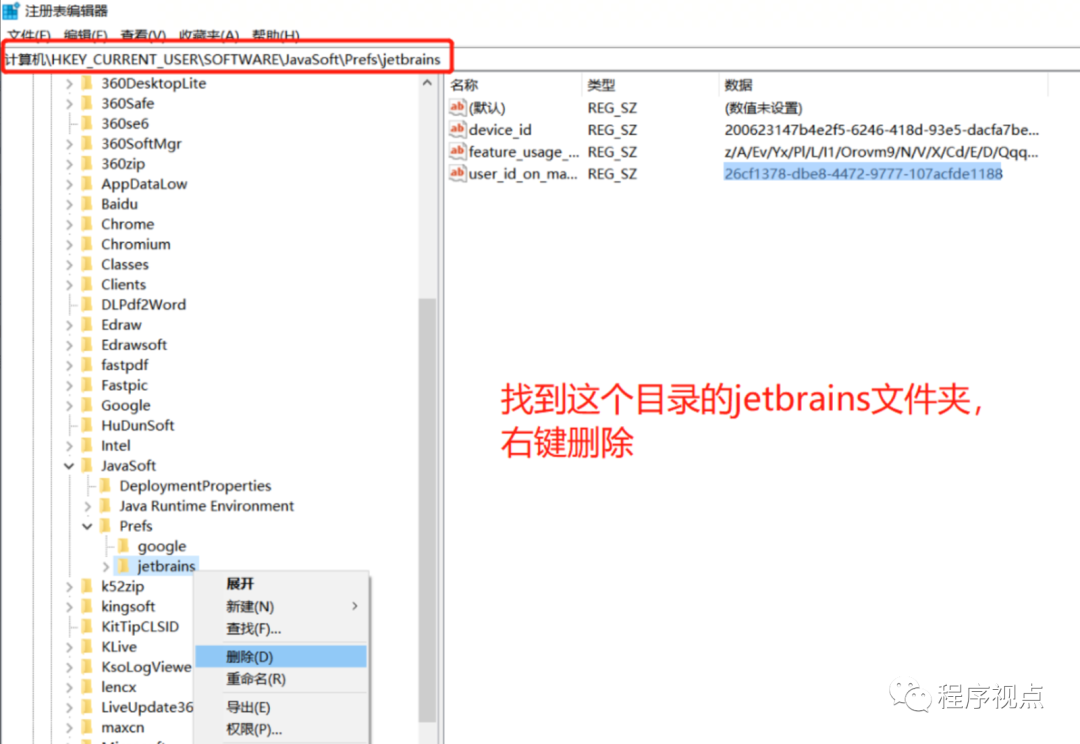
Delete registry information Press Win+R, enter regedit to open the registry, and delete the jetbrains folder under the following directory: Computer\HKEY_CURRENT_USERI\SOFTWARE\JavaSoft\Prefs\jetbrains
-
Delete historical environment variables Open the activation toolkit you downloaded. For Windows systems, double-click to execute uninstall-all-users.vbs
 3. If the key is still invalid after the above steps, click start trial first, log in -> try, and manually configure the jar package path.
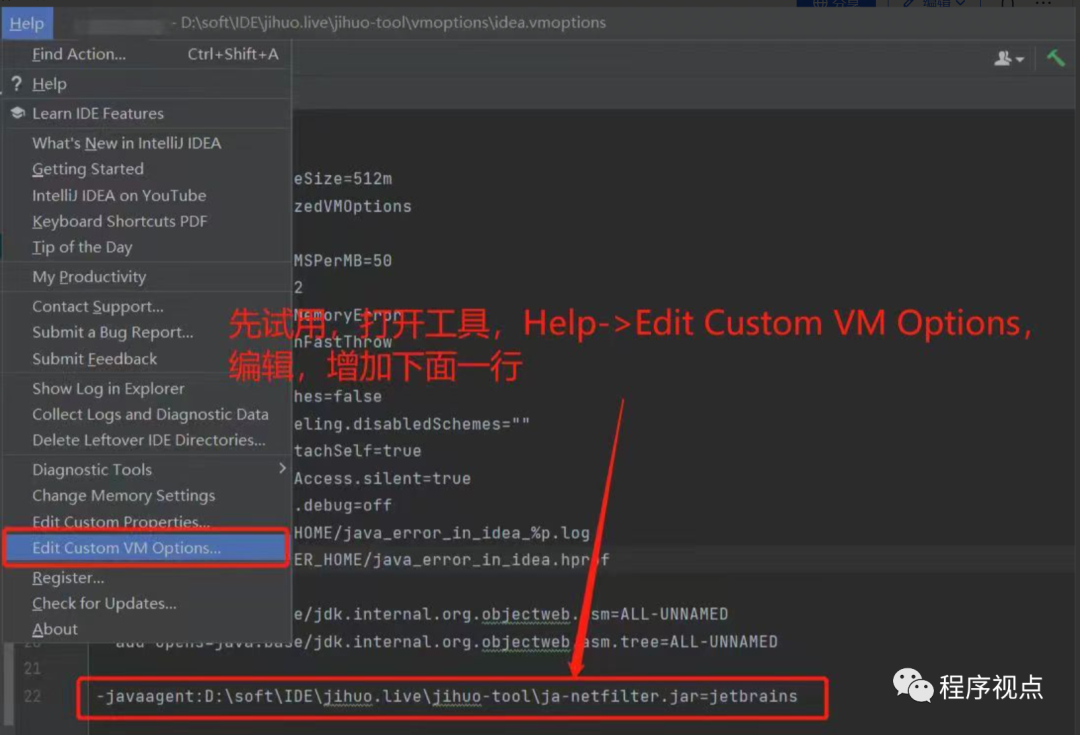 Example for Windows:
-javaagent:D:tools/ja-netfilter.jar=jetbrains
Example for mac, linux:
javaagent:/Applications/IntelliJ IDEA.app/Contents/bin/ja-netfilter.jar=jetbrains
The above path is the path to your ja-netfilter.jar on your computer.
Alright! This concludes the introduction to using the AI Assistant activation toolkit.
You can follow the WeChat public account [Program Perspective] and reply: ai to get the dedicated activation toolkit~
One More Thing
Thank you for accompanying me on this journey to explore the wonderful world of programming. If you are interested in the daily interesting stories of programmers, programming skills, and technical content, then do not miss the exciting content I will present to you in the future! Follow [Program Perspective] to grow and move forward together, making your programmer journey more colorful! 🚀💻📚
Follow the public account below and reply 111 to receive the most straightforward network knowledge document!

If this article has helped you, please click the lower right corner to [Like][Share][View] to give a little encouragement!