
Today, we will kick off a new series of tutorials to help you build your own AI assistant.
This tutorial will focus on Phidata, starting with building a daily AI assistant and moving on to tool invocation, memory, multi-assistant, and other code examples. If you’re interested, please remember to follow me.
This tutorial assumes you have completed the basics of Python. If you haven’t learned Python yet, please go to platforms like Bilibili and complete a basic Python course first.
For this tutorial, it is recommended to use FastAPI as the web framework, as it is very suitable for building APIs, making it convenient for us to call the AI assistant through the API after we have built it.
Now let’s start our introductory tutorial:
Step 1: Install FastAPI + Phidata:
pip install "fastapi[standard]"
pip install -U phidata
In addition, to call the OpenAI API, you also need to install the OpenAI package:
pip install openaiPhidata supports multiple vendor models; you can refer to the official documentation: https://docs.phidata.com/models/openai
Step 2: Obtain OpenAI API Information:
When using Phidata, you first need to define the APIKEY and BaseUrl. If you are using the official OpenAI API, you do not need to provide the BaseUrl.
Here, I used the OpenAI proxy interface: api.mkeai.com. If you do not have the official OpenAI API, you can use MKEAI’s interface, which supports multiple vendor models and uses OpenAI’s method for unified invocation, making it very convenient.
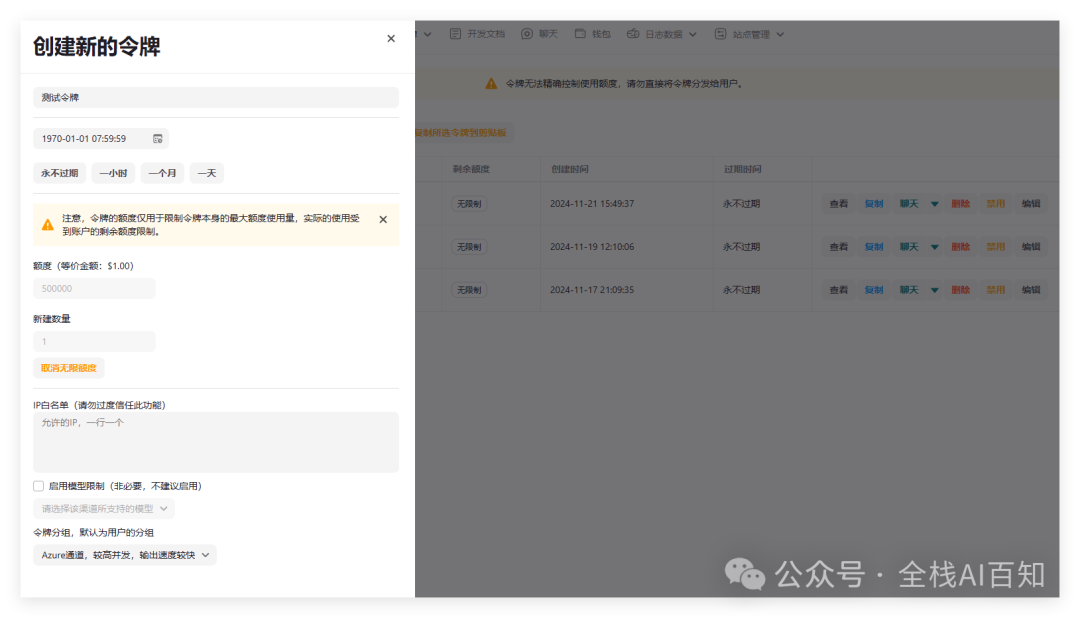
Visit https://api.mkeai.com, register and log in, click on the top menu “Tokens”, and add a token. This token is your APIKEY.
BASEURL address: https://api.mkeai.com/v1
Step 3: Build a Basic Chat Agent
To demonstrate how to create a simple chat assistant using the <span>phidata</span> library, we will build an agent based on the OpenAI model. In this example, we will use the <span>phi.agent.Agent</span> class and the <span>phi.model.openai.OpenAIChat</span> model to achieve this.
Import Necessary Modules
First, we need to import the <span>Agent</span> class and the <span>OpenAIChat</span> model. The <span>Agent</span> class is the core component for creating chat assistants, while the <span>OpenAIChat</span> model allows us to interact with the language model provided by OpenAI.
from phi.agent import Agent
from phi.model.openai import OpenAIChat
Set API Key and Agent Address
API_KEY = "sk-xxxxxx"  # Replace with your OpenAI API Key
BASE_URL = "https://api.mkeai.com/v1"  # Replace with your OpenAI interface address
Please note that for security reasons, you should avoid hardcoding sensitive information like API keys directly in the code during actual deployment. It is recommended to configure keys and agent addresses through environment variables or configuration files.
Create Chat Assistant
Next, we will use the above settings to instantiate an <span>Agent</span> object. In this example, we name the agent <span>my_agent</span> and specify that it uses the <span>gpt-4o-mini</span> model.
# Create an Agent
one_agent = Agent(
    name='my_agent',
    model=OpenAIChat(id='gpt-4o-mini', api_key=API_KEY, base_url=BASE_URL))
The <span>model</span> parameter specifies the specific language model that the agent will use. Pass the <span>id</span>, <span>api_key</span>, and <span>base_url</span> parameters, where <span>id</span> is the name of the model we need to use.
Initiate Conversation
Finally, let’s start a conversation with the agent by calling the <span>print_response</span> method. This method accepts the user’s input message and returns the response generated by the agent.
The <span>stream=True</span> parameter indicates that we want to receive the response in a streaming manner, so we can see the agent’s reply in real-time.
# Print output
one_agent.print_response("Please write me a poem about spring", stream=True)
The complete code is as follows:
from phi.agent import Agent
from phi.model.openai import OpenAIChat
API_KEY = "sk-xxxxxxxxx0Ydv6PVb5dmrdsAB11CdtPjjd38VLxB"  # OpenAI API Key
BASE_URL = "https://api.mkeai.com/v1"  # MKEAI proxy address
# Create an Agent
one_agent = Agent(
    name='my_agent',
    model=OpenAIChat(id='gpt-4o-mini', api_key=API_KEY, base_url=BASE_URL))
# Print output
one_agent.print_response("Please write me a poem about spring", stream=True)
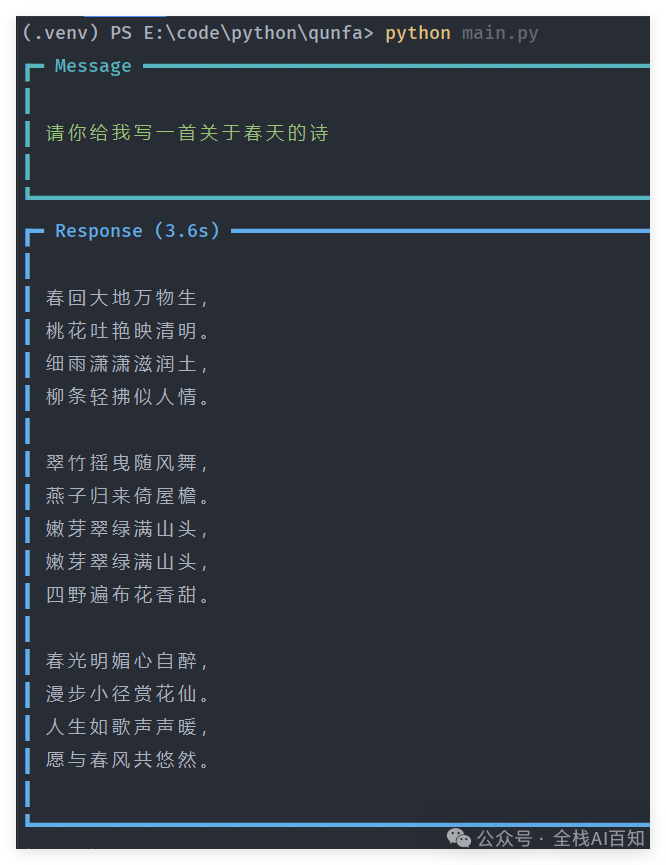
Now we run the code:
python main.pyYou can see that the console has printed out the AI’s response, and Phidata has also beautifully formatted the console output, making it look very nice.
Alright, that’s it for today’s tutorial. I will update more introductory tutorials and usage tips about Phidata, so if you’re interested, remember to follow and star.