Follow the public account “GitHubDaily”
Set as “Starred“, bringing you daily GitHub tours!
A while ago, I wrote an article introducing several methods to easily break the myth of ChatGPT’s inability to access the internet without installing the ChatGPT Plugin.
Recently, I’ve seen many students interested in this, so I gathered and improved these solutions, adding details and discussing the current methods to enable ChatGPT to connect to the internet.
If you have other solutions, feel free to share and discuss in the comments section.
Method 1: Install the WebChatGPT Plugin
WebChatGPT is an open-source ChatGPT browser plugin that supports Chrome and Firefox.
Using this plugin, you can break the myth of ChatGPT’s inability to connect to the internet, allowing ChatGPT to quickly browse the web!
The core features are as follows:
-
🌍 Access the web to get answers to questions in real-time;
-
📝 Extract webpage text from any URL;
-
💫 Quickly add and use Prompt templates;
-
✨ Use ddg bangs to get search results from thousands of websites;
-
🤩 Supports mainstream browsers such as Chrome, Firefox, and Microsoft Edge.
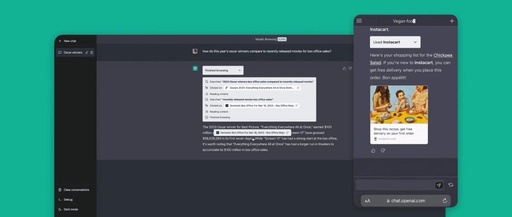
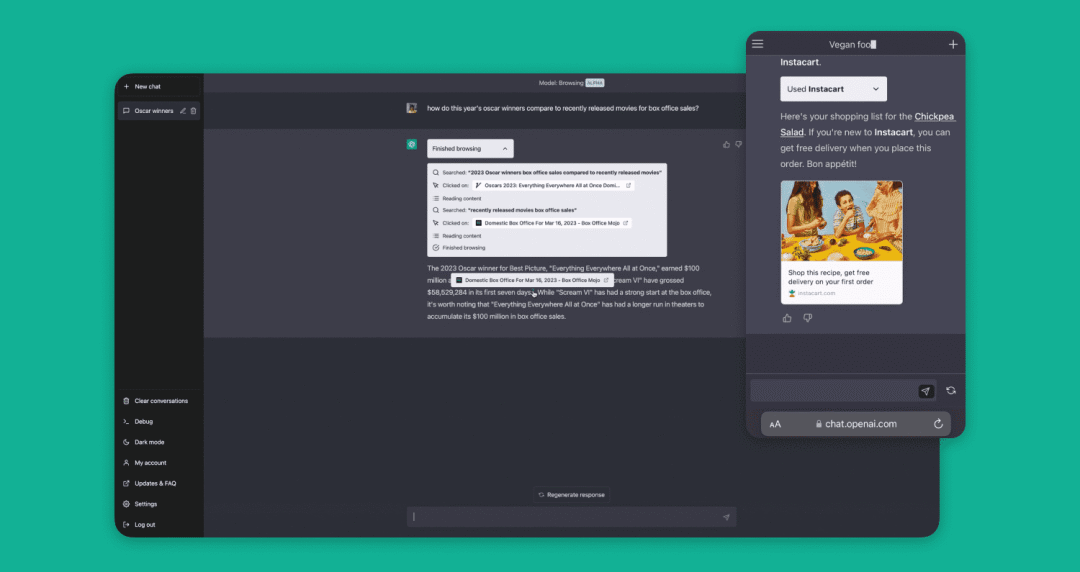
Here’s a video to give everyone a feel for it.
GitHub: https://github.com/qunash/chatgpt-advanced
On the Chrome platform alone, the installation count of this plugin has reached an astonishing 800,000!

Overall, the effect of this plugin is not as good as the ChatGPT Browsing plugin (after all, it’s the parent), but it is still quite good for obtaining the latest industry data and parsing webpage content.
Method 2: Install the Auto-GPT Script
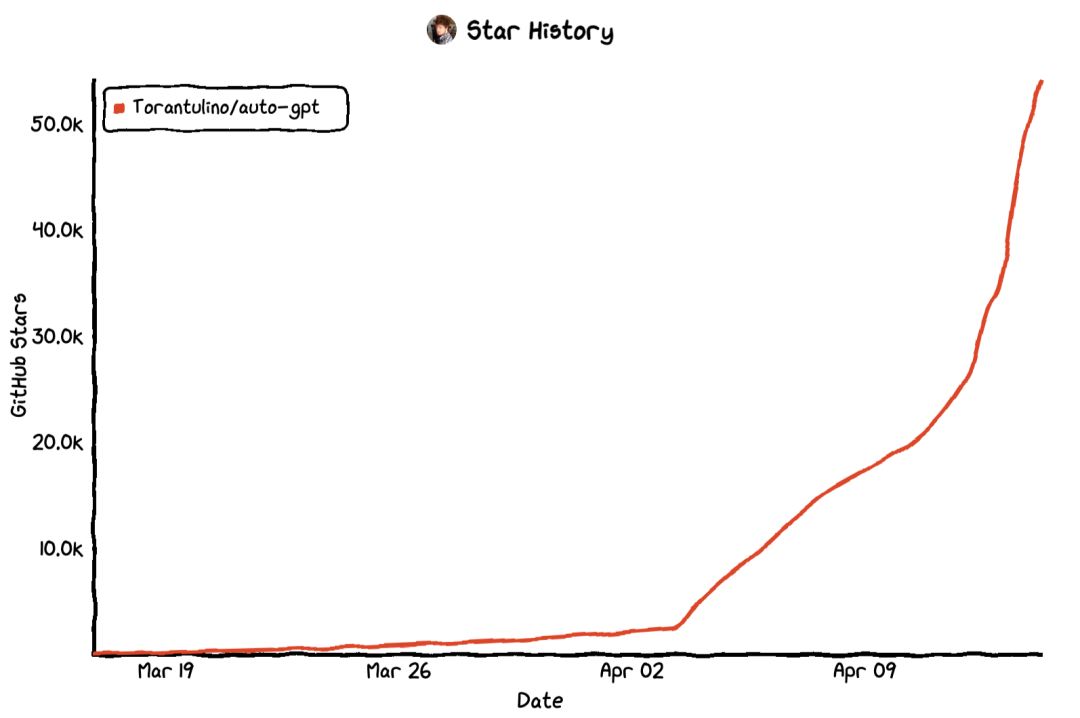
When I first recommended Auto-GPT, it only had a few thousand GitHub Stars. Not long after, it skyrocketed to over 50,000 GitHub Stars, which is truly remarkable.
Recently, it even successfully made it to Twitter’s trending topics, showing its popularity.
The reason for its rapid growth is not just because it can connect to the internet, but because it can autonomously search for publicly available information on the internet based on the tasks assigned by developers, optimizing code, and automatically fixing bugs.
This means that it is a truly intelligent coding tool that learns independently and enhances its capabilities through programming. It is also another heavyweight product in the tech circle since the emergence of GPT-4.
You can set an initial task for it and determine five task objectives. It will then begin to automatically search for data online, write crawlers, collect data, and gradually advance towards completing the task.
Although Auto-GPT is only an experimental open-source application, it has already demonstrated the powerful capabilities of the GPT-4 language model to the outside world.
Since its launch, many people have begun to explore its limits and try to integrate it into different industry application scenarios.
GitHub: https://github.com/Torantulino/Auto-GPT
In summary, its main features are as follows:
-
🌐 Internet access for searching and information gathering
-
💾 Long-term and short-term memory management
-
🧠 GPT-4 instance for text generation
-
🔗 Access to popular websites and platforms
-
🗃️ Using GPT-3.5 for file storage and summarization
Now let’s look at how to use it specifically.
AutoGPT Installation & Usage
In the project README, the author introduces various installation and usage methods for Auto-GPT. Here, to help everyone get started quickly, I will only discuss the simplest installation method.
Before installation, ensure that Python development environment is installed locally.
The specific installation steps for Auto-GPT are as follows:
-
Clone the project to your local machine:
git clone https://github.com/Torantulino/Auto-GPT.git-
Enter the project directory:
cd 'Auto-GPT'-
Use pip to install project dependencies:
pip install -r requirements.txt-
Rename the
.env.templatefile:
mv .env.template .env-
Open the
.envfile in the directory, findOPENAI_API_KEY, and fill in your OpenAI API Key.
The API Key can be generated on the OpenAI official website: https://platform.openai.com/account/api-keys
-
Once everything is ready, start running Auto-GPT:
python scripts/main.pyNormally, if you haven’t made any mistakes in the previous steps, the project should run properly now.
If it fails to run, it’s likely due to the command-line tool not being set up correctly with a proxy.
Once the command runs successfully, the system will prompt you to enter the AI name, role task, and task objectives.
The AI name and role task can be named according to your own needs.
What’s important here is the five task objectives; whether they are clear and precise directly determines the quality of task execution.
In addition to the above functions, you can also configure Pinecone to store vector content, use ElevenLabs to make the AI speak during task execution, and use Google API to bypass daily information search limits, etc.
There are many ways to play, and the space for exploration is vast, but mastering it will take a considerable amount of time.
Method 3: Use Agent-GPT to Search for Information
If you don’t have a programming background, getting Auto-GPT up and running can be quite challenging.
Here, I’ll introduce another tool that can be used directly on a web page, providing similar functionality to Auto-GPT.
This project is called Agent-GPT. Similar to Auto-GPT, it can break down and execute tasks step by step based on the tasks you give it.
This project has been open-sourced on GitHub, and the number of Stars is approaching 10,000.
Usage Method
First, open the Agent-GPT official website: https://agentgpt.reworkd.ai/
Then, you will see the following interface.
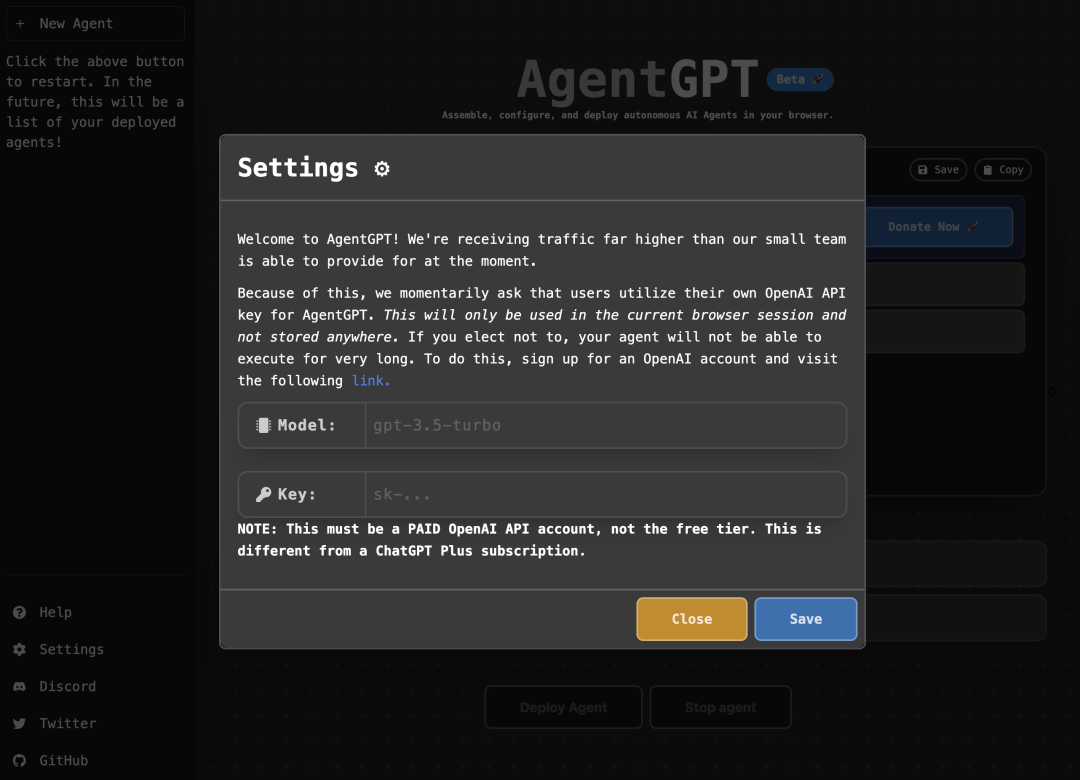
Here, you can see a prompt box has popped up. Before using this tool, you need to configure the GPT Model and OpenAI’s API Key.
The Model option can be filled in based on the GPT model you are currently using. Normally, fill in gpt-3.5-turbo for GPT-3.5, and gpt-4-32k for GPT-4.
The Key refers to the OpenAI API Key.
The Key can be generated on the OpenAI official website: https://platform.openai.com/account/api-keys
Once configured, you can directly use AgentGPT on the web page.
Unlike Auto-GPT, AgentGPT has fewer available functions, including only being able to set one goal, and some internet access features are still limited, etc.
So, if possible, I still recommend prioritizing Auto-GPT.
If you want to learn more about how to use ChatGPT, feel free to click the link below to join our community for further discussion.
Everyone who joins will receive a complimentary ChatGPT account.
The ChatGPT community is officially launched!